I like making both inks and paints, and there are differences both in how they are used to make art, and practically – how they store and travel, how long they last, and how much is involved in the process of making them.
Paints are solid and can be re-wetted with water for use. Creating them is an involved process but worth the exploration if you become more serious about homemade colors. Pure pigments are drawn out of botanical material through a chemical process known as “laking”, which binds the pigment to a metal salt.
The resulting pigment is dried, finely ground, and mulled with a watercolor medium into a paste which is then used like watercolor paint. Earth based materials like clays and stone can also be used.
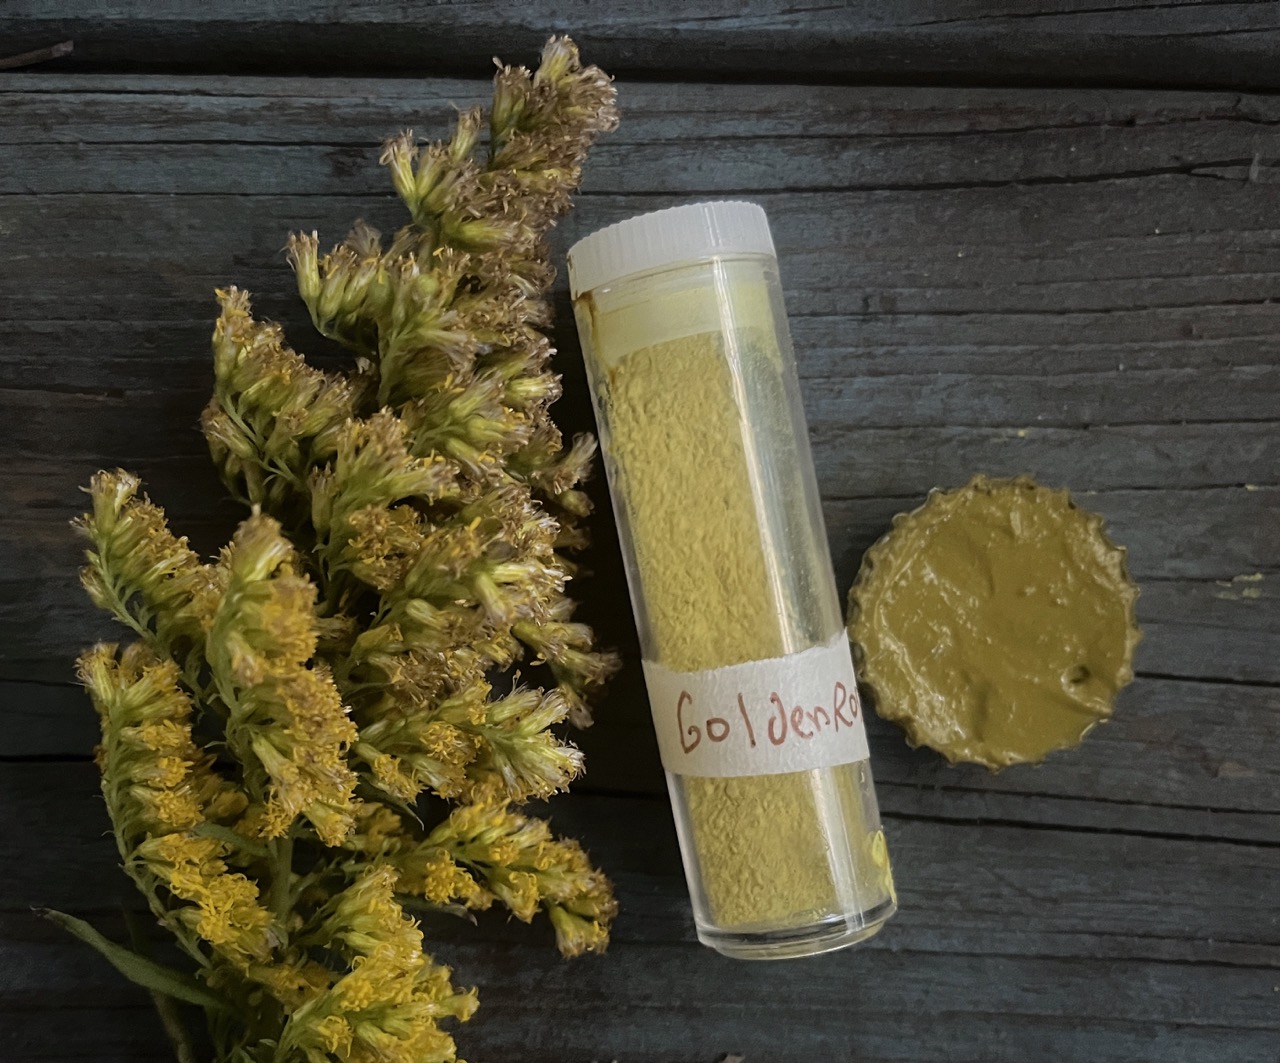
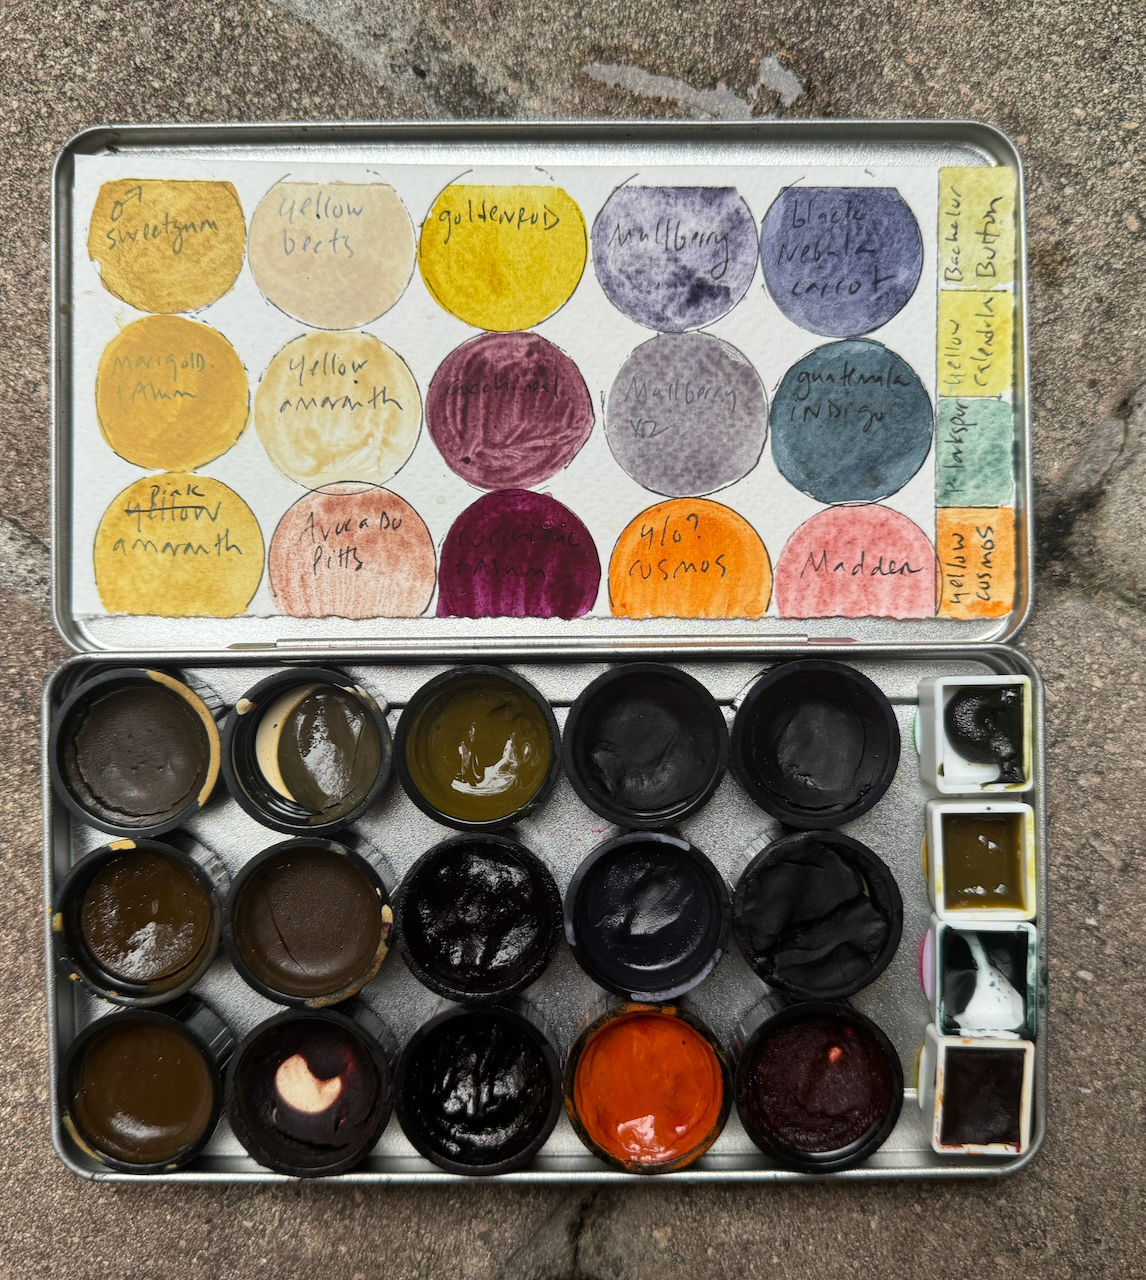
Compared to inks, paints are more portable, do not need refrigeration, and tend to be more stable. I am slowly converting most of my colors to be in paint form as I find them easier to create art and travel with. However, some have better colors as an ink and are best used that way. For example, both beets and malabar spinach berries are bright pink inks, but dull brown paints.
For lots more detailed information, pigmented plants to find in Florida, techniques, plant info, and lots of my art – pick a copy of my book!
Gather up supplies and ingredients
- Plants (fresh, frozen, or dried)
- Muddler
- Fabric pieces or fine strainer
- Pot (that you don’t mind possibly getting stained)
- Watercolor paper (regular paper can’t handle liquid ink, I prefer the more textured and absorbent cold press type)
- Paint brushes
- Large, clear, heat safe glass jars
- Alum (aluminum sulfate or aluminum potassium sulfate)
- Soda ash See here how to make.
- Stirring sticks/spoons
- Coffee filters
- Rubber bands
- Glass board (old microwave dish or cutting board)
- Glass muller
- Palette knife/spreader
- Spatula
- Paint containers (bottle caps, acorn tops, paint wells)
- pH papers (optional)
- Watercolor medium:
Process
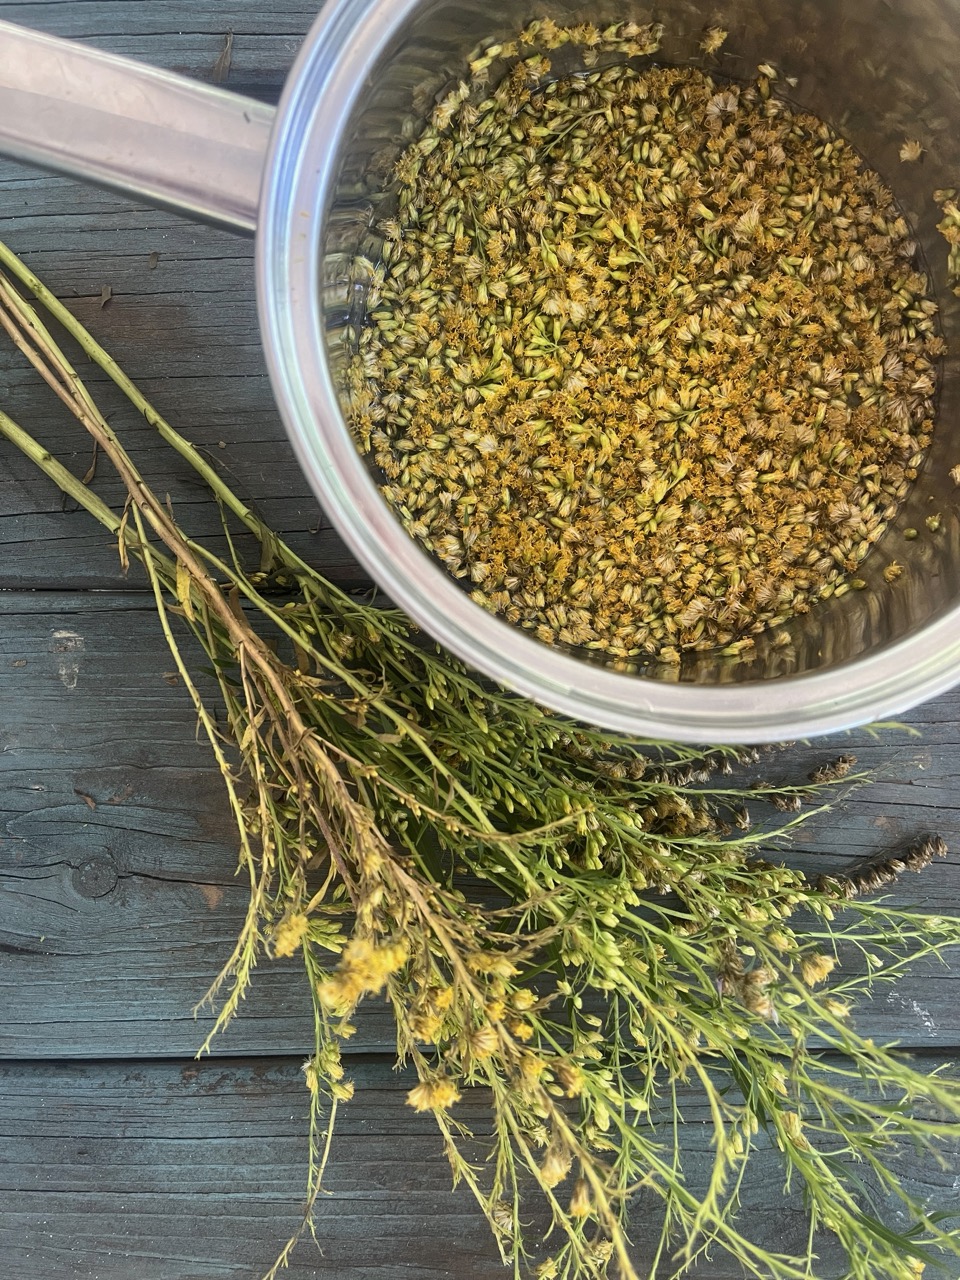
- Simmer plant material in water, muddling several times. Perhaps 30 minutes or up 2 hours for flower petals until rich colored dye is obtained. For bark, roots or other tough material, chop and simmer over a few hours, rest over night, and repeat again if needed to allow tough plant tissues to break down. Unlike ink, it’s not necessary to reduce water to a very low volume, but you do want to make sure you’ve pulled as much pigment into the water as possible which could take time, depending on the material.
- Squeeze out all plant material through a cloth or very fine sieve. Reheat liquid if cooled before the next step.
- Prepare chemical solutions. See here on how to prepare
- Mix alum with enough boiling water to fully dissolve.
- Mix soda ash with enough boiling water to fully dissolve.
- Stir alum solution into warmed colorful dye liquid.
- Slowly stir in soda ash solution and prepare for foaming action! Container should be big enough to allow expansion and overflow.
- Continue stirring and scraping the foam till settled down.
- If you have pH papers, test for a neutral 7 and tweak acid/base addition (more alum to decrease, more soda ash to increase).
- Rest at least an hour or overnight allowing pigment to settle.
- Pour off liquid on top (supernatant) and carefully strain out the remainder over another container fitted with a coffee filter secured with a rubber band or clothespins.
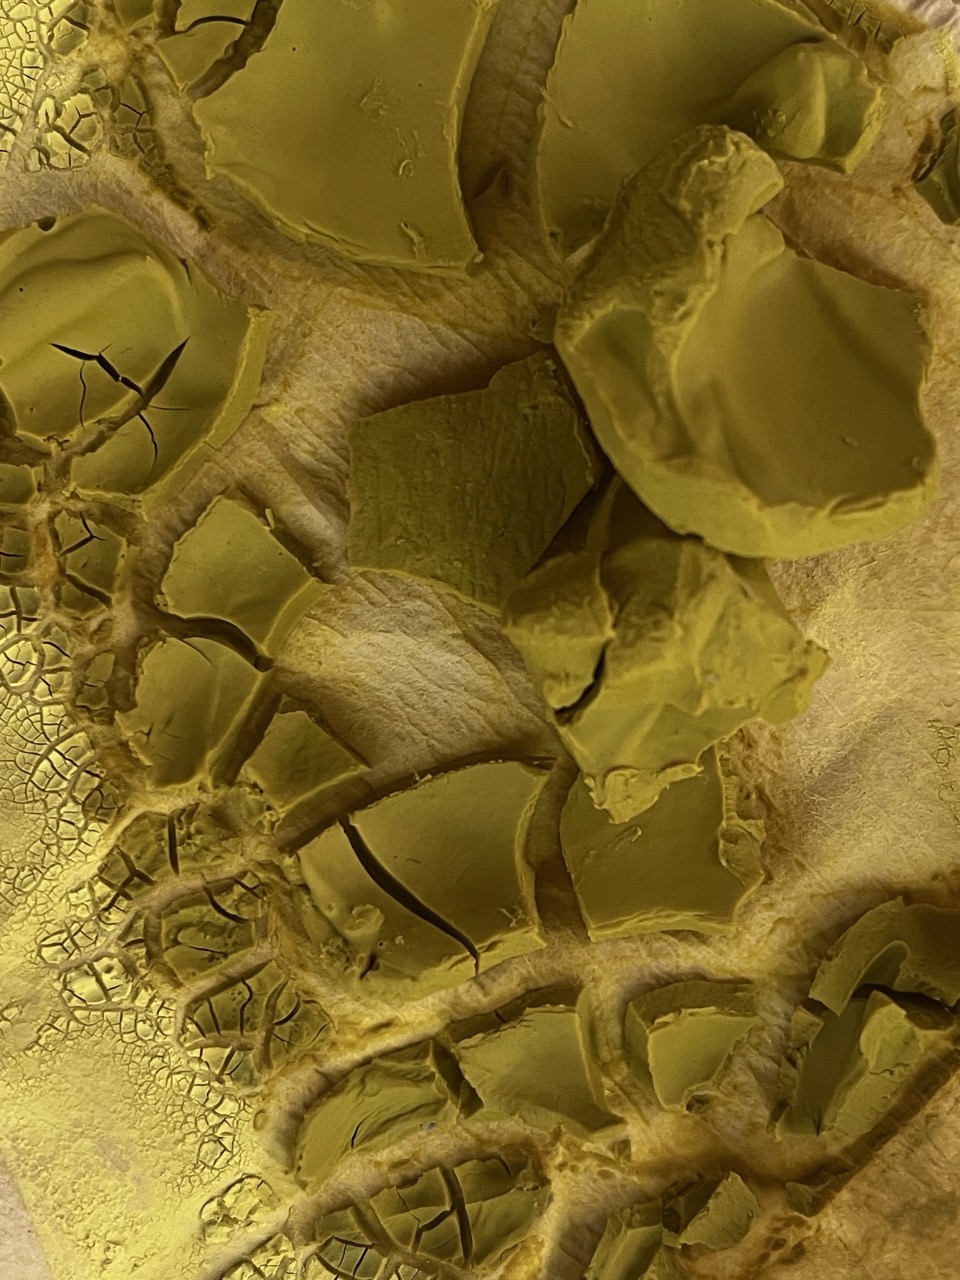
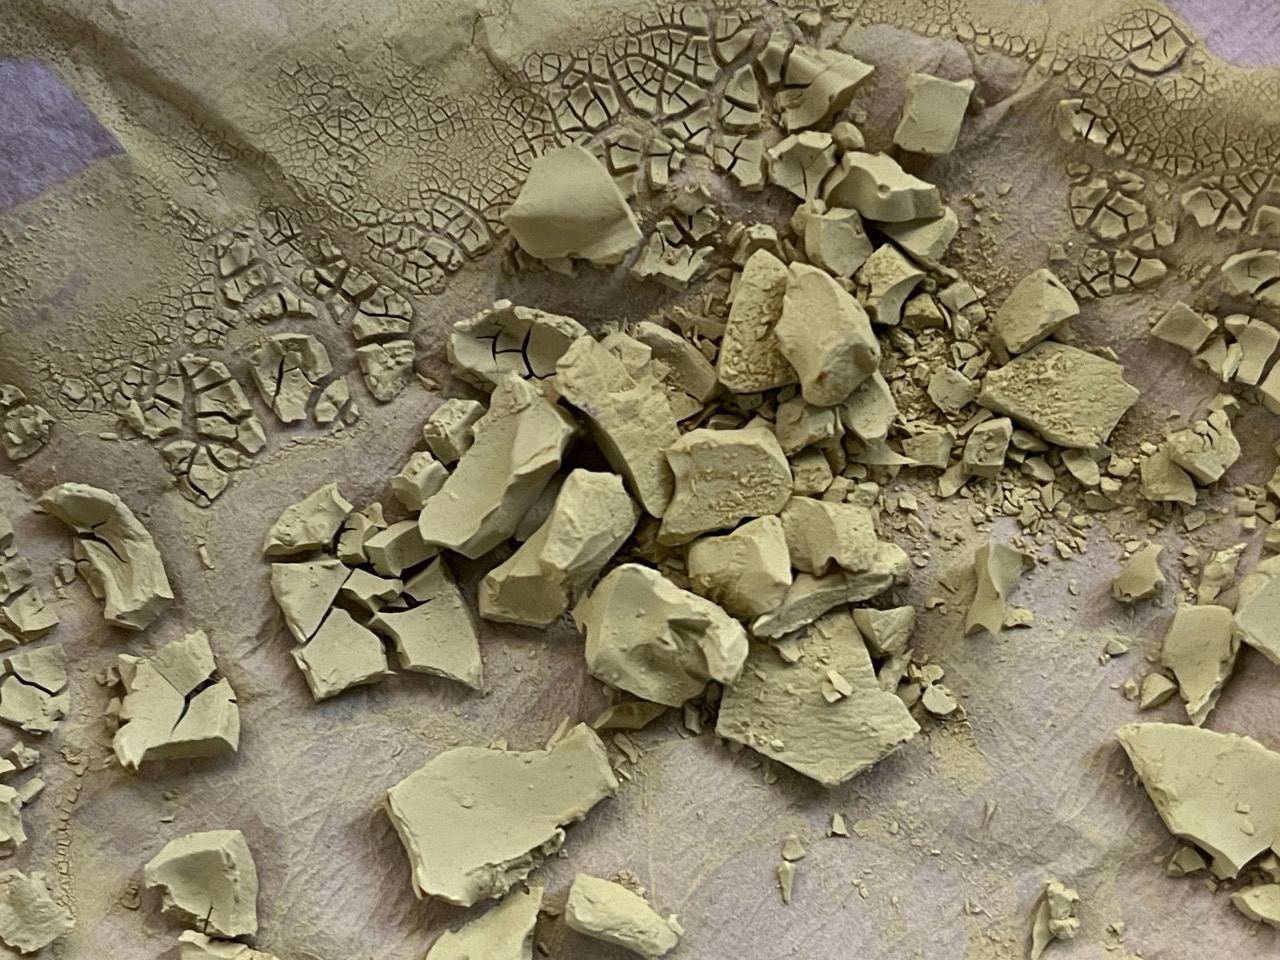
- Carefully remove coffee filter once all liquid has drained and a colorful pasty sludge remains. Lay flat to dry over a towel. While not necessary, it is preferable to get the cleanest pigment possible by washing after the first strain. If frothy bits or white crystals are present, I recommend this extra effort. When pigment has been fully strained, re-submerge in a clean bowl of water. Let settle and pour off water once or twice more till clear and clean looking. Strain again and dry.
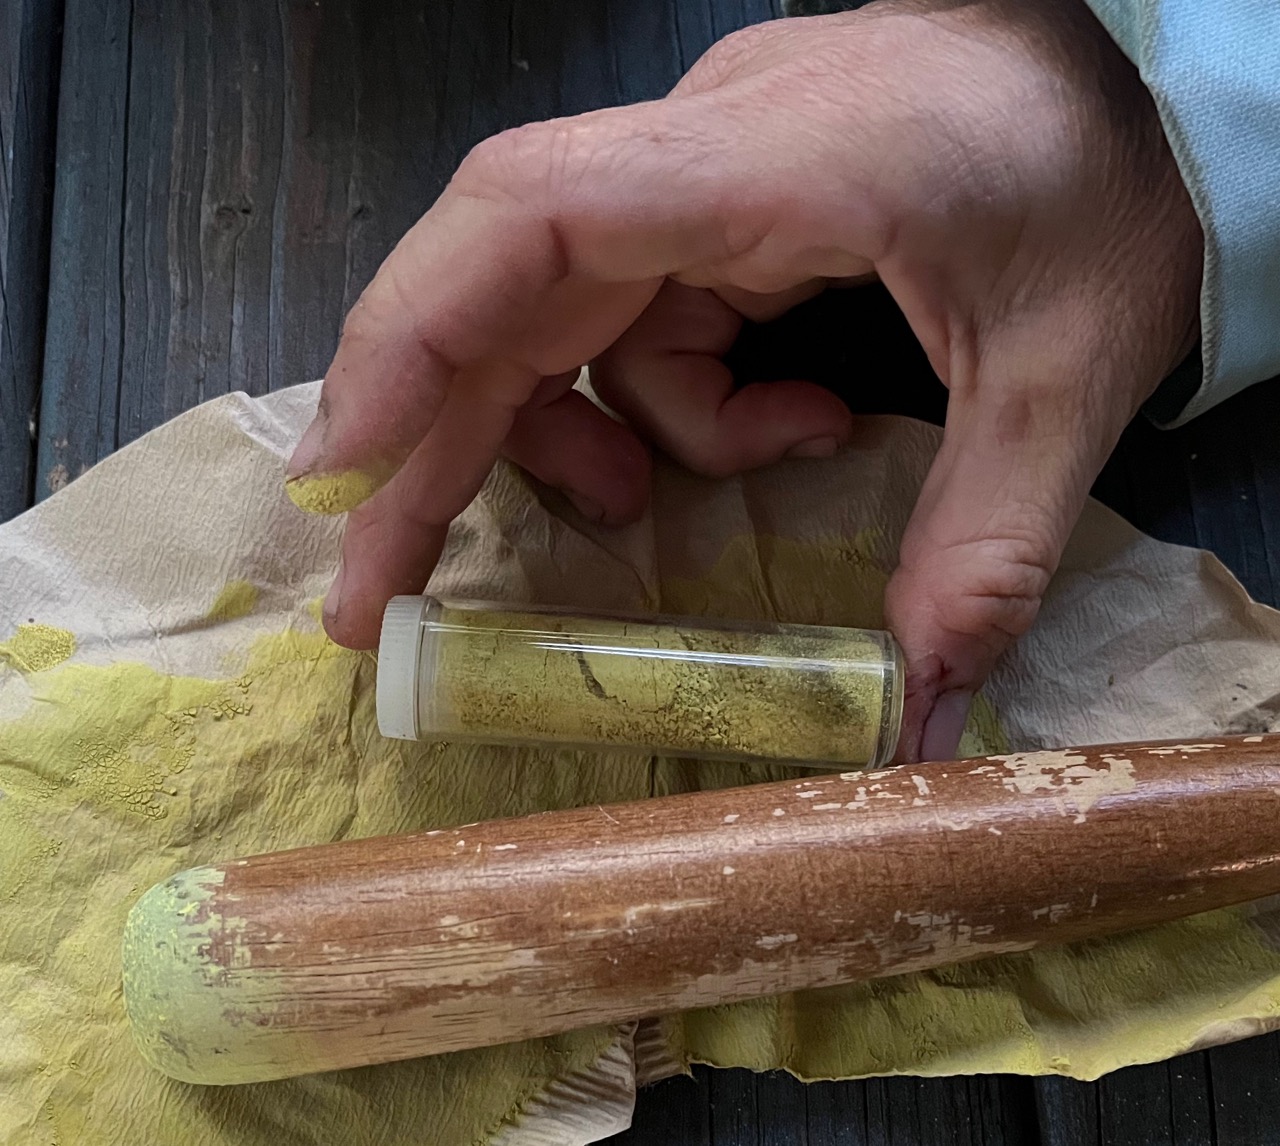
- Once pigment is fully dried, grind into a fine powder using a mortar and pestle. The finest powder possible is required. Sieve and re-grind if necessary.
- Measure approximately equal amounts of pigment powder and watercolor medium onto a glass board.
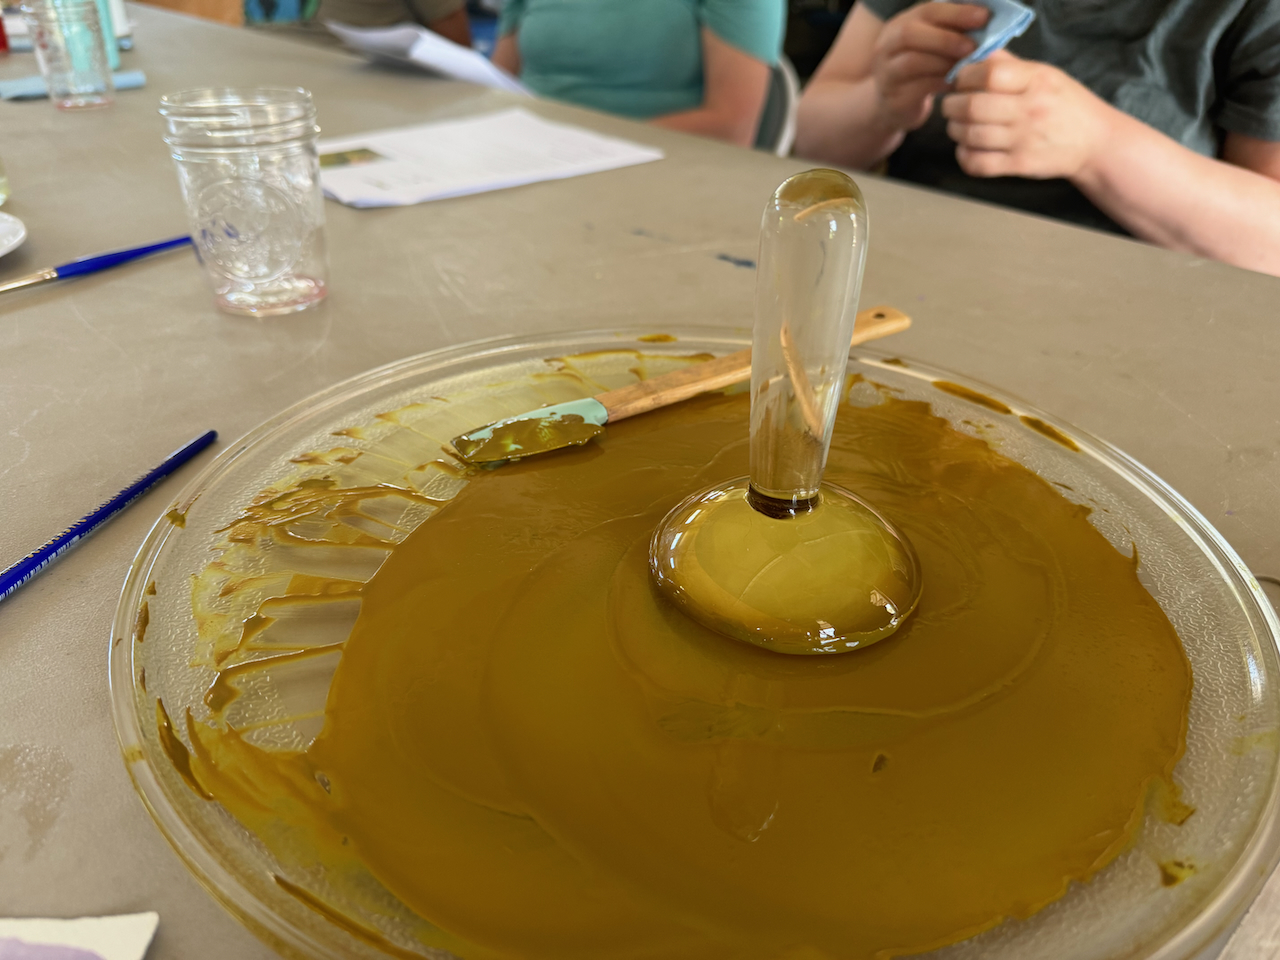
- Mix with a palette knife and then mull with glass muller in circular and figure 8 patterns, repeatedly scraping back into the center, and continuing until smooth and gliding easily. Additional water droplets or medium may be needed. This may take a lot of time, and takes practice to get right. Enjoy the process!
- Scrape into a container. You now have paint! Yay!
- Test the color and enjoy painting, using like watercolor paints.
- If your supernatant (clear liquid above settled pigment) is still very dark in color, you can lake that again for a different color! It’s also a sign that more chemicals could have been used the first time.

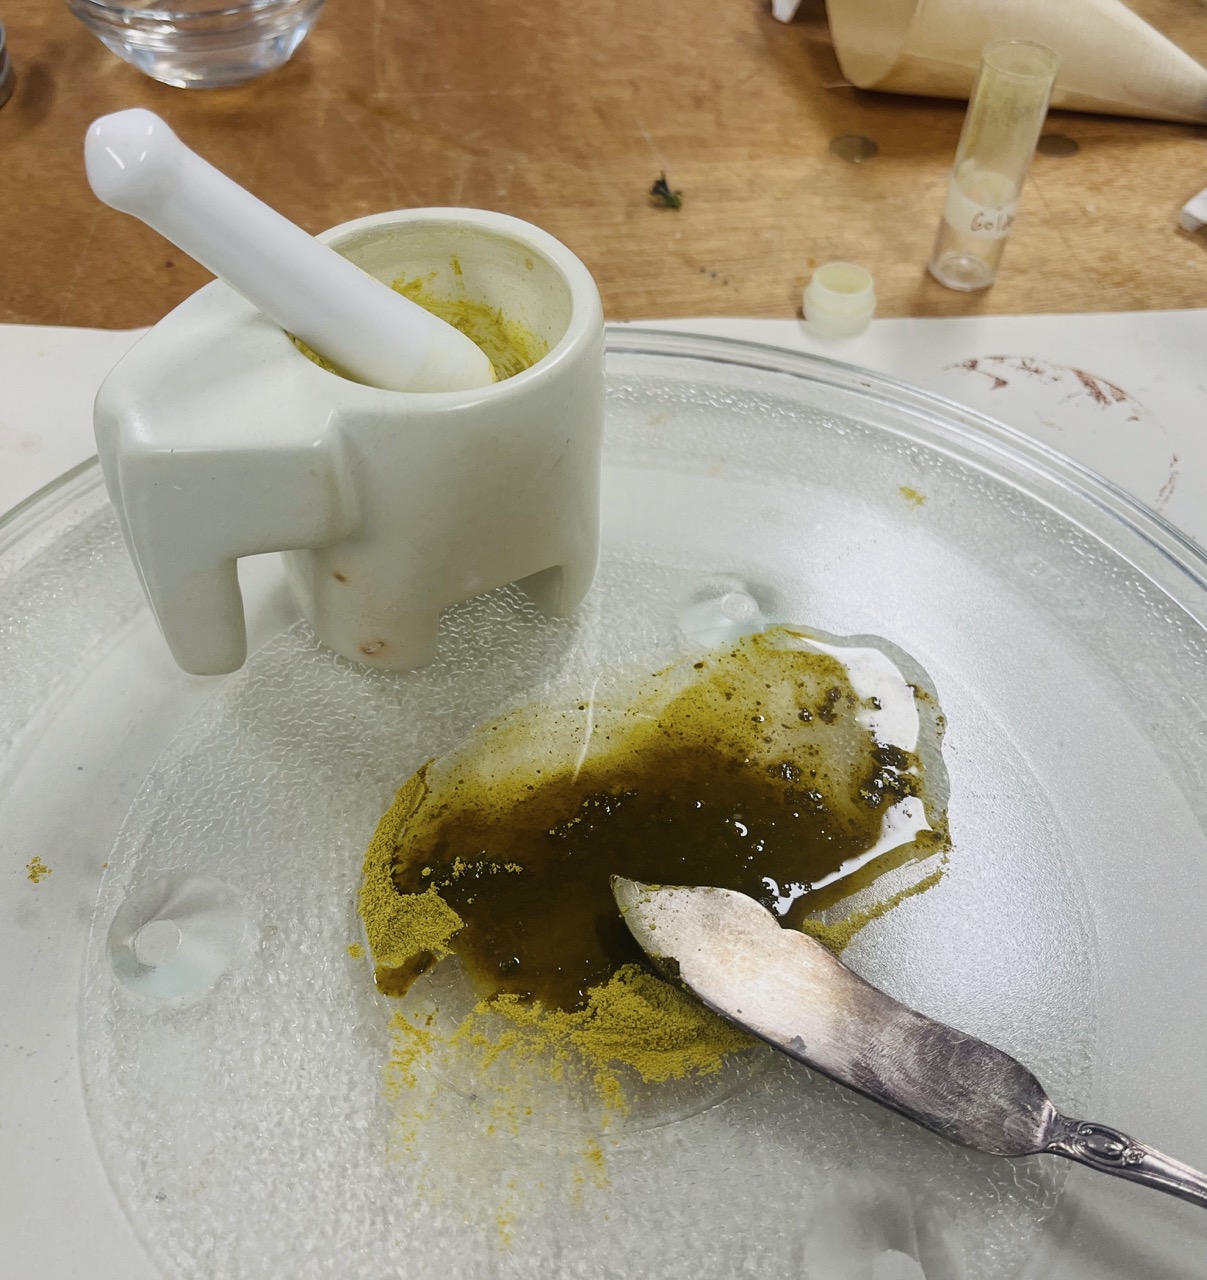
Mulling pigment after blending with palette knife