I like making both inks and paints, and there are differences both in how they are used to make art, and practically – how they store and travel, how long they last, and how much is involved in the process of making them.
Ink is ancient. It’s been prepared and used for thousands of years, transmitting language on various surfaces. Dark brown ink made from oak galls was used to create many famous manuscripts (like the US Constitution); Leonardo daVinci drew with it.
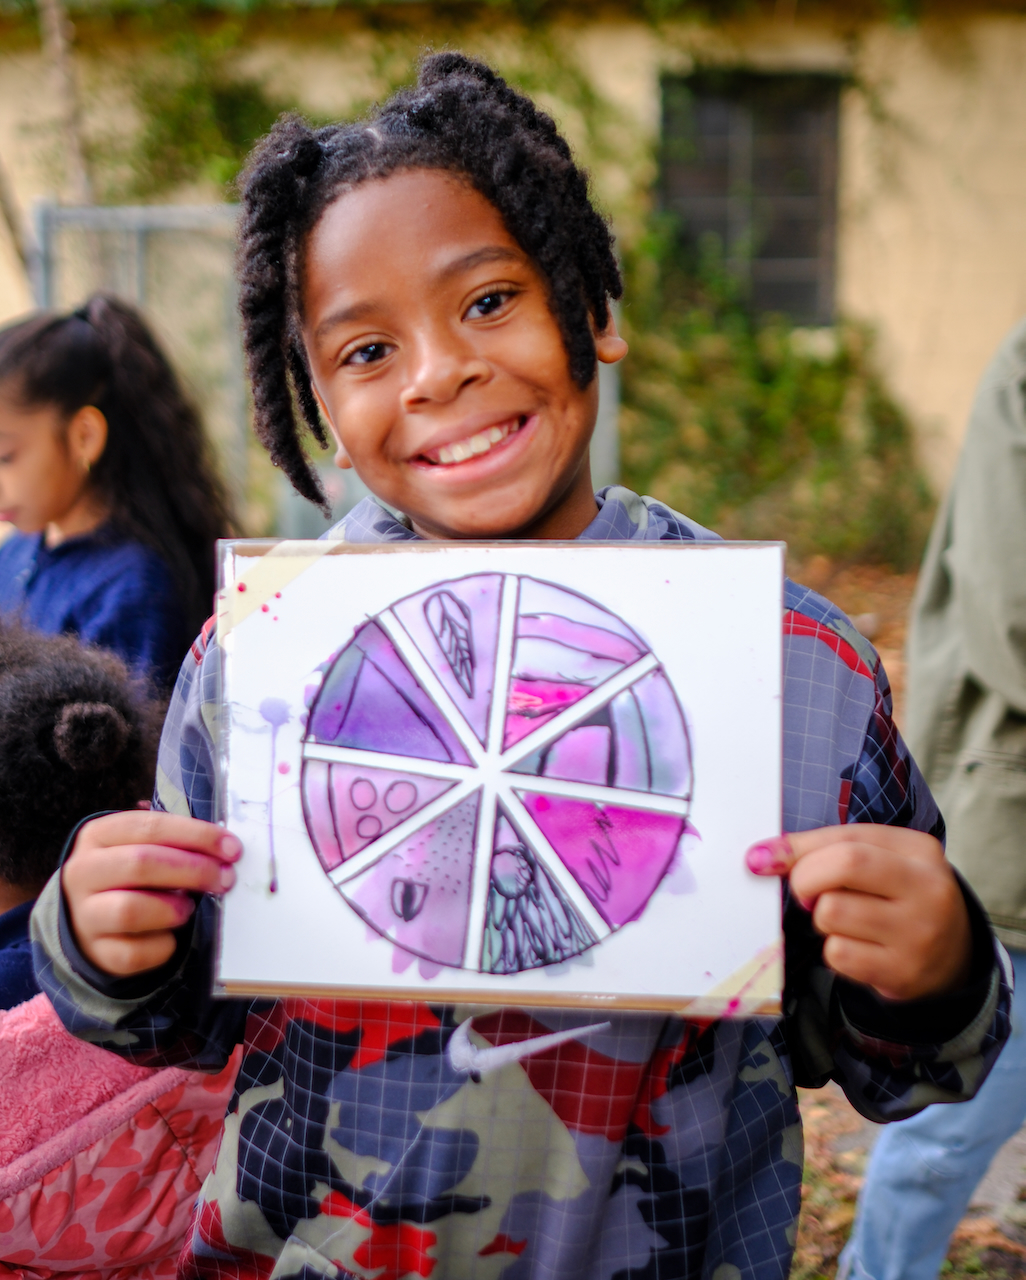
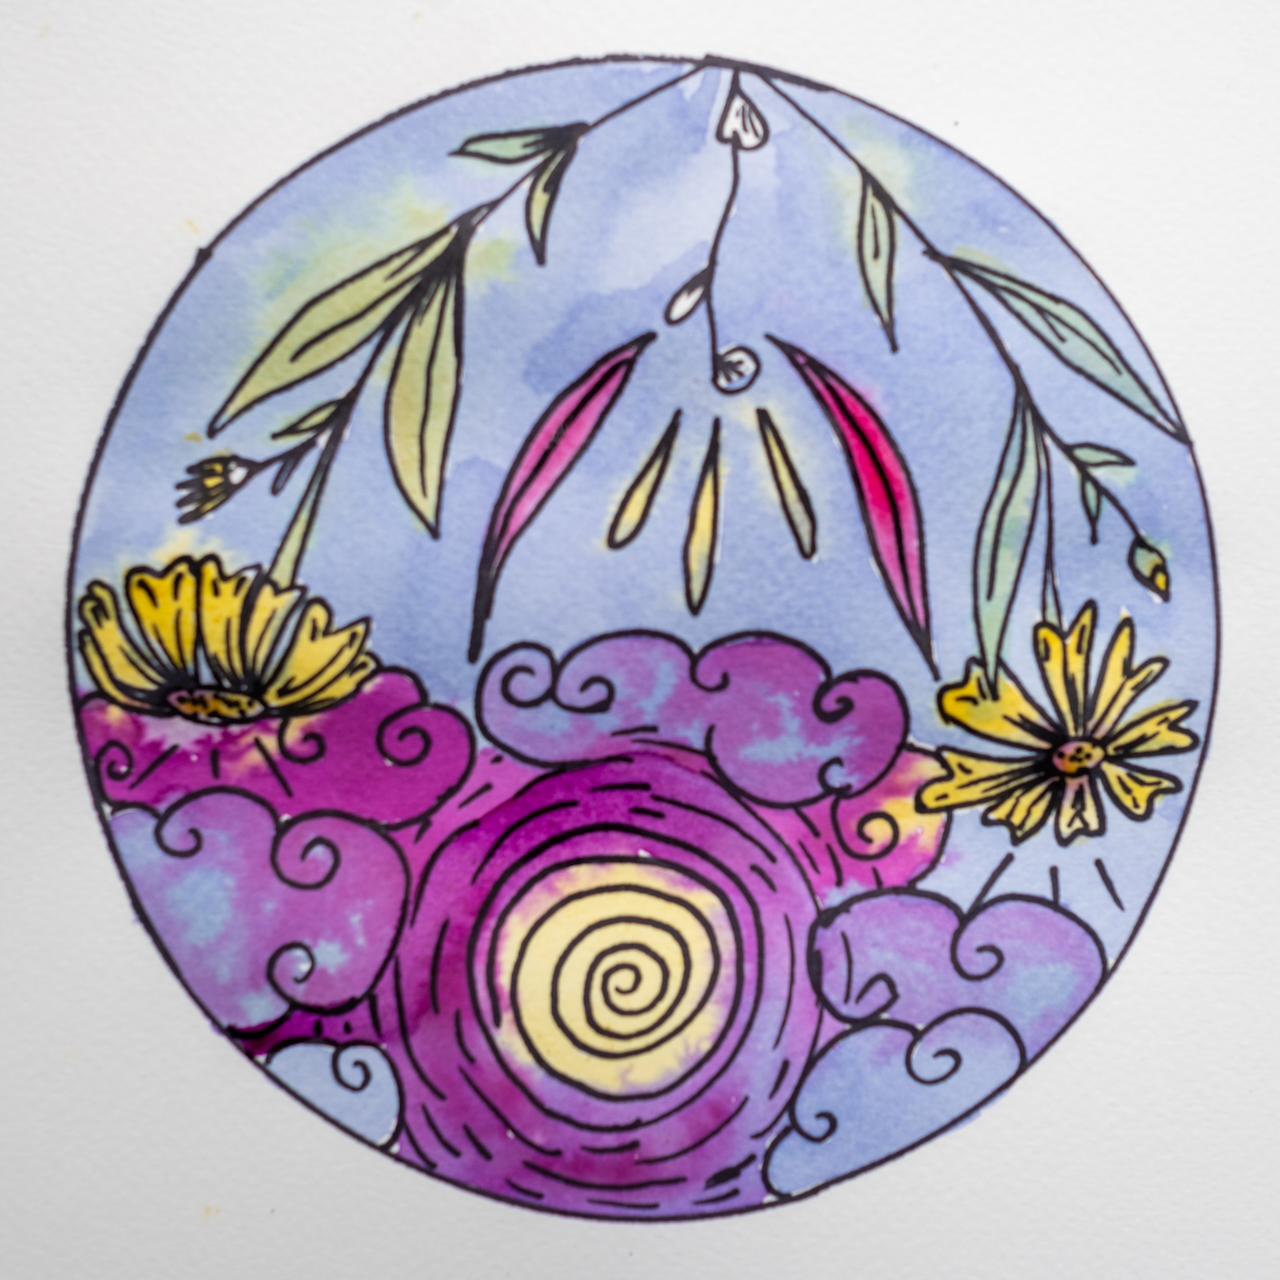
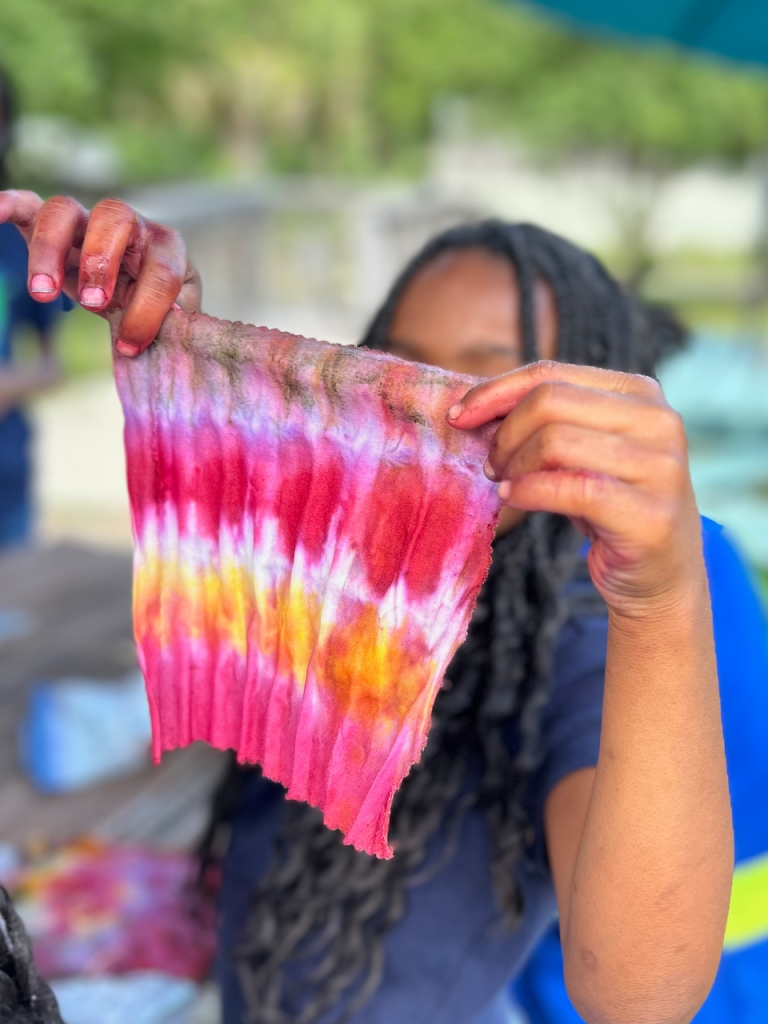
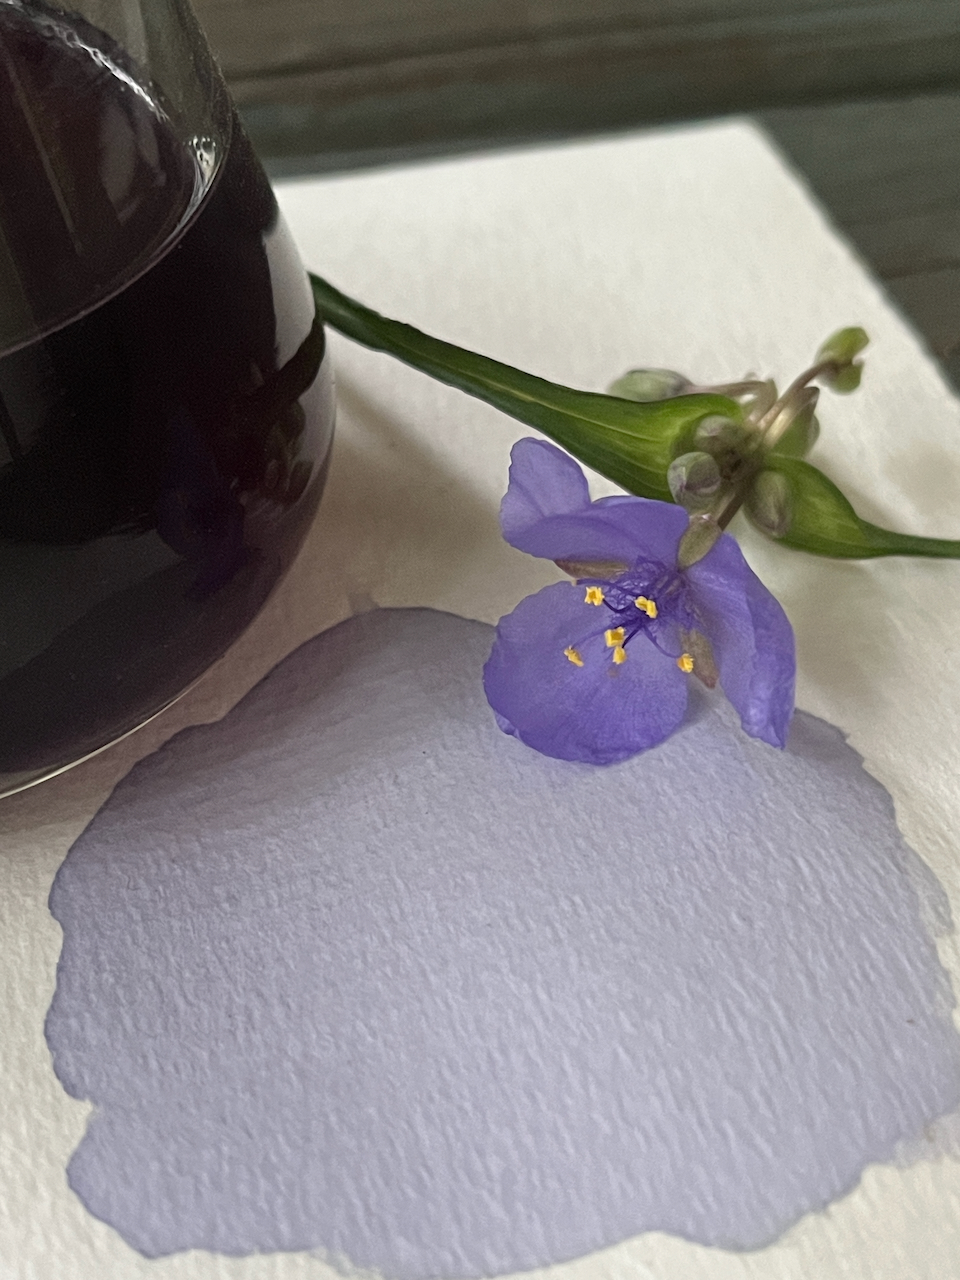
Basically it’s a concentrated colored liquid used to write with. It is fairly simple to make with fewer ingredients and steps compared to paints, but is perishable, harder to transport, and not as easy to use due to its fluidity. But the fluidity can be a good thing, as colors readily run together and dry in beautiful and unexpected ways. Additives to improve stability and thickness can be used to produce high quality ink.
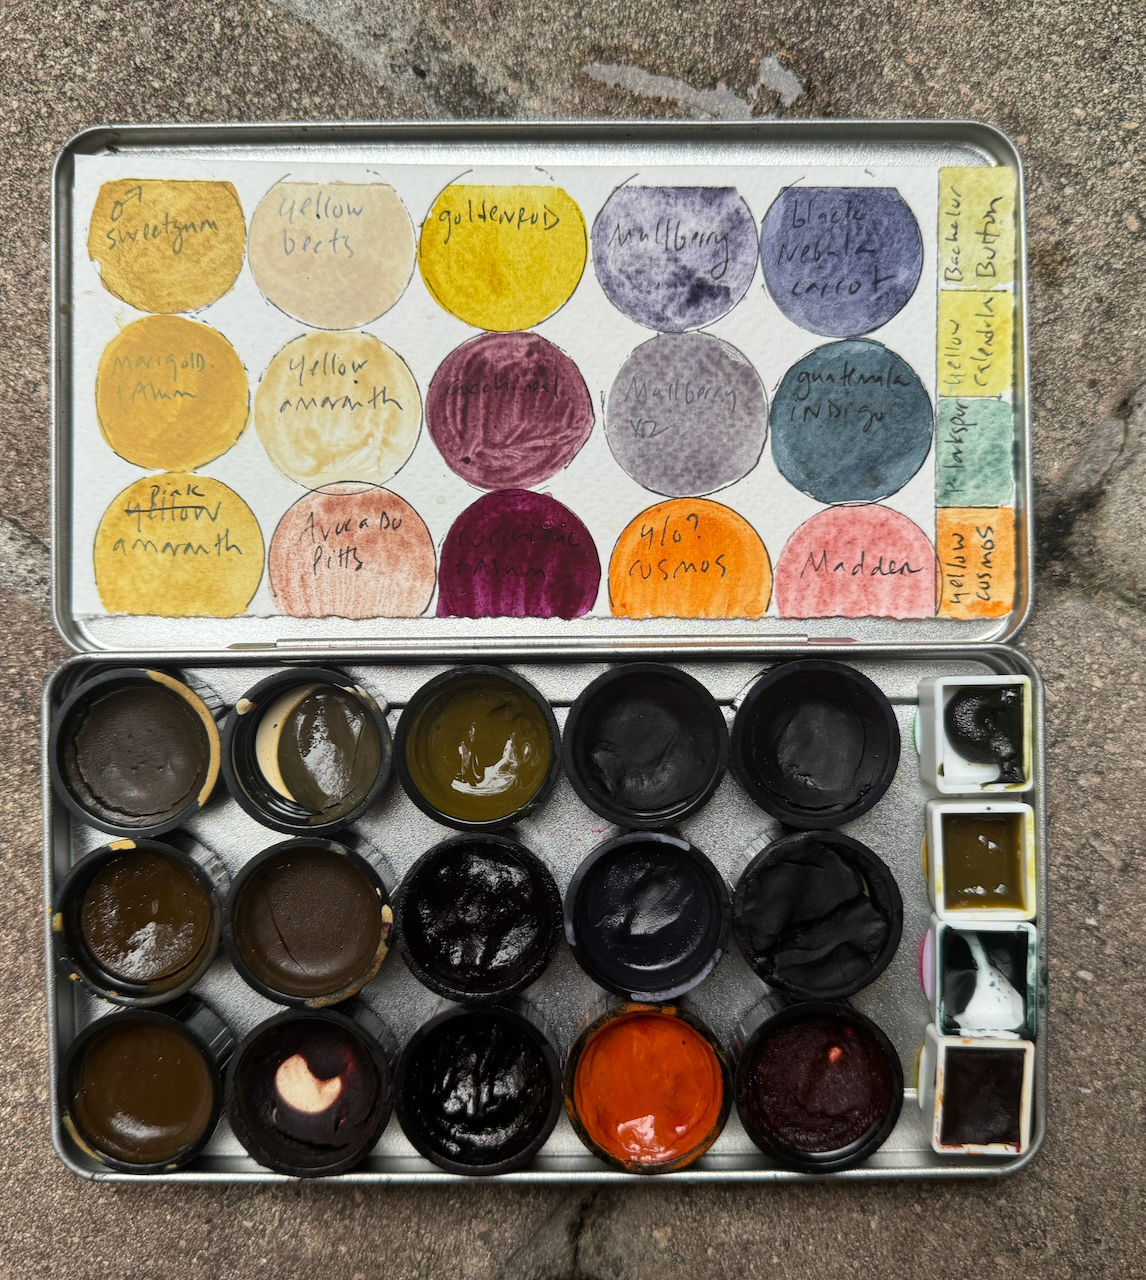
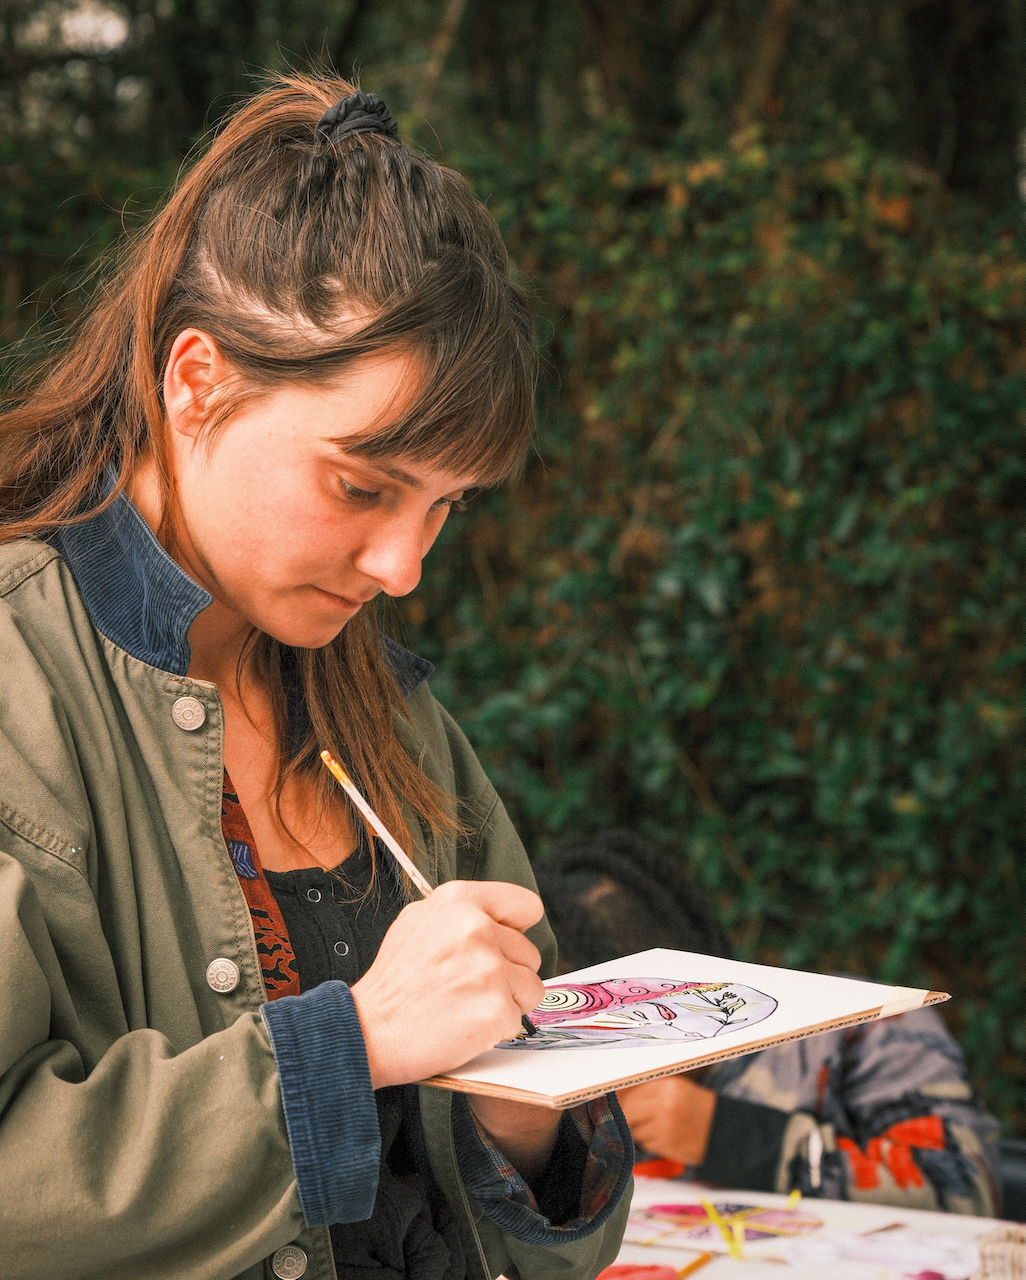
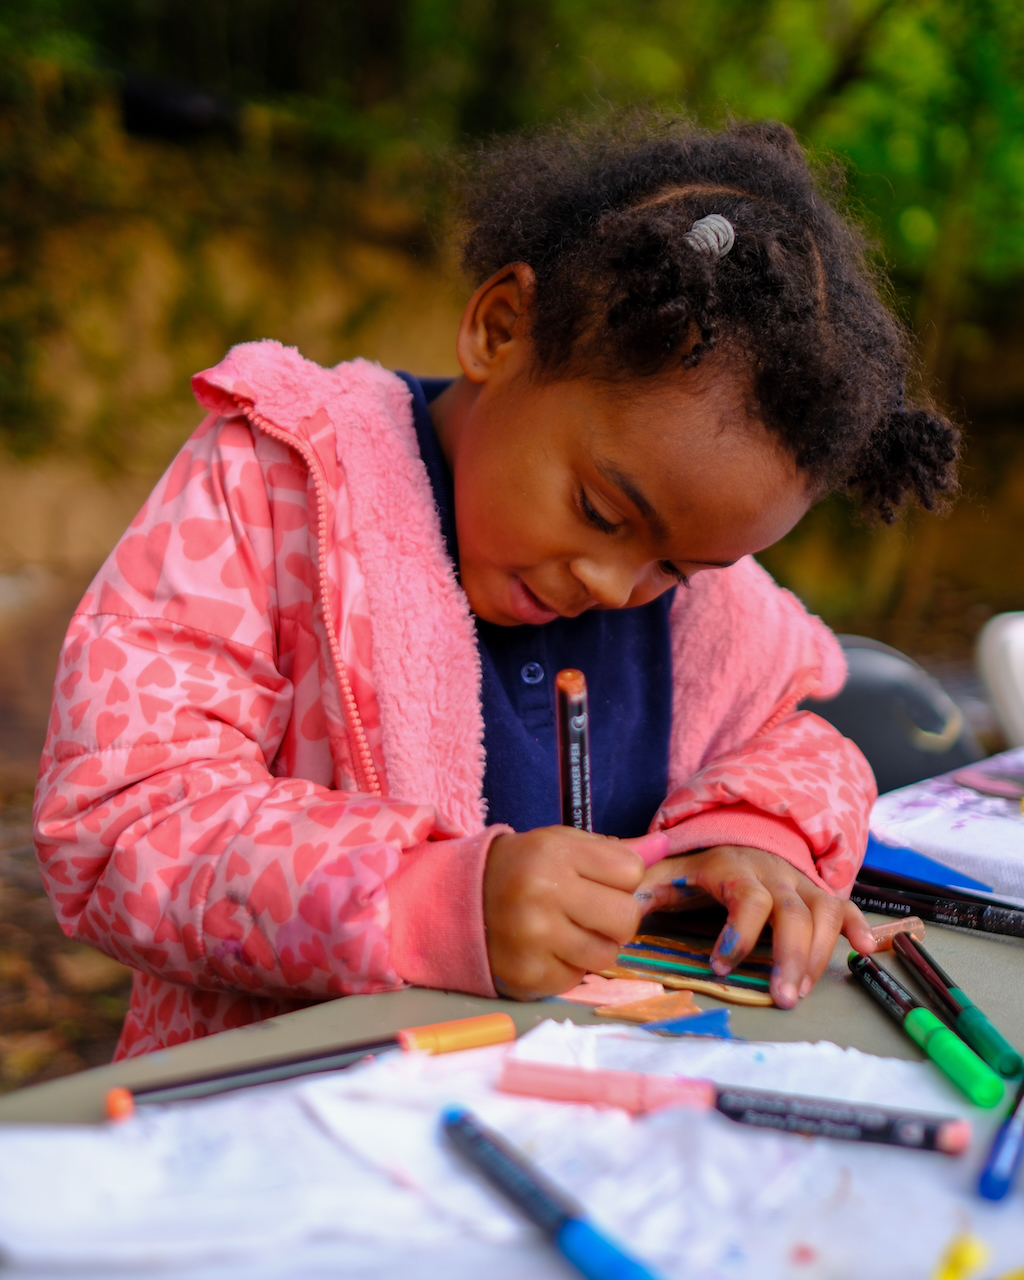
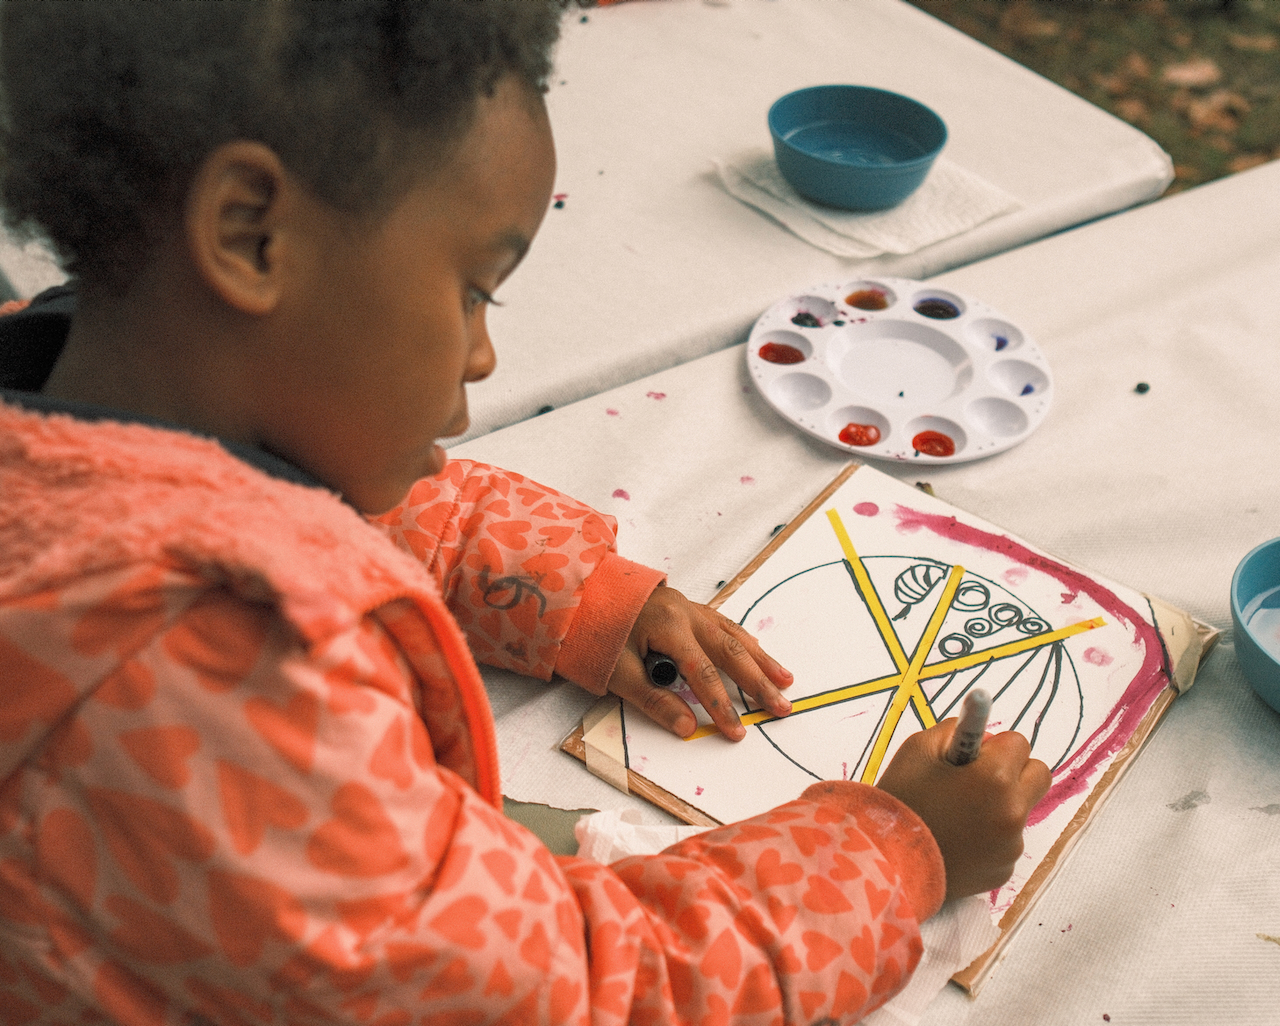
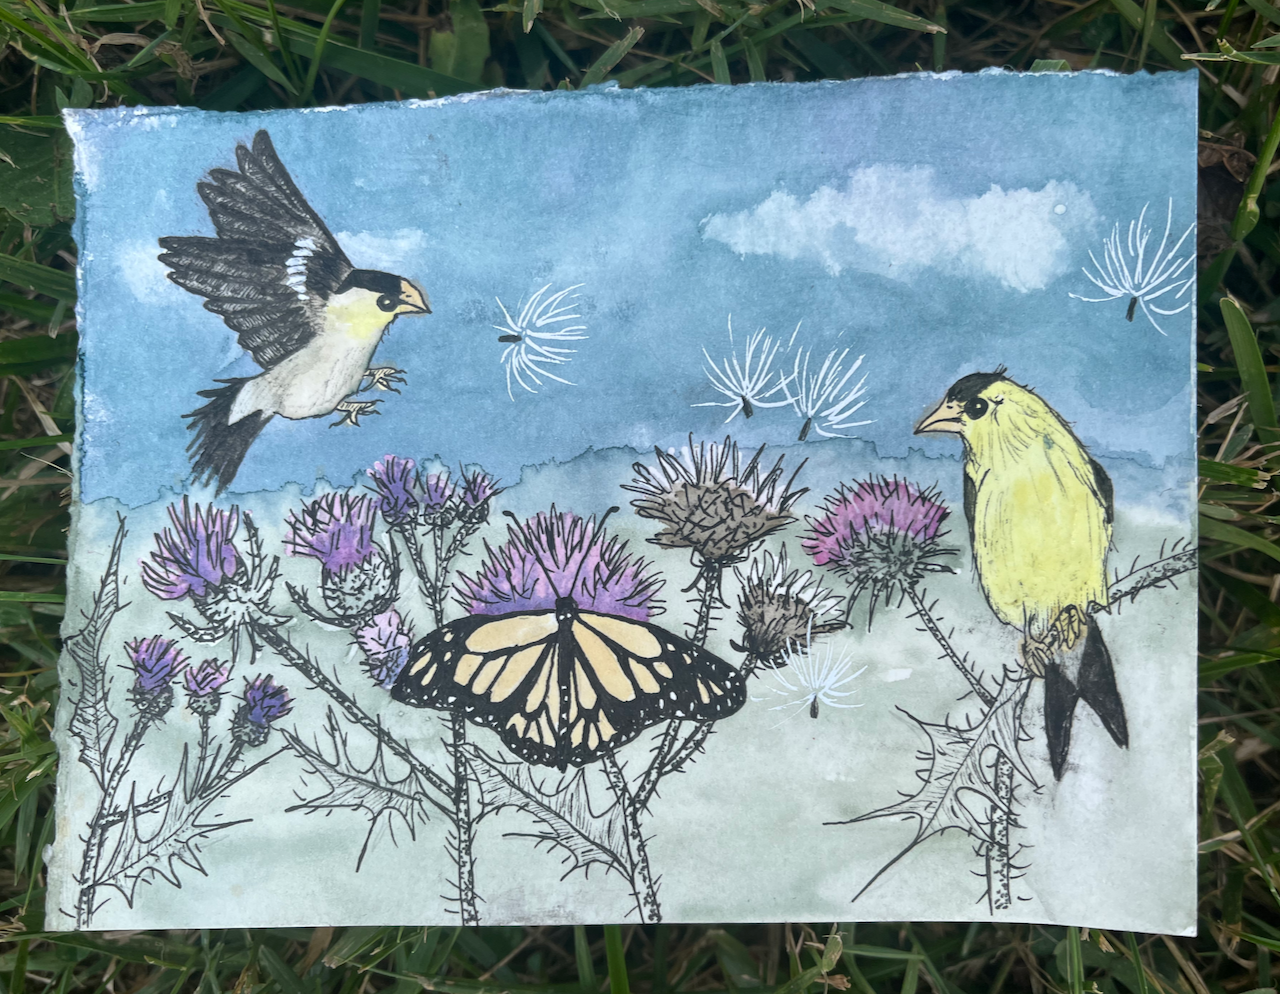
I started with inks and graduated to paints, but keep both for use in my artwork. Much of the artwork in this sketchbook was created with inks. Jason Logan’s book, Make Ink: A Forager’s Guide to Natural Inkmaking is very inspirational.
For lots more detailed information, pigmented plants to find in Florida, techniques, plant info, and lots of my art – pick a copy of my book!
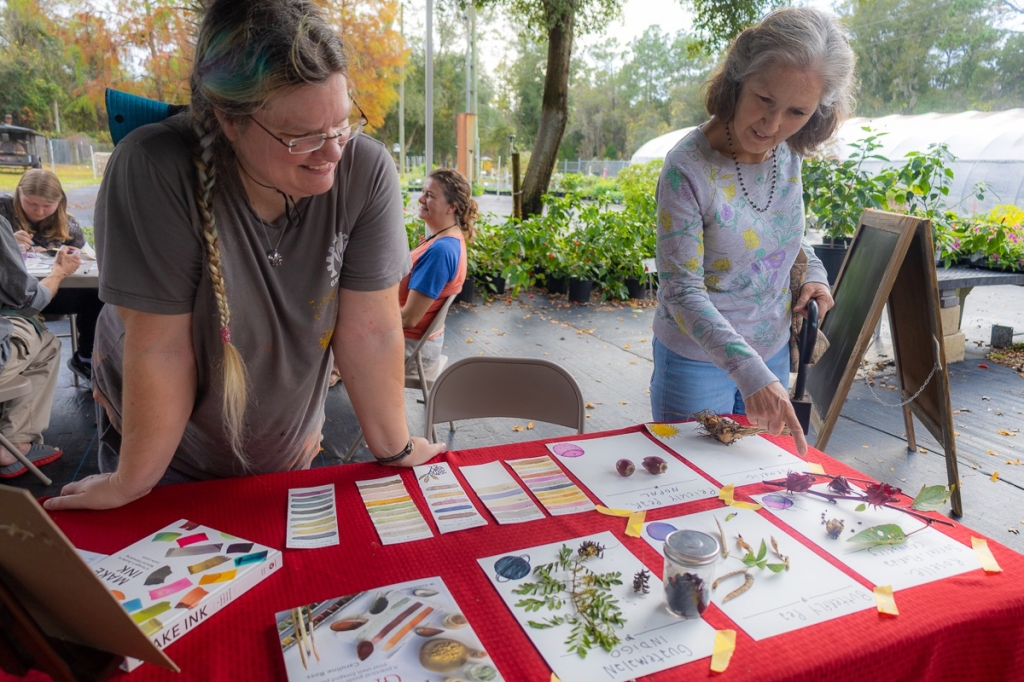
Gather up supplies and ingredients
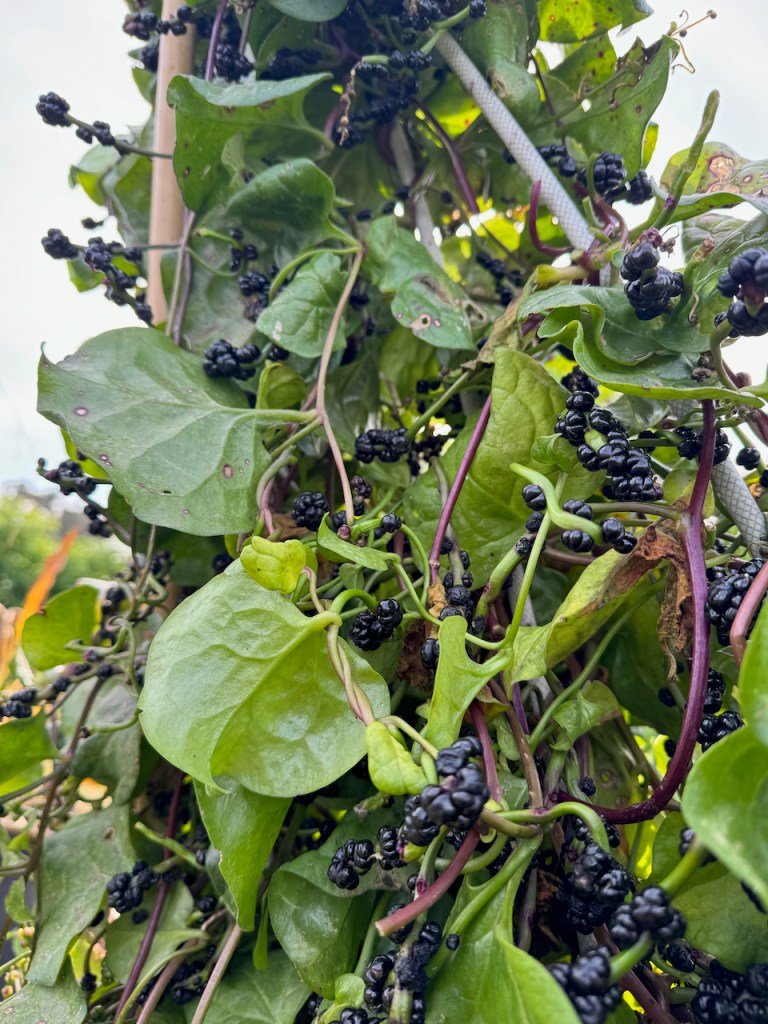
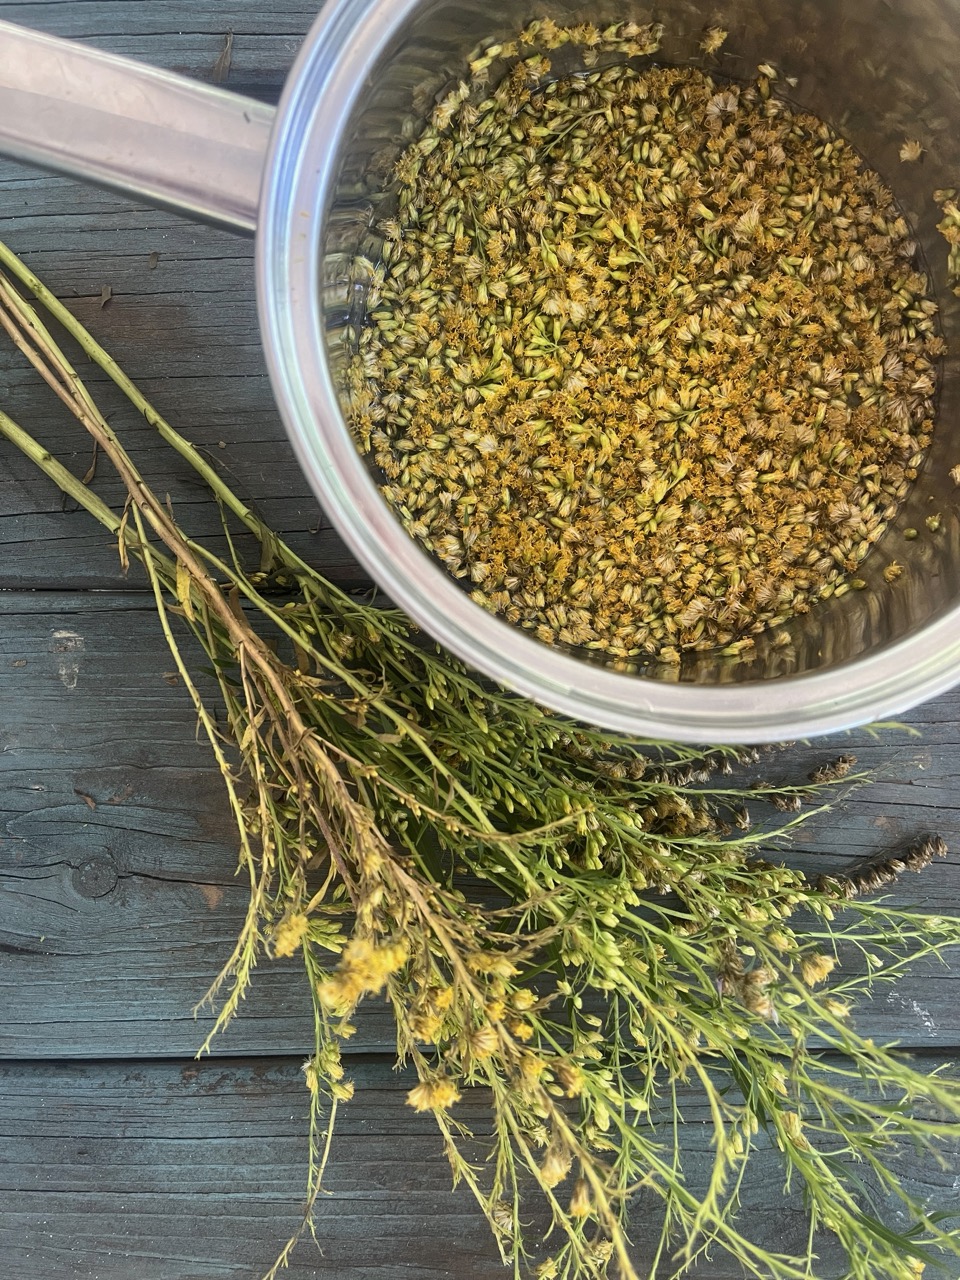
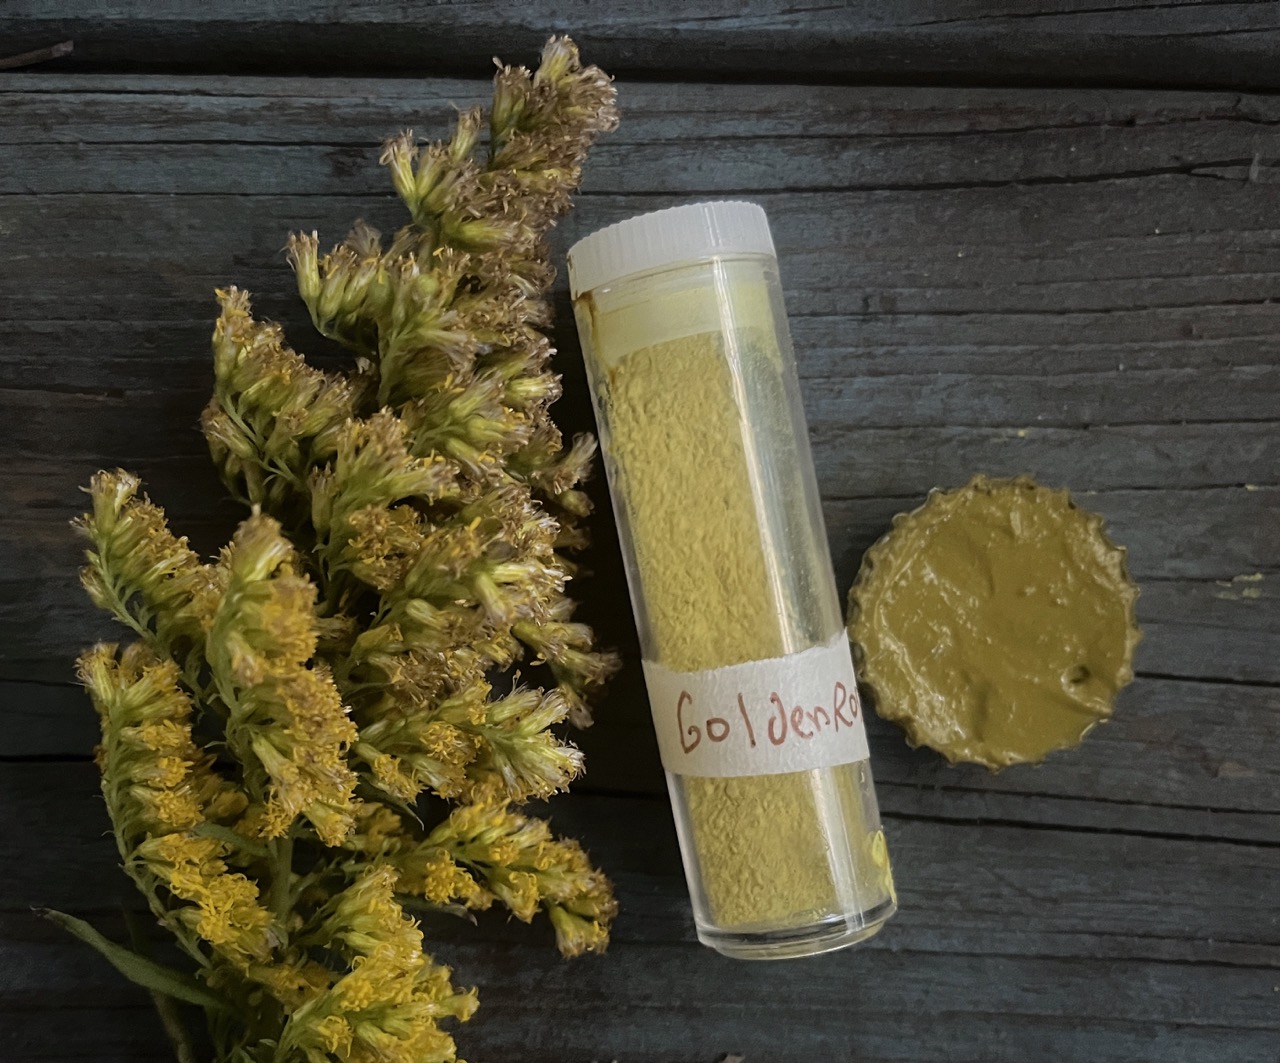
- Plants (fresh, frozen, or dried)
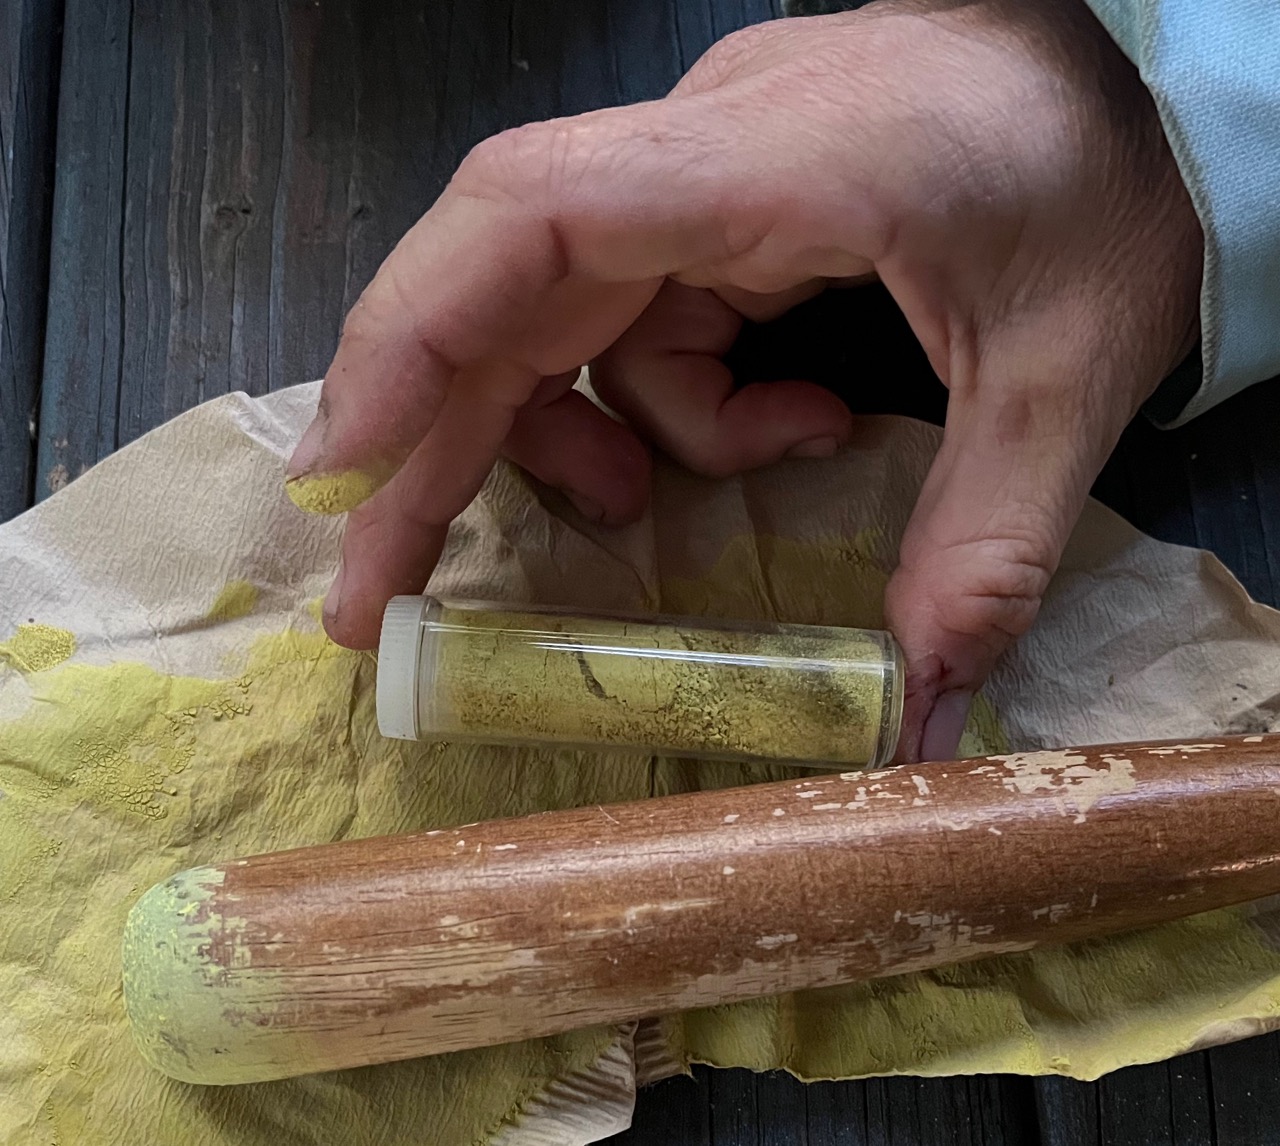
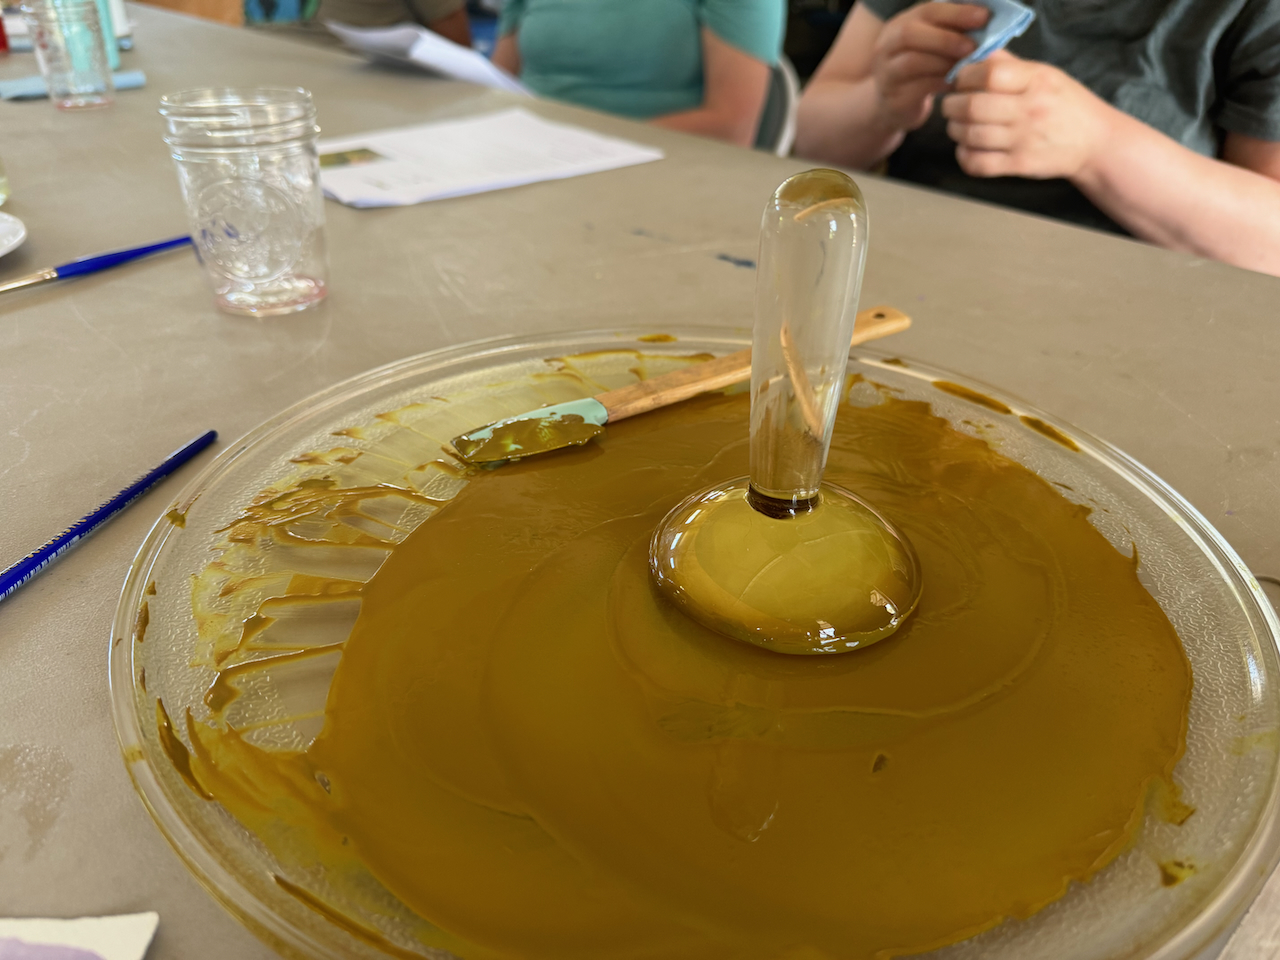
- Muddler
- Fabric pieces or fine strainer
- Pot (that you don’t mind possibly getting stained)
- Watercolor paper (regular paper can’t handle liquid ink, I prefer the more textured and absorbent cold press type)
- Paint brushes
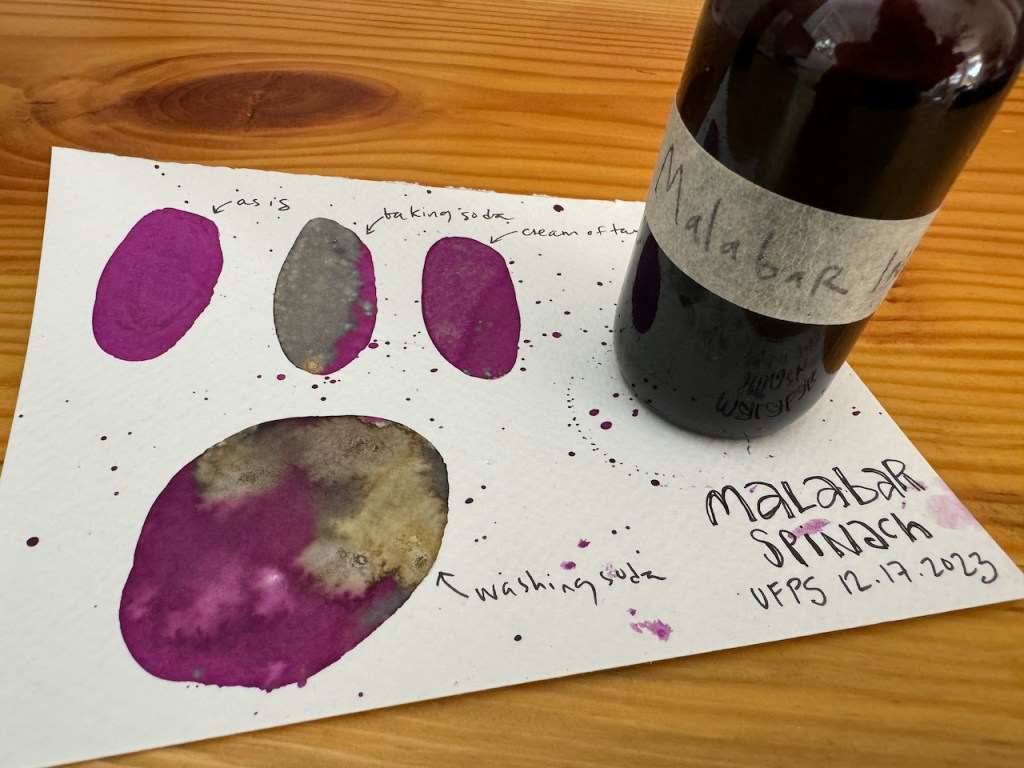
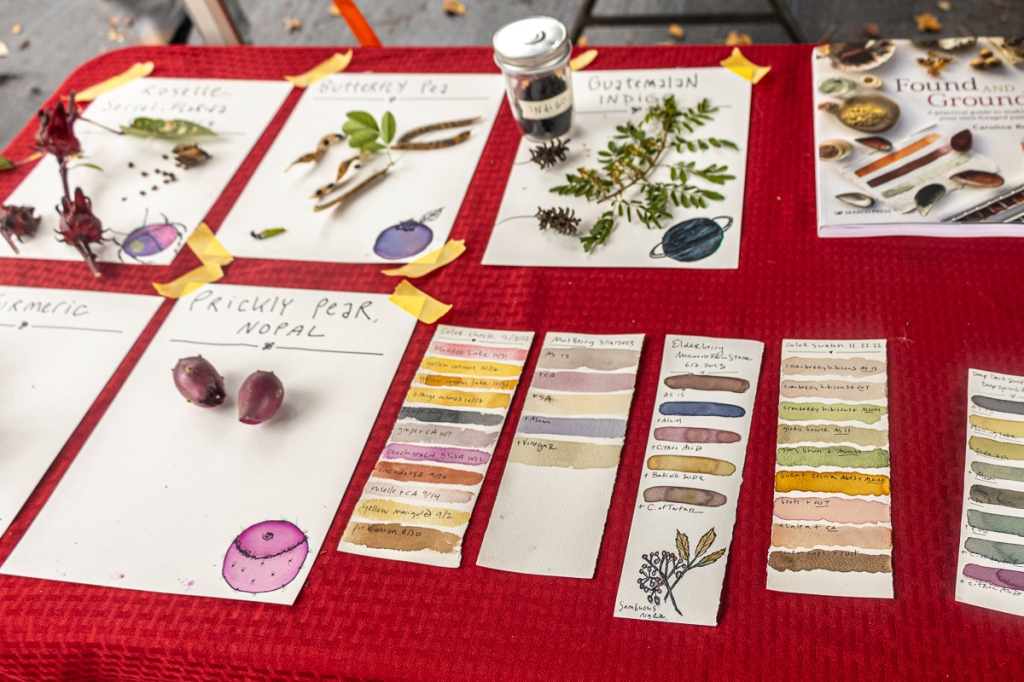
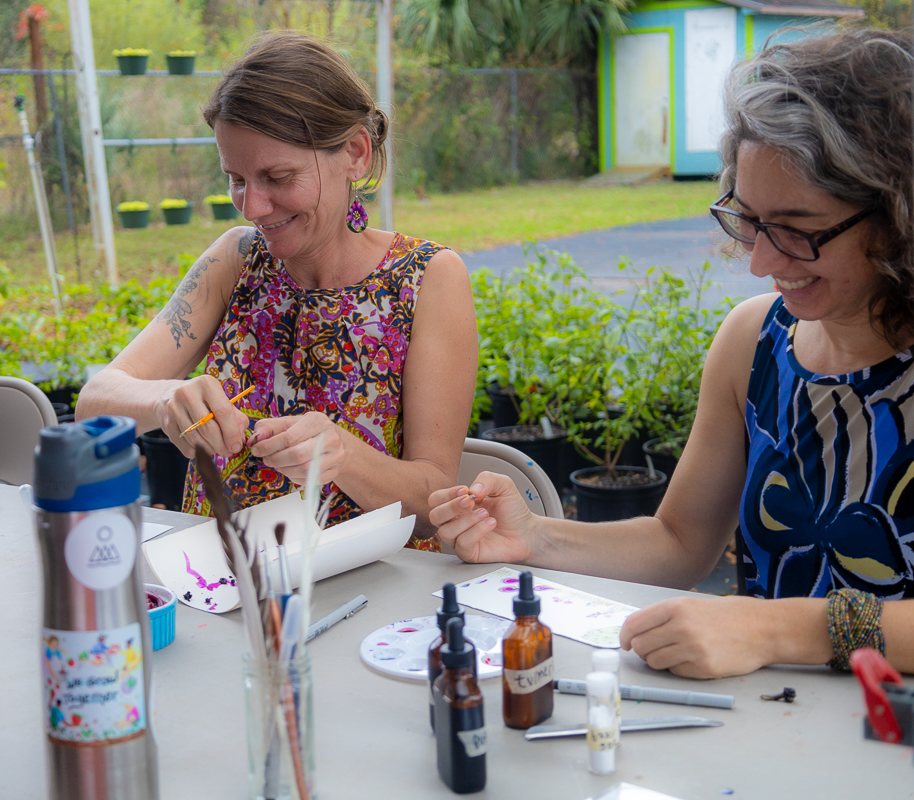
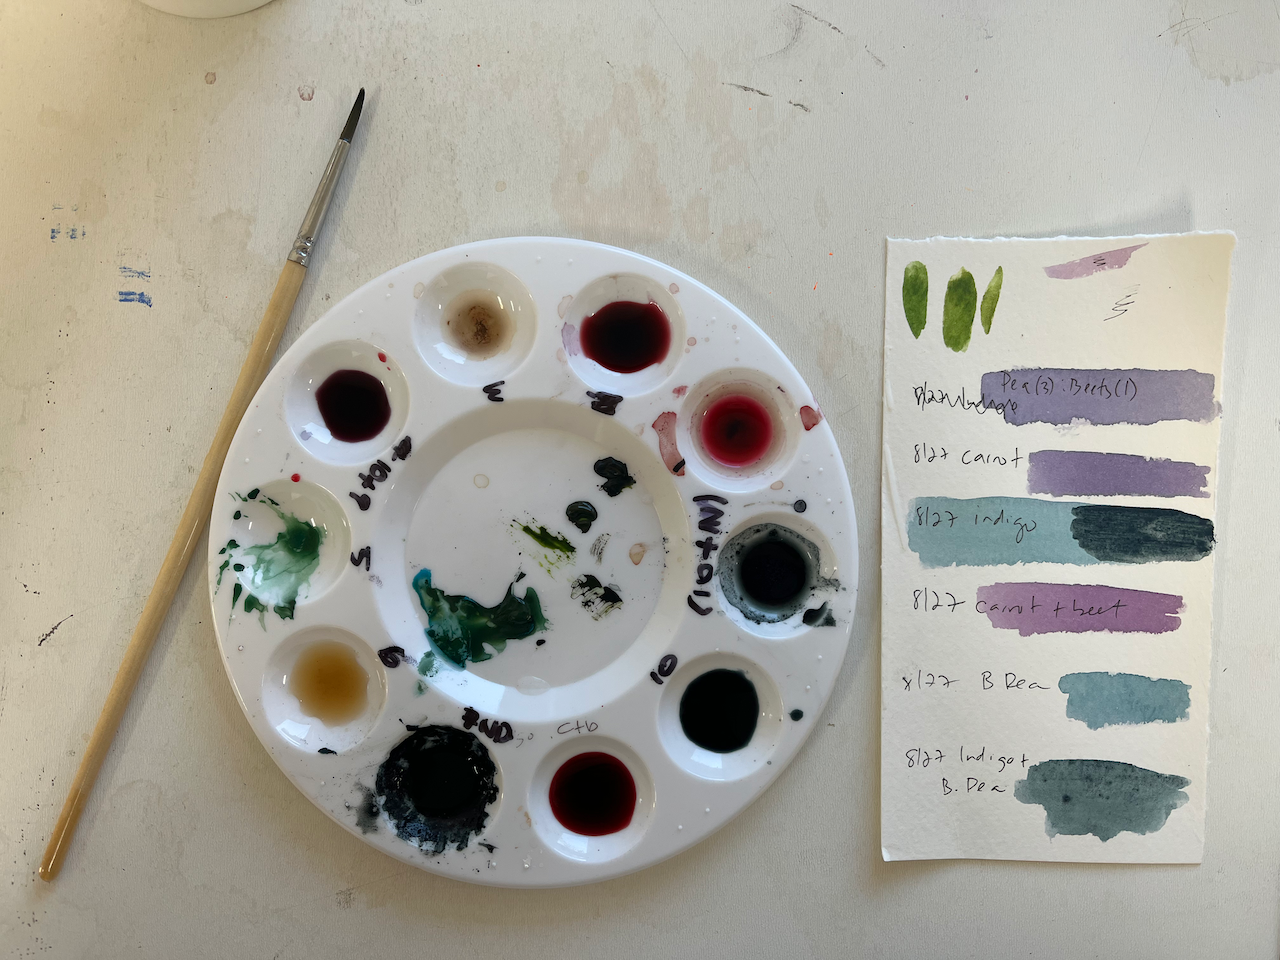
- Optional chemicals to initiate pH induced color shifts:
- Alum, citric acid, cream of tartar, lemon juice and vinegar are acidic
- Baking soda and soda ash are basic
- Jars, dropper bottles or other small vial with a leak-proof lid
- Watercolor medium and preservative. See here for recipe.
- Clove or thyme oil as preservative
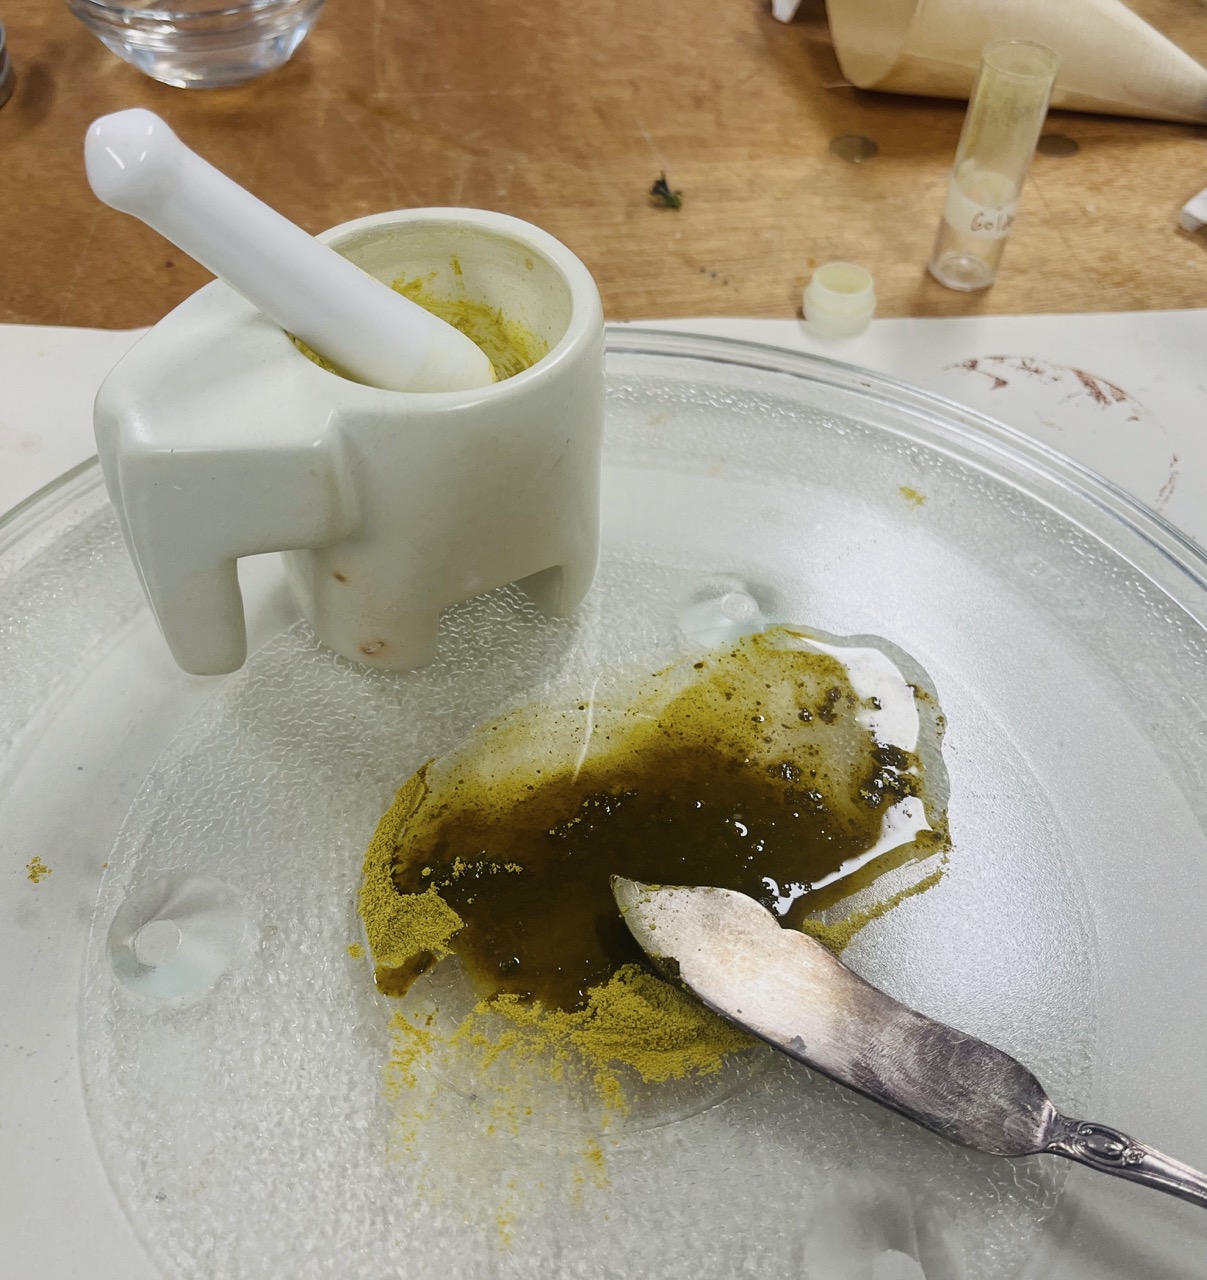
Process
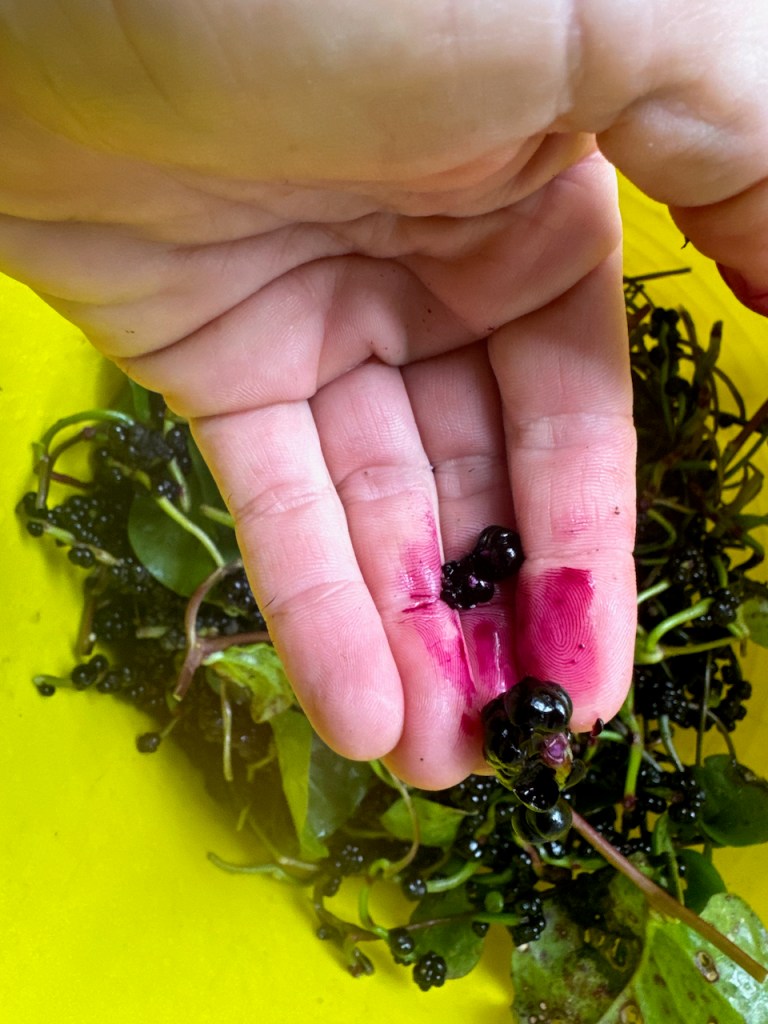
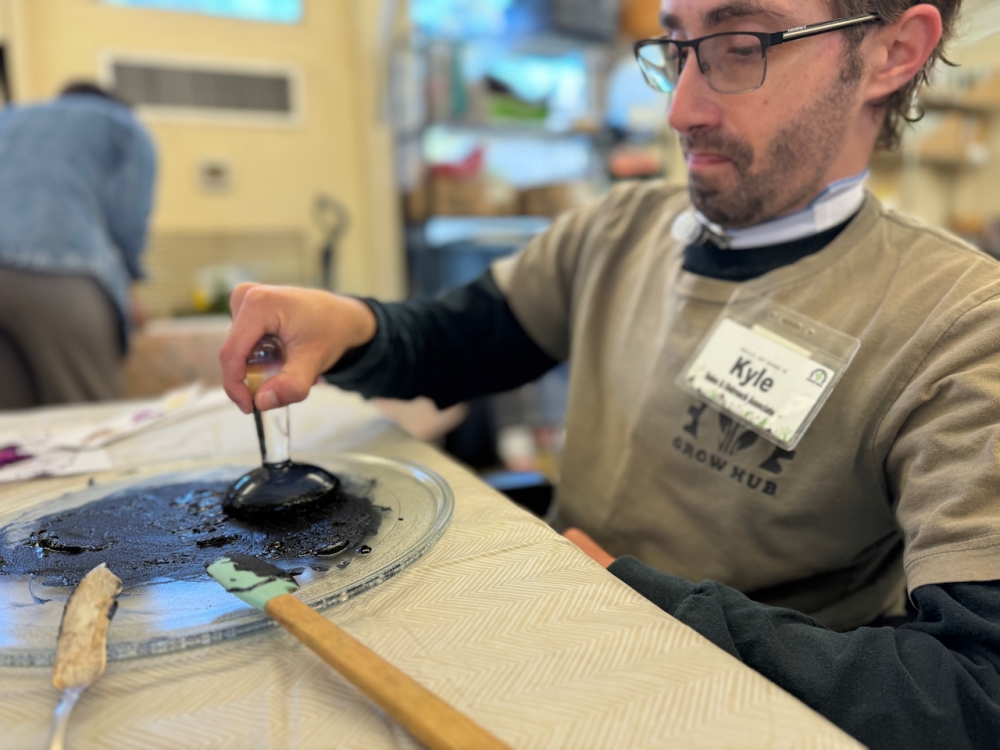
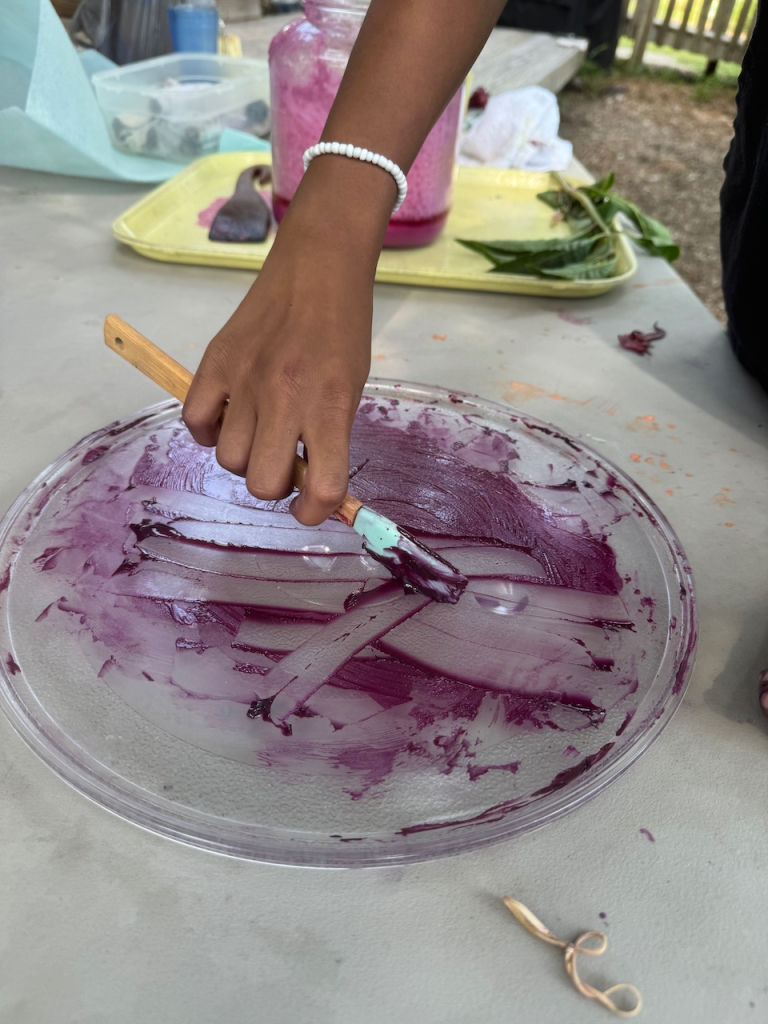
- Simmer plant material in water (except for berries that may not need additional liquid), muddling several times. 1-2 hours for flowers and petals, much longer for bark, roots and other tough materials. Simmer until a rich colored and concentrated dye is obtained with as little water as possible. Cut the heat and rest overnight. Repeat again if needed to allow tough plant tissues to break down further; likely not necessary for delicate petals. Avoid burning and boiling. Attend your pot closely, set timers periodically so you don’t forget to check!
- Allow liquid to cool enough to handle.
- Squeeze out all plant material through a cloth or very fine sieve. Compost the plants.
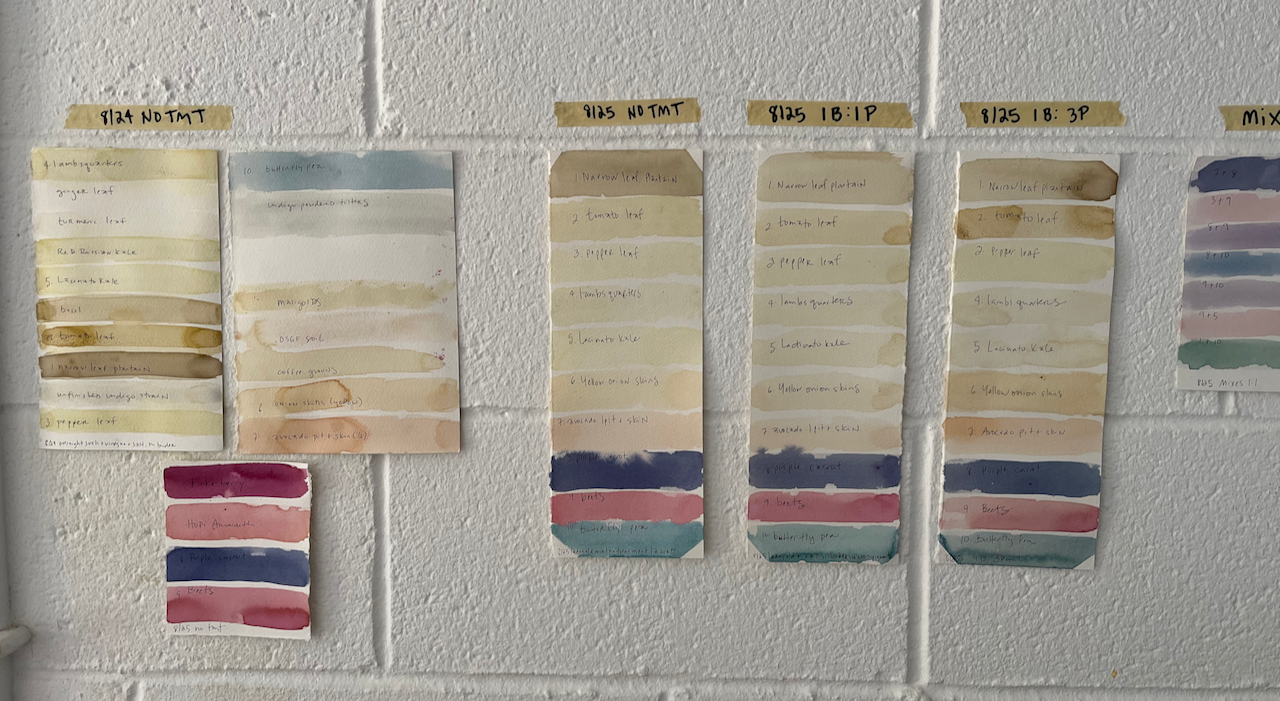
- Pour your new liquid ink into a very clean and labelled jar or bottle. Include plant + date and anything else you want to capture. A separate notebook is good for the finer details you can’t fit on a small bottle.
- Optionally, add 1 part watercolor medium to 3 parts ink, or approximately 10 drops to 2 ounces of ink.
- Add a drop of preservative oil, shake to mix. Store in refrigerator ideally but will last weeks or months at room temperature.
- Alum, copper, iron oxides and cream of tartar may be used to make the ink more permanent. Experiment with what works for various hues.