I love outlining and detailing my paintings with fine ink. But even the best artist quality ink pens have been a huge pain in the butt, always getting ruined when trying to draw over dried paint. It feels wasteful, all those plastic pens just giving up so easily. And I’m constantly scribbling them on a separate page in attempts to revive them, only to just get a few more lines before they crap out for good. I had an aha! moment while enjoying another amazing artist residency program at Oak Spring Garden Foundation.
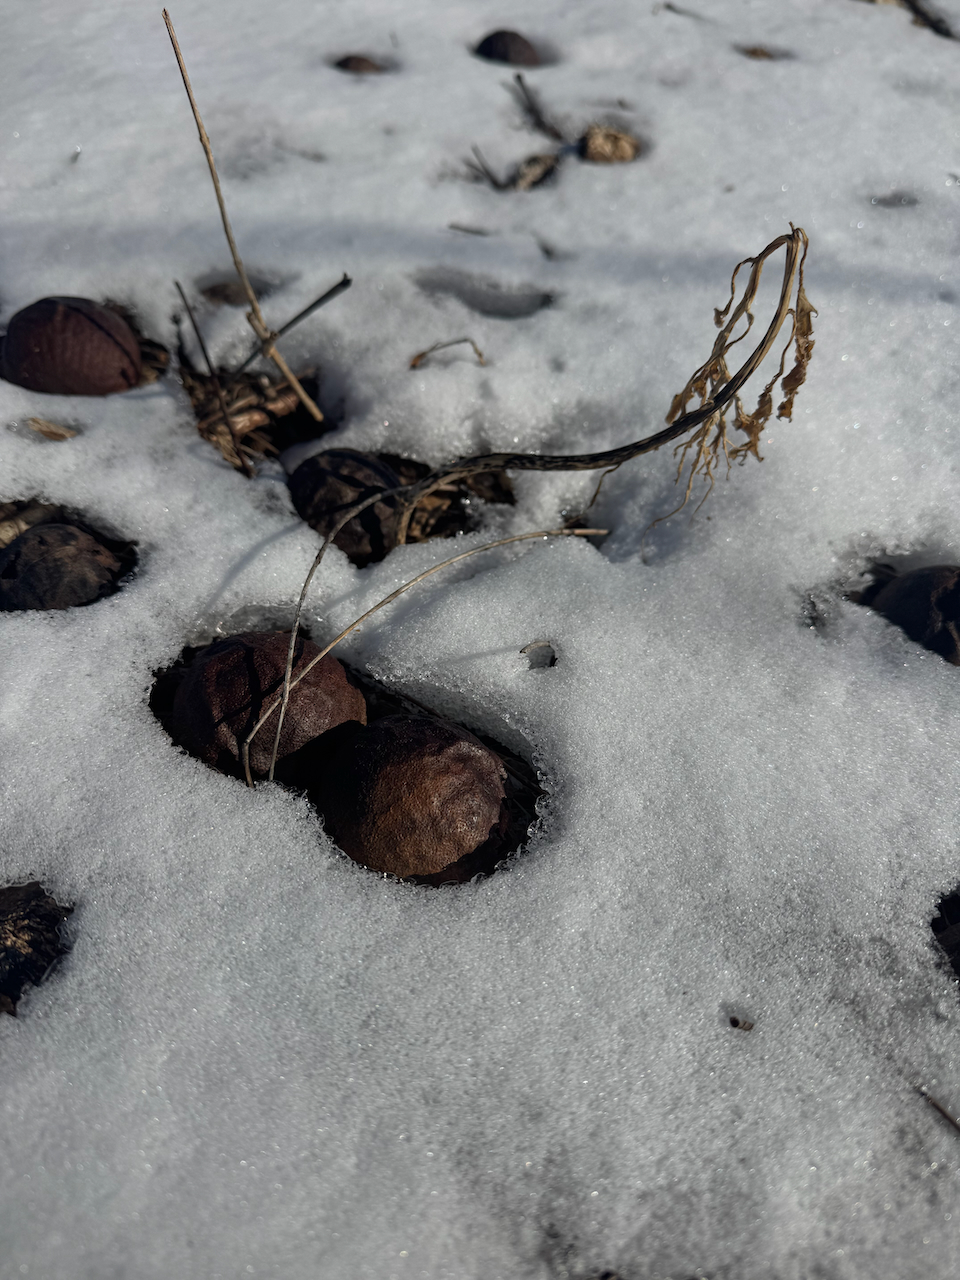
I arrived here in Virginia in mid-January. Not a great time to forage for botanical inks, but a good time to stay indoors and be creative. I happened to be here during the Arctic blast system that sent snow to Florida! The highs were in the teens, lows in the single digits for many days. All the plants are dead or dormant. But I did know from the previous times I roamed about in warmer weather here, that the stand of Black Walnut trees behind the farm might have some fallen and frozen fruits. I just couldn’t help myself, so I got on all my winter gear and wandered around, trying to remember where exactly those trees were, and then searching around the ground underneath for the fruits once I found them.
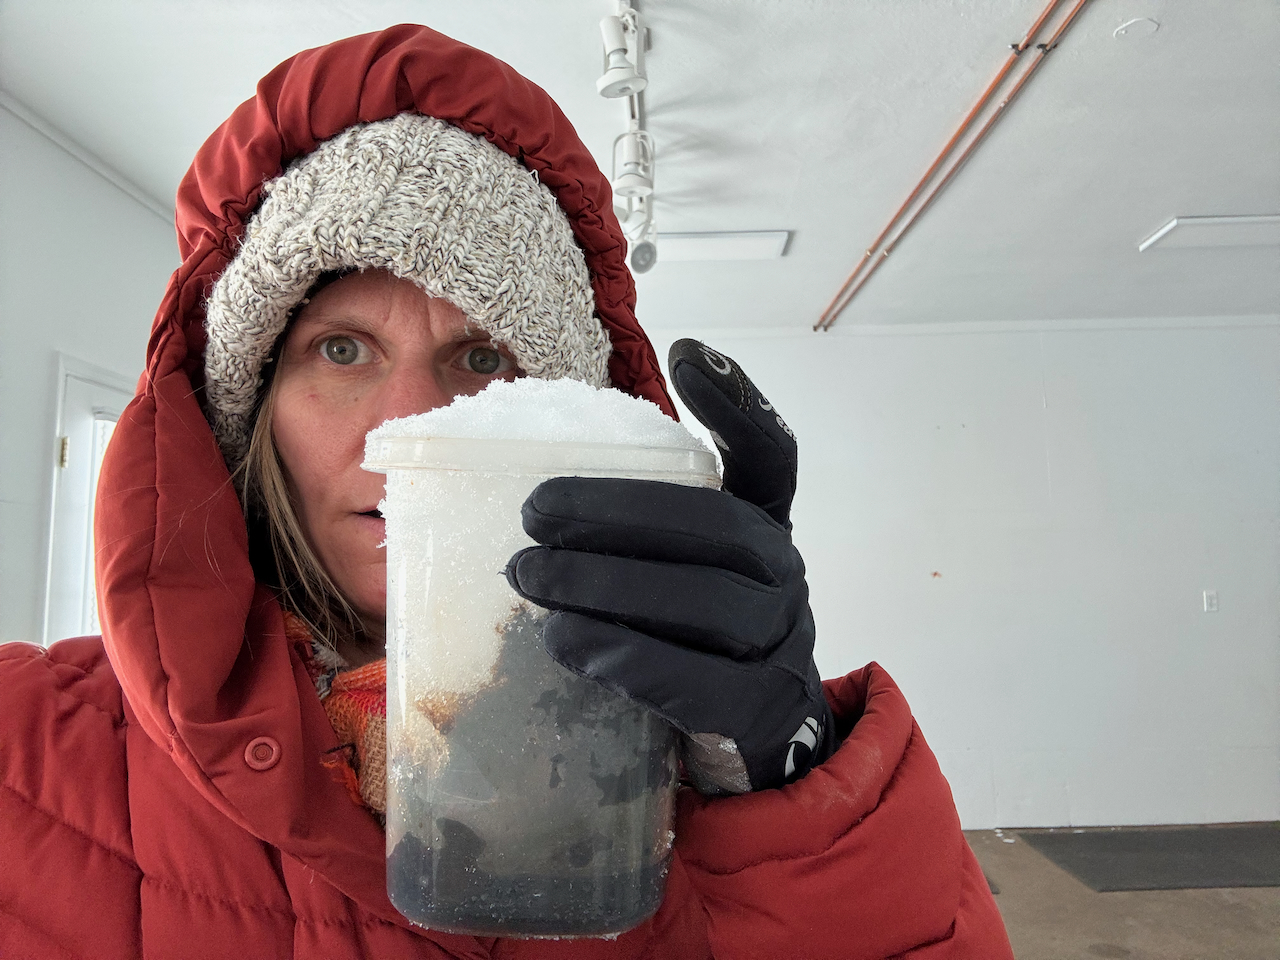
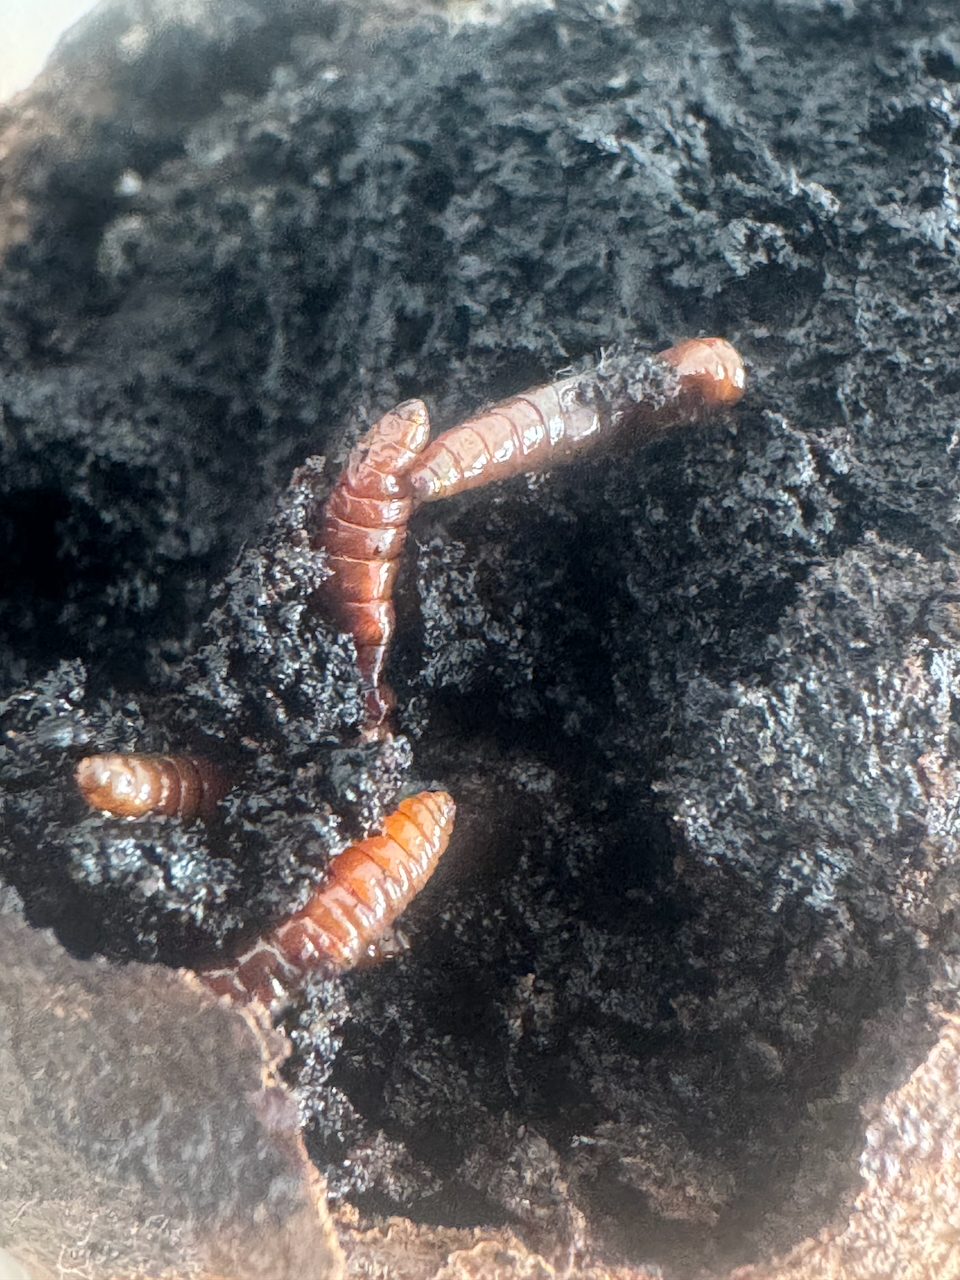
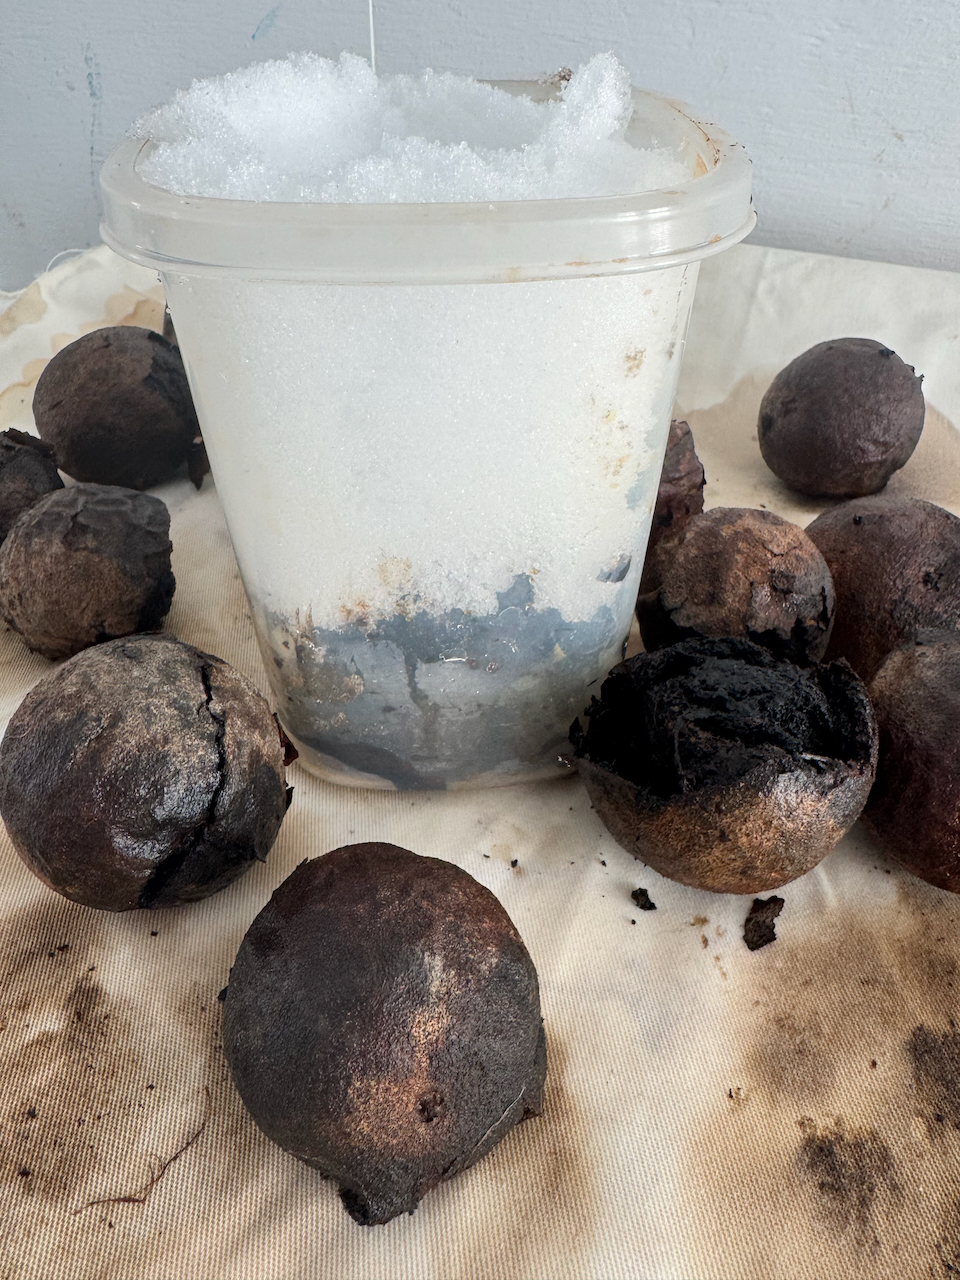
I found some in the snow, decomposing. Yay! I gathered a few, washed them off, and then let them soak in snow for several days in the studio. One had some dead little grubs inside, so I accidentally took some winter bird food away from the critters. Although I wonder what they taste like, soaked in that intense tannic juglone chemical that keeps many other plants from growing nearby.
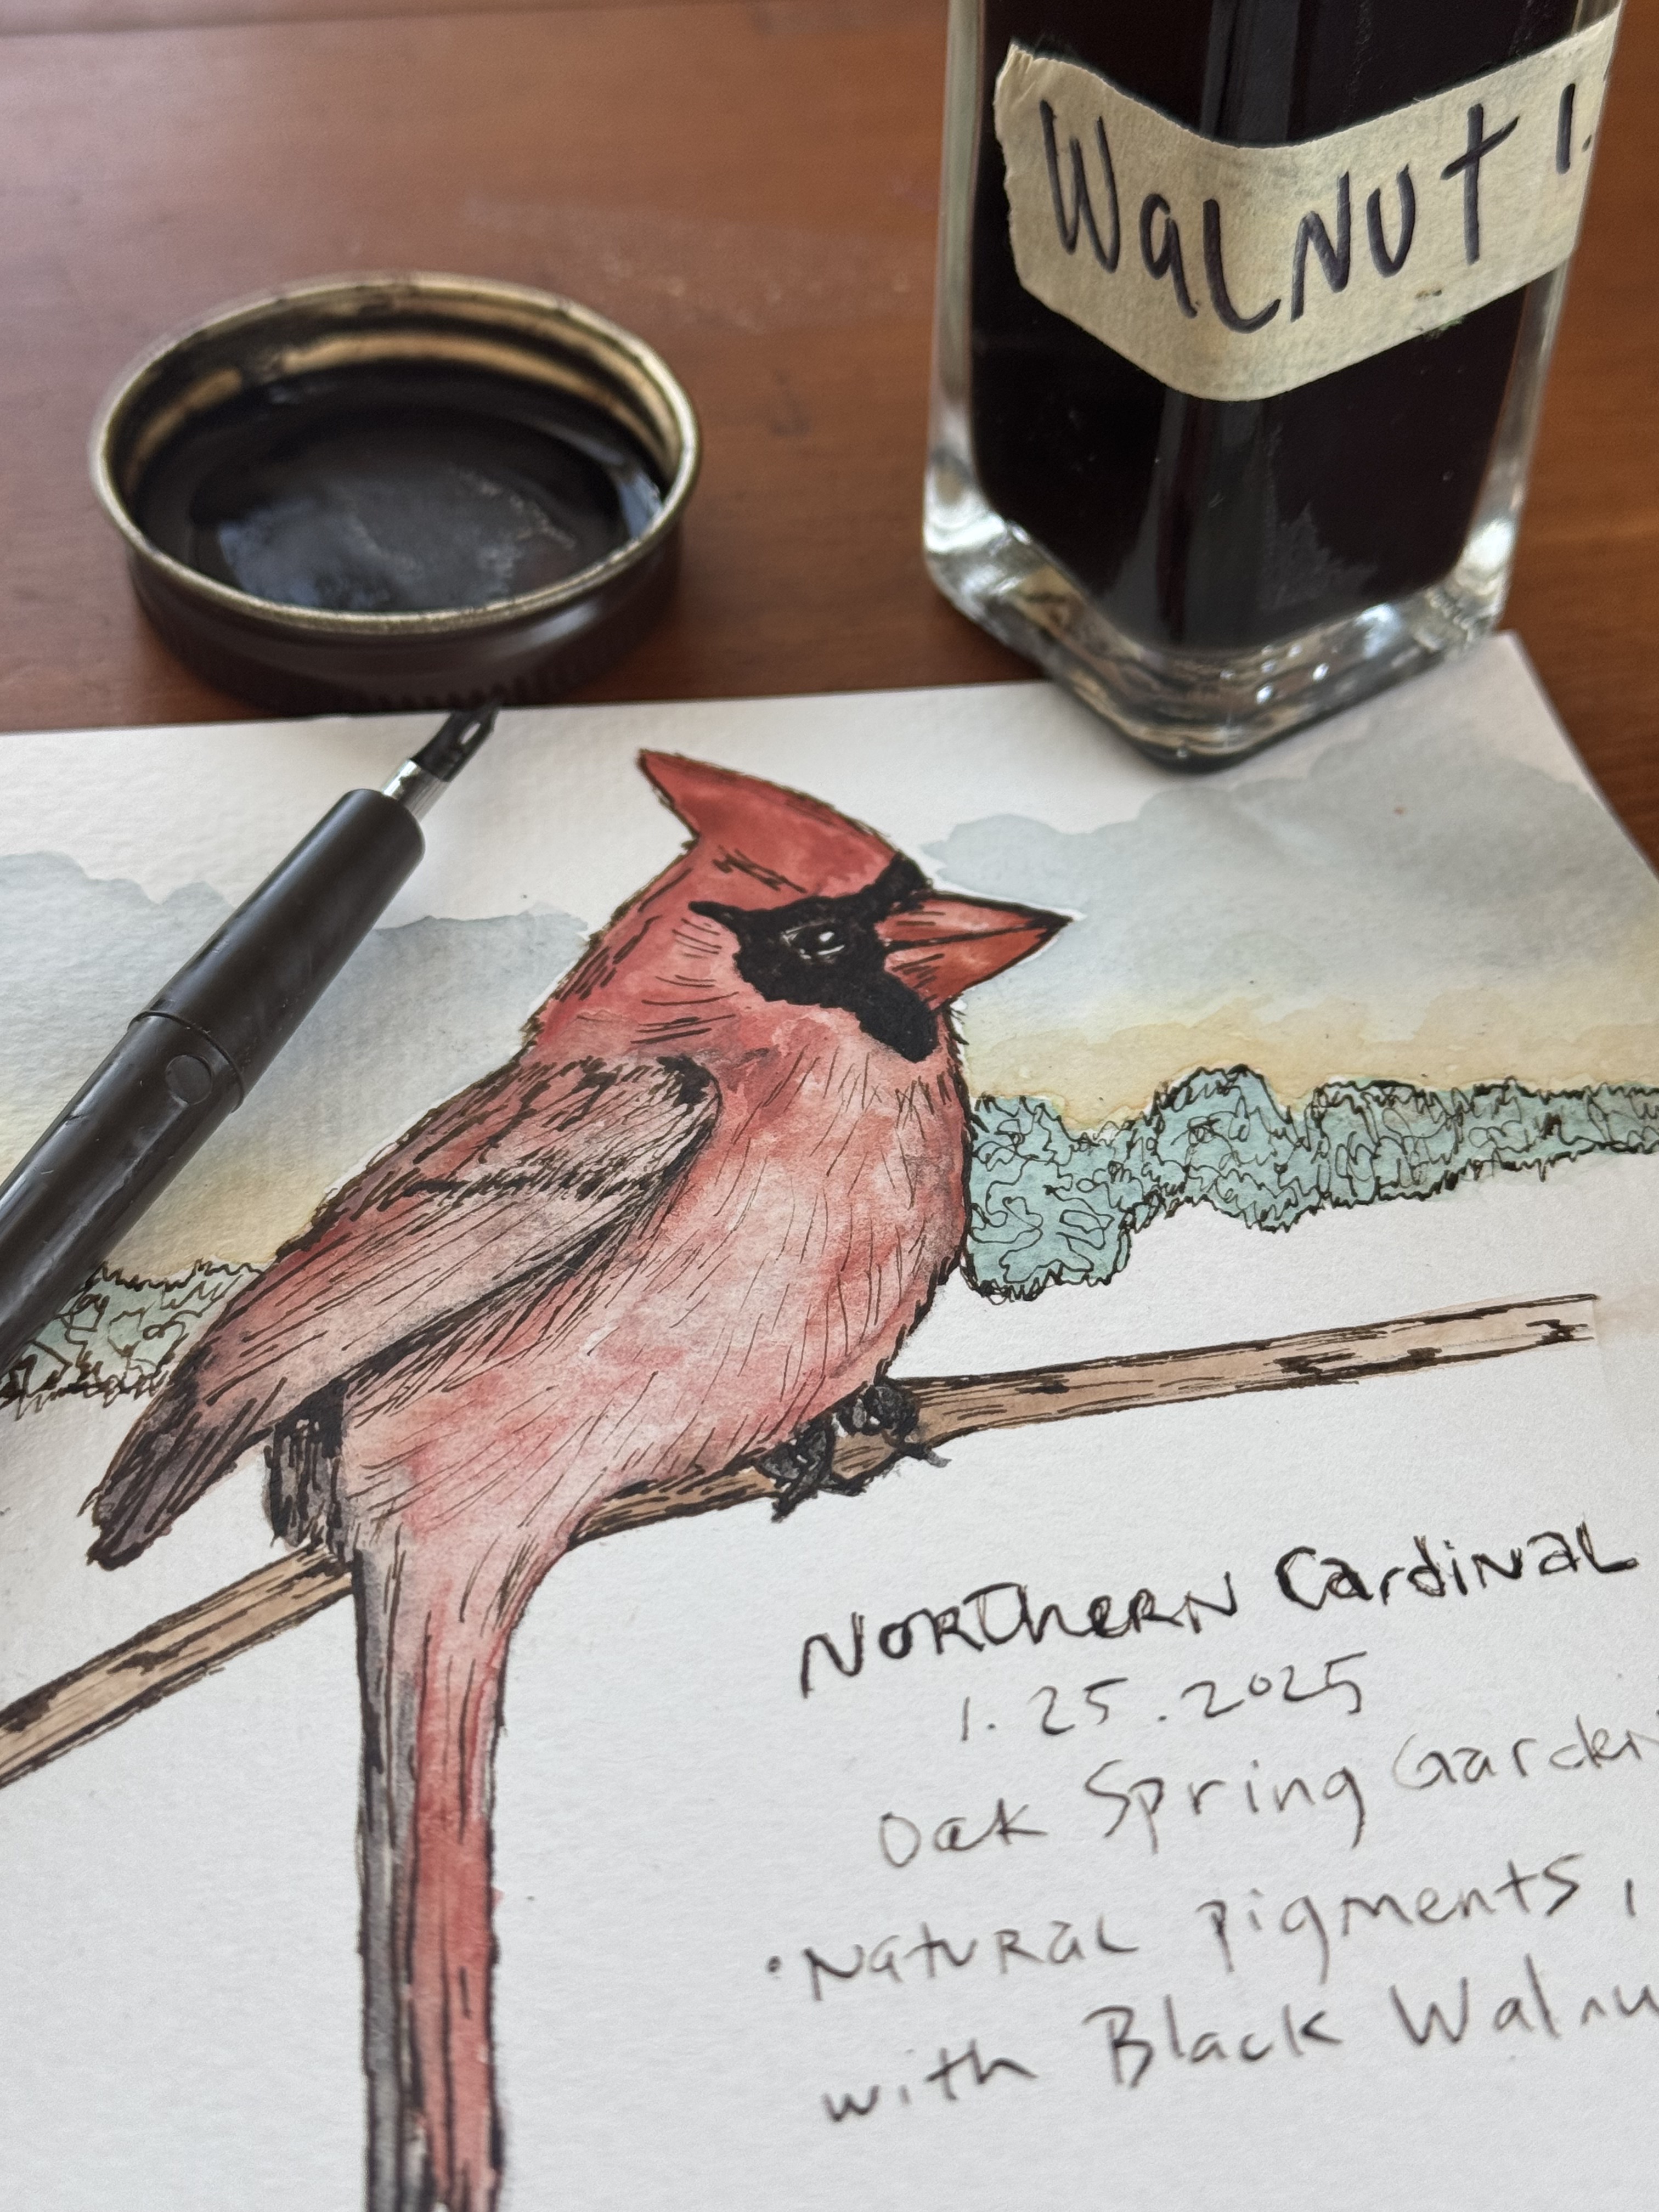
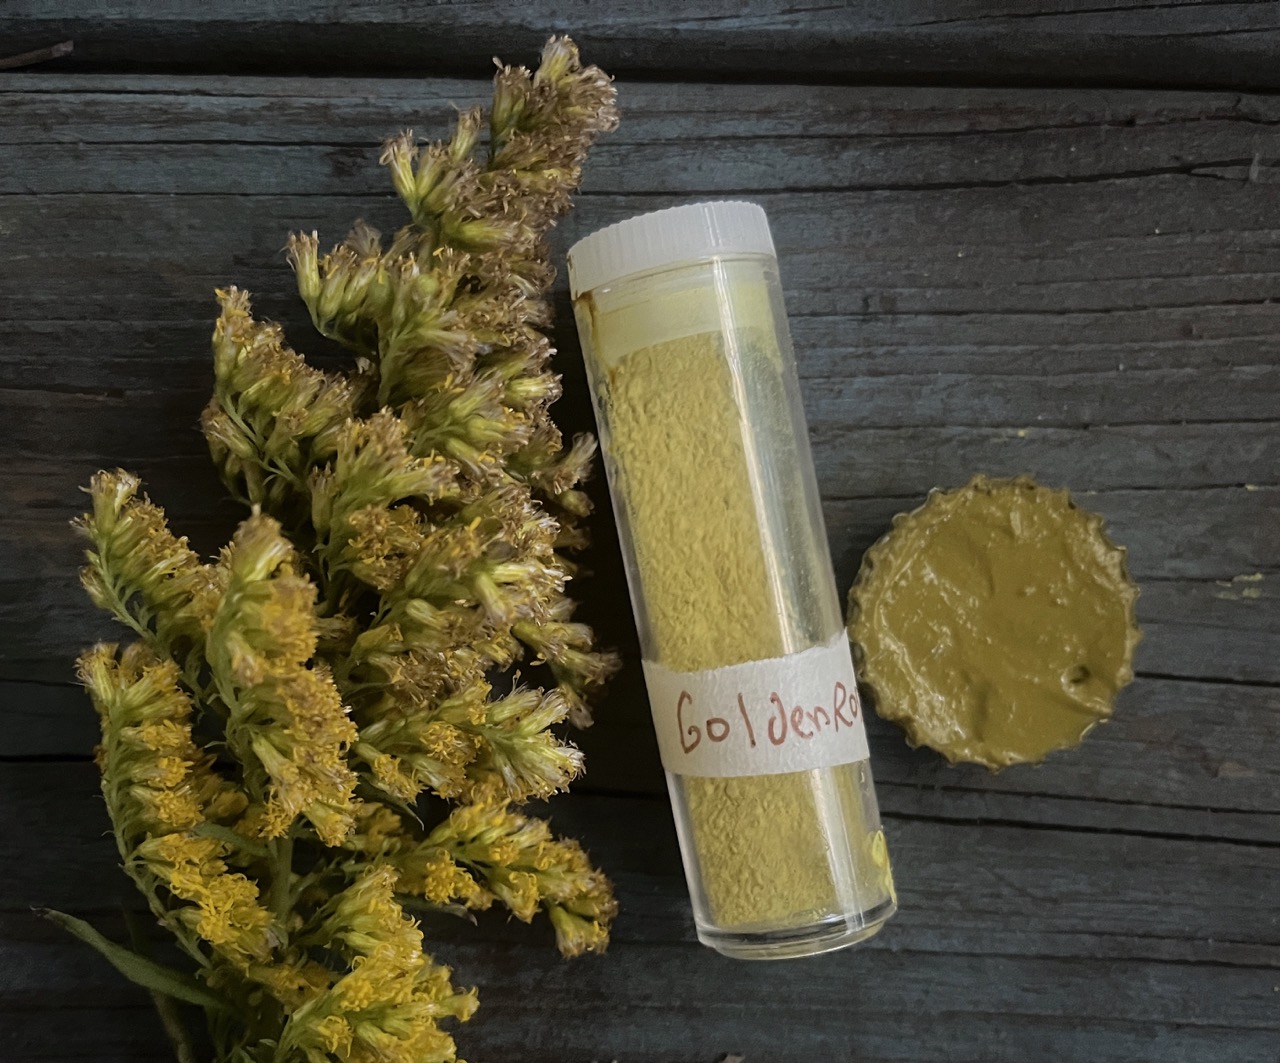
After soaking in melted snow for a few days, I gently simmered the watery brown liquid for an hour or so until is was concentrated enough to my liking. I then strained, bottled, and labelled a little jar – and that’s it.
As I was doodling and painting various birds and getting frustrated again with those dang pens, I wondered….could I find a dip pen and try my own recently made ink?
It seems anything you need at this place, appears if you ask. When I first arrived, I inquired about a humidifier for my room, as the dryness was parching me. I’m so used to Florida humidity, and not adapting well to the cold and dry. Headaches, thirst, bloody nose. Ugh. The next day, James (our artist resident coordinator) showed up at my door with one! So I asked – might there be a dip pen around I could borrow? And there was!
So I tried my freshly made walnut ink and it’s a dream! The detailed lines I got with this simple pen were amazing. Neither the ink or pen were ruined by the paint at all. I was delighted and surprised at how long the ink lasted in the little dip pen reservoir, before needing another dip.
This is a game changer for my work. I can now use my own handmade inks and avoid wasting plastic pens. It’s also really pleasurable to hold an old and effective tool in my hands, doing slow and methodical work.
The only downside I see thus far, is that that the walnut ink is not waterproof. So I can’t paint over it once the final lines are drawn. This particular nib also seemed a bit scratchy, maybe from being practiced with by amateurs like me. Perhaps a new one, in a more skilled hand will glide better. It will also likely work better on smoother, hot press watercolor paper compared to the cold press and more textured paper I tend to use.
I have so many colorful botanical inks in my collection, and can’t wait to try them! I just ordered a sampler set of nibs and a holder so that I can keep practicing when I get home. I might try making my own version of India ink, from burnt pine bark chunks I have from a prescribed burn site.
I like making both inks and paints, and there are differences both in how they are used to make art, and practically – how they store and travel, how long they last, and how much is involved in the process of making them.
Ink is ancient. It’s been prepared and used for thousands of years, transmitting language on various surfaces. Dark brown ink made from oak galls was used to create many famous manuscripts (like the US Constitution); Leonardo daVinci drew with it.
Basically it’s a concentrated colored liquid used to write with. It is fairly simple to make with fewer ingredients and steps compared to paints, but is perishable, harder to transport, and not as easy to use due to its fluidity. But the fluidity can be a good thing, as colors readily run together and dry in beautiful and unexpected ways. Additives to improve stability and thickness can be used to produce high quality ink.
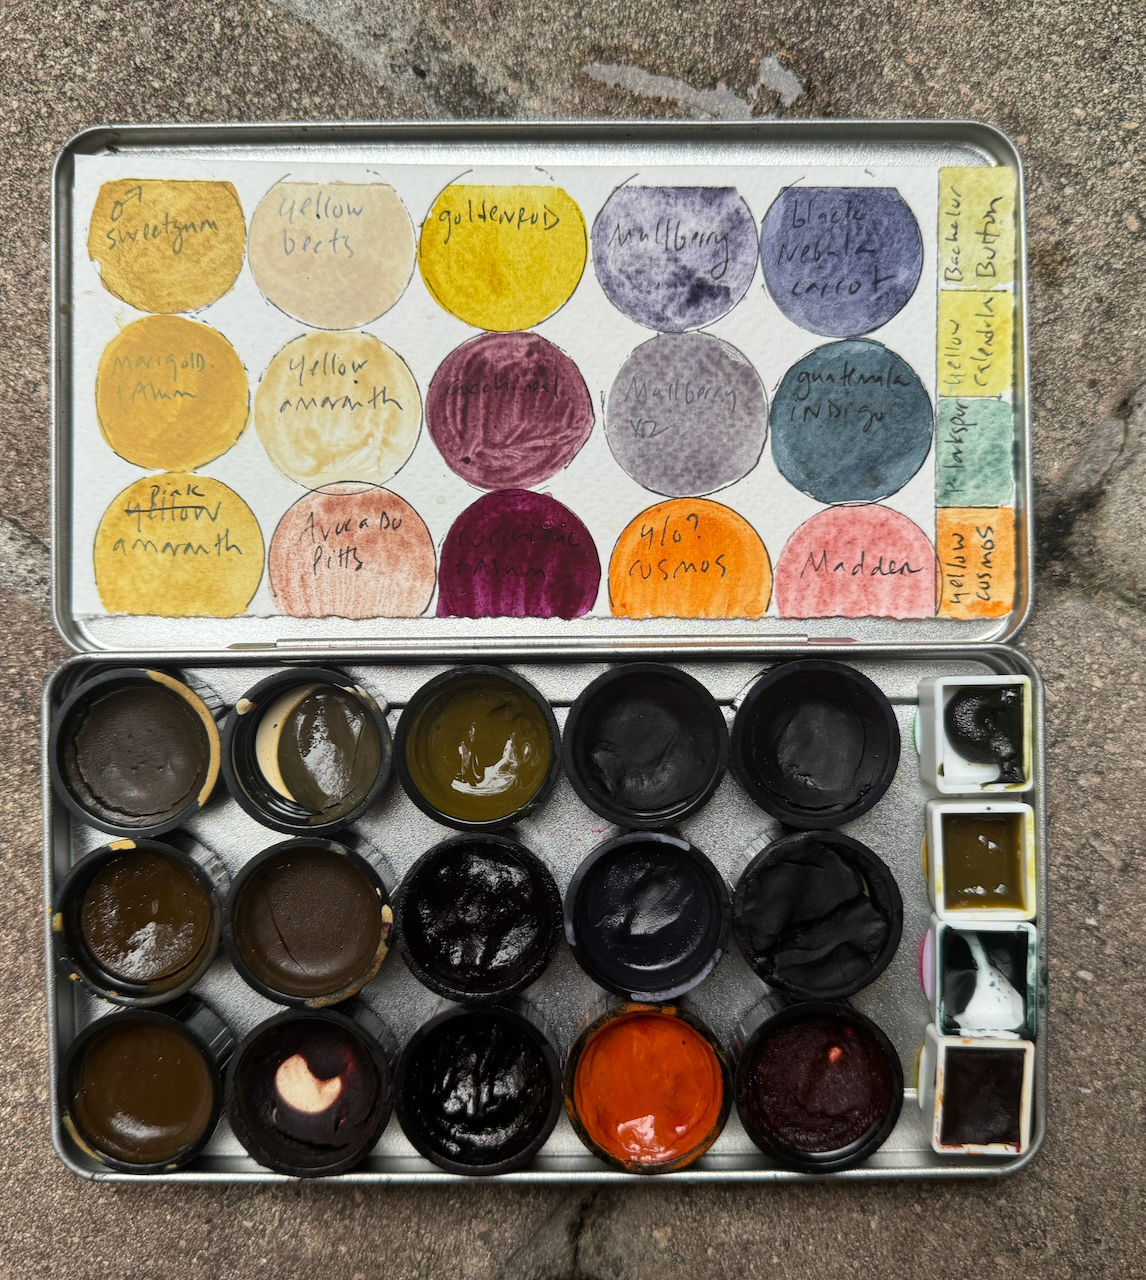
I started with inks and graduated to paints, but keep both for use in my artwork. Much of the artwork in this sketchbook was created with inks. Jason Logan’s book, Make Ink: A Forager’s Guide to Natural Inkmakingis very inspirational.
For lots more detailed information, pigmented plants to find in Florida, techniques, plant info, and lots of my art – pick a copy of my book!
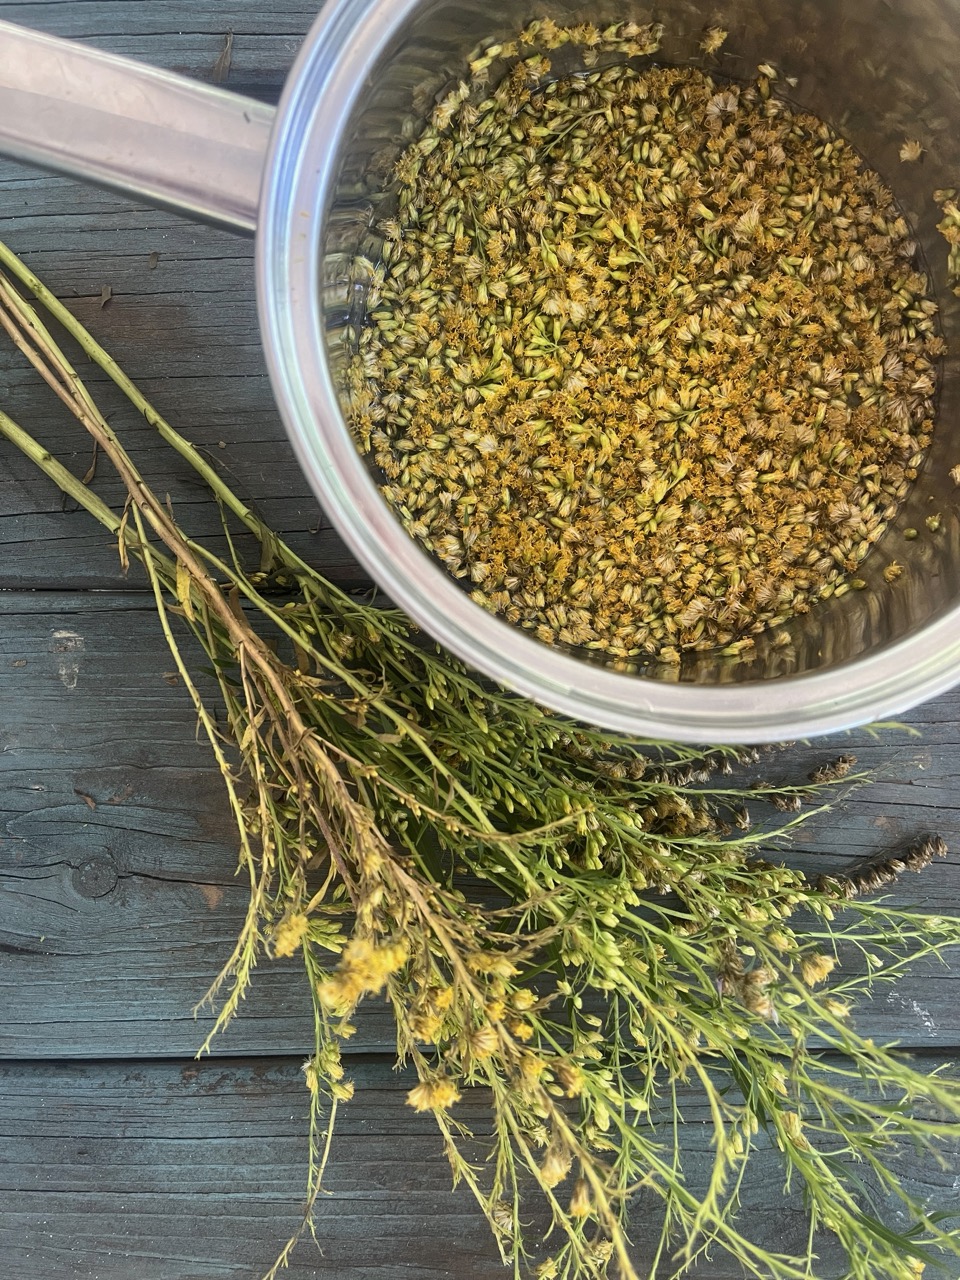
Simmer plant material in water (except for berries that may not need additional liquid), muddling several times. 1-2 hours for flowers and petals, much longer for bark, roots and other tough materials. Simmer until a rich colored and concentrated dye is obtained with as little water as possible. Cut the heat and rest overnight. Repeat again if needed to allow tough plant tissues to break down further; likely not necessary for delicate petals. Avoid burning and boiling. Attend your pot closely, set timers periodically so you don’t forget to check!
Allow liquid to cool enough to handle.
Squeeze out all plant material through a cloth or very fine sieve. Compost the plants.
Pour your new liquid ink into a very clean and labelled jar or bottle. Include plant + date and anything else you want to capture. A separate notebook is good for the finer details you can’t fit on a small bottle.
Optionally, add 1 part watercolor medium to 3 parts ink, or approximately 10 drops to 2 ounces of ink.
Add a drop of preservative oil, shake to mix. Store in refrigerator ideally but will last weeks or months at room temperature.
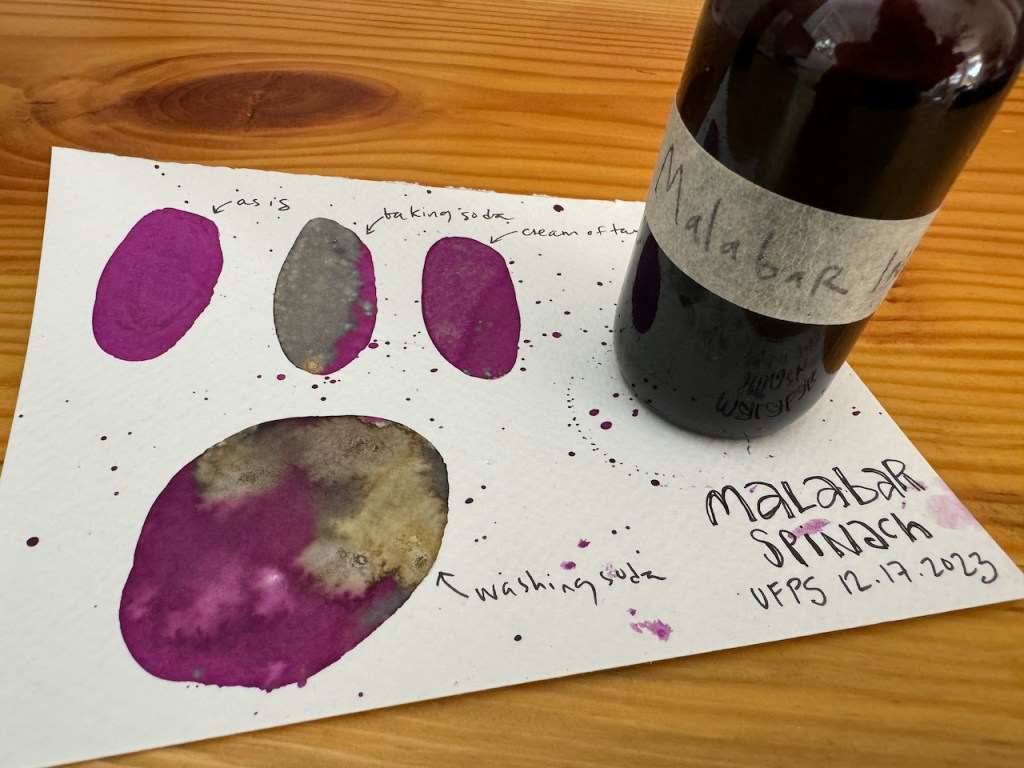
Alum, copper, iron oxides and cream of tartar may be used to make the ink more permanent. Experiment with what works for various hues.
I like making both inks and paints, and there are differences both in how they are used to make art, and practically – how they store and travel, how long they last, and how much is involved in the process of making them.
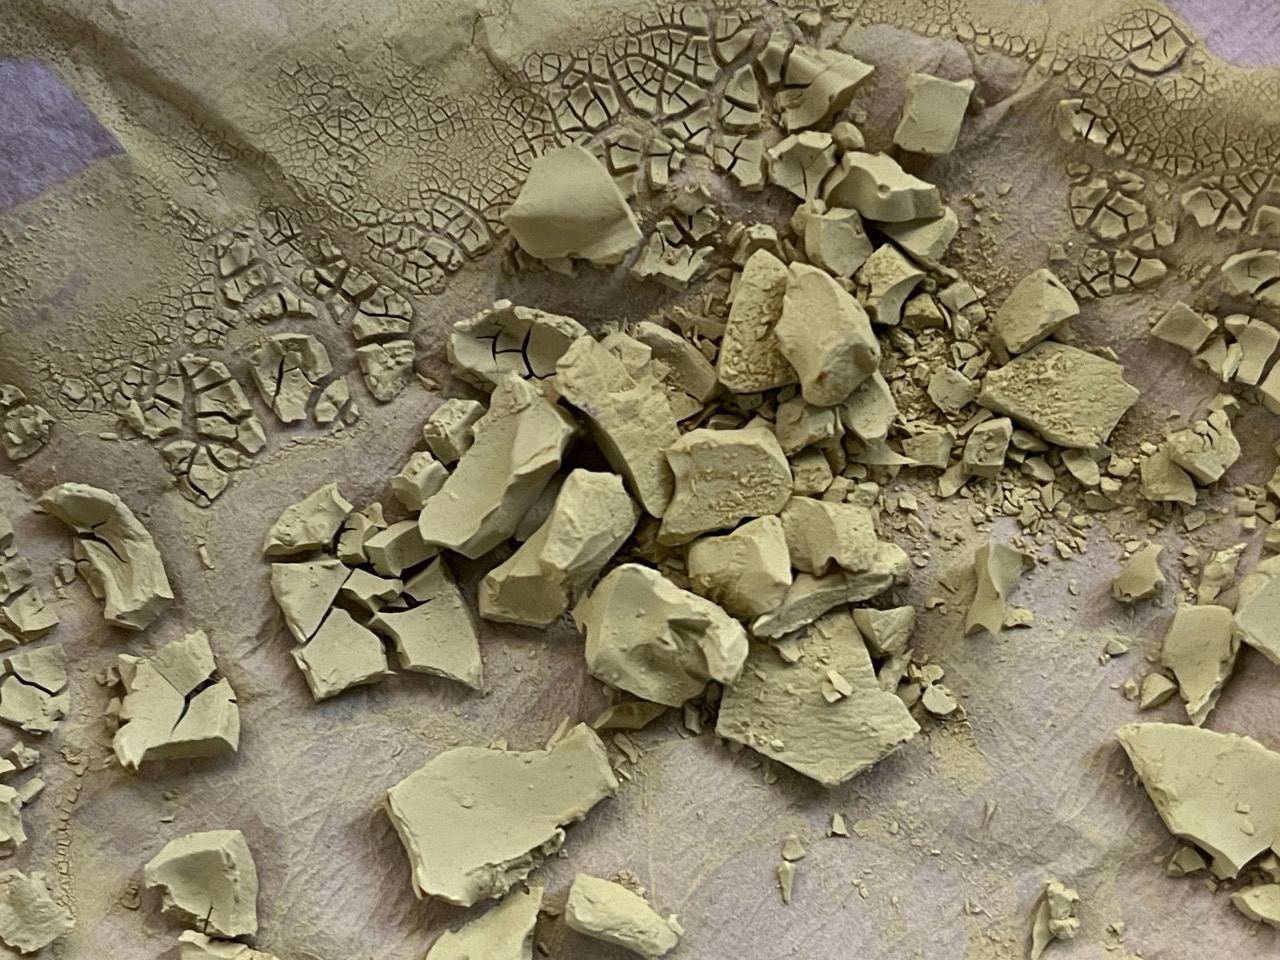
Paints are solid and can be re-wetted with water for use. Creating them is an involved process but worth the exploration if you become more serious about homemade colors. Pure pigments are drawn out of botanical material through a chemical process known as “laking”, which binds the pigment to a metal salt.
The resulting pigment is dried, finely ground, and mulled with a watercolor medium into a paste which is then used like watercolor paint. Earth based materials like clays and stone can also be used.
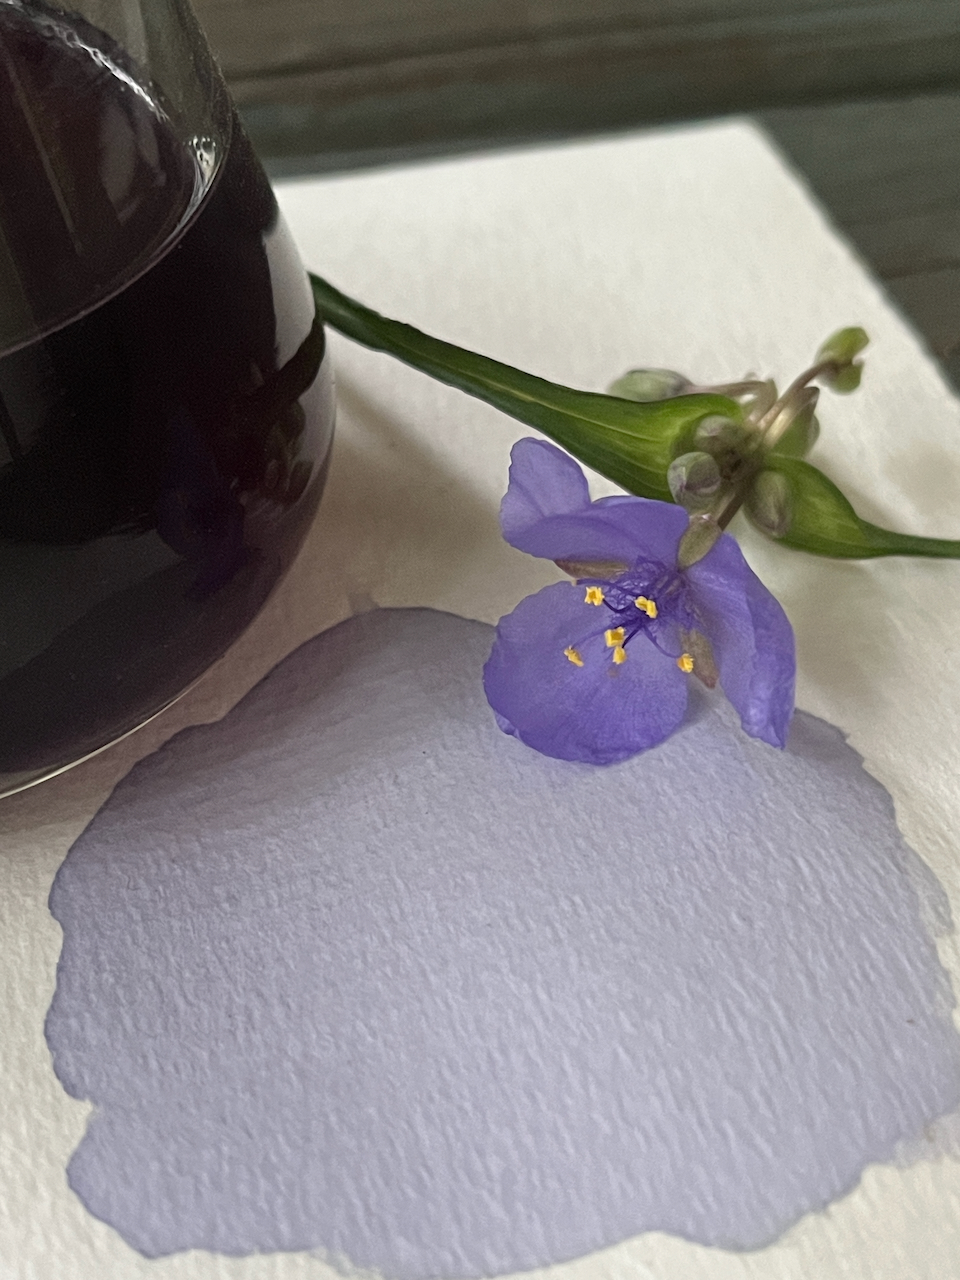
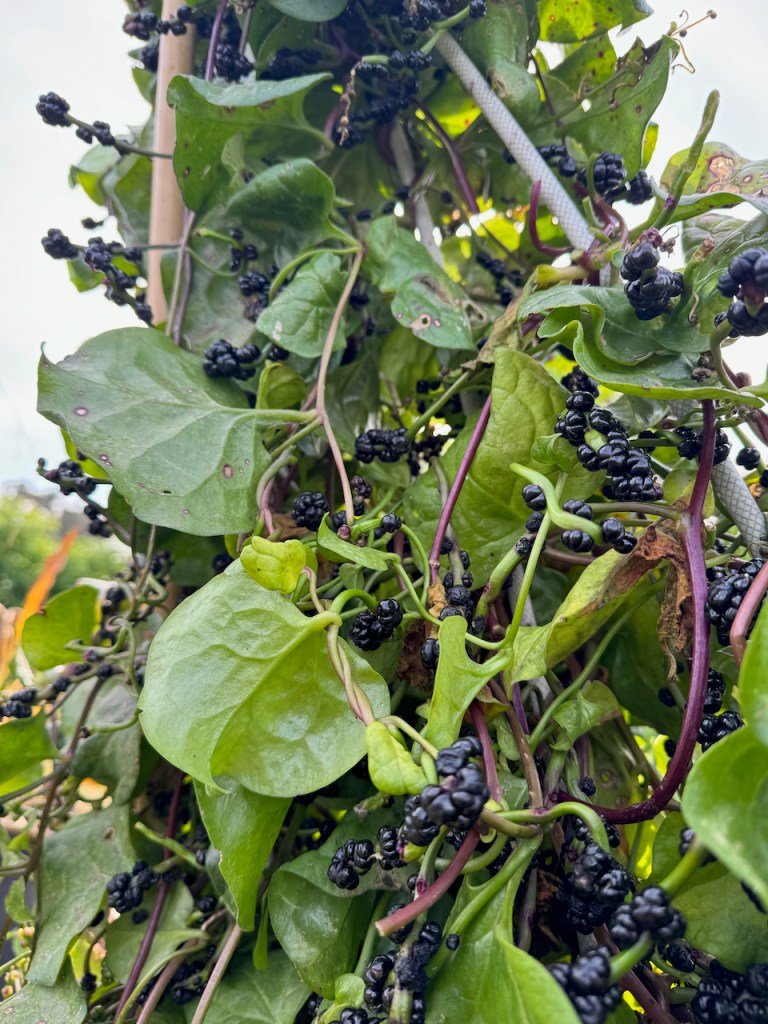
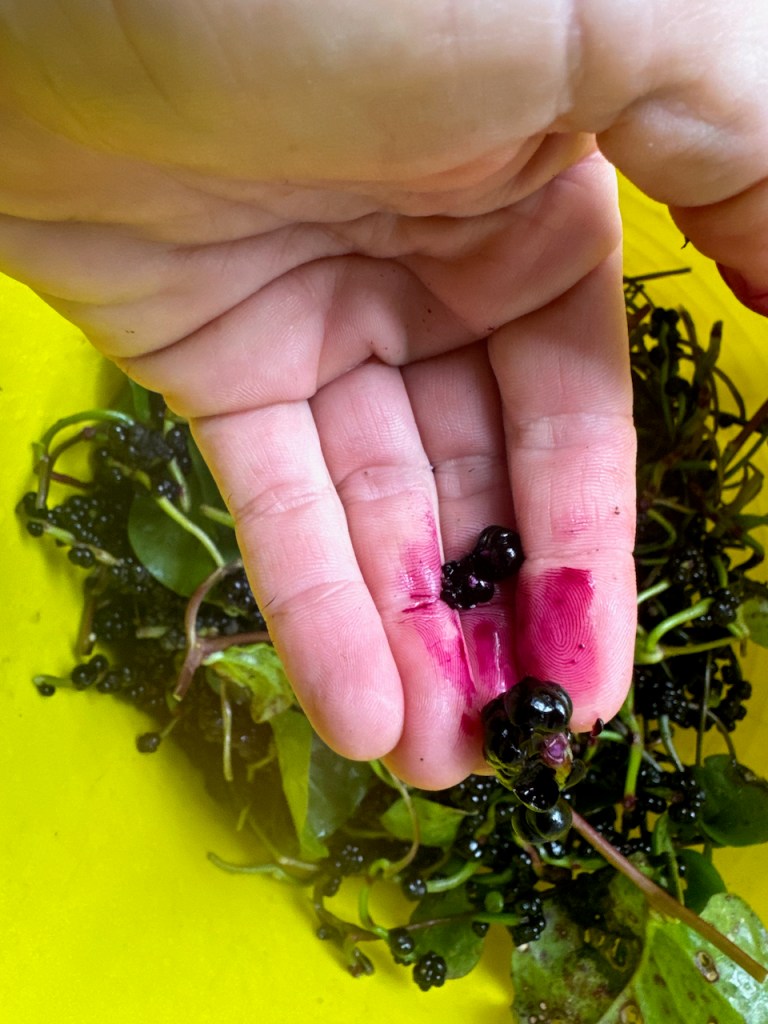
Compared to inks, paints are more portable, do not need refrigeration, and tend to be more stable. I am slowly converting most of my colors to be in paint form as I find them easier to create art and travel with. However, some have better colors as an ink and are best used that way. For example, both beets and malabar spinach berries are bright pink inks, but dull brown paints.
For lots more detailed information, pigmented plants to find in Florida, techniques, plant info, and lots of my art – pick a copy of my book!
Simmer plant material in water, muddling several times. Perhaps 30 minutes or up 2 hours for flower petals until rich colored dye is obtained. For bark, roots or other tough material, chop and simmer over a few hours, rest over night, and repeat again if needed to allow tough plant tissues to break down. Unlike ink, it’s not necessary to reduce water to a very low volume, but you do want to make sure you’ve pulled as much pigment into the water as possible which could take time, depending on the material.
Squeeze out all plant material through a cloth or very fine sieve. Reheat liquid if cooled before the next step.
Mix alum with enough boiling water to fully dissolve.
Mix soda ash with enough boiling water to fully dissolve.
Stir alum solution into warmed colorful dye liquid.
Slowly stir in soda ash solution and prepare for foaming action! Container should be big enough to allow expansion and overflow.
Continue stirring and scraping the foam till settled down.
If you have pH papers, test for a neutral 7 and tweak acid/base addition (more alum to decrease, more soda ash to increase).
Rest at least an hour or overnight allowing pigment to settle.
Pour off liquid on top (supernatant) and carefully strain out the remainder over another container fitted with a coffee filter secured with a rubber band or clothespins.
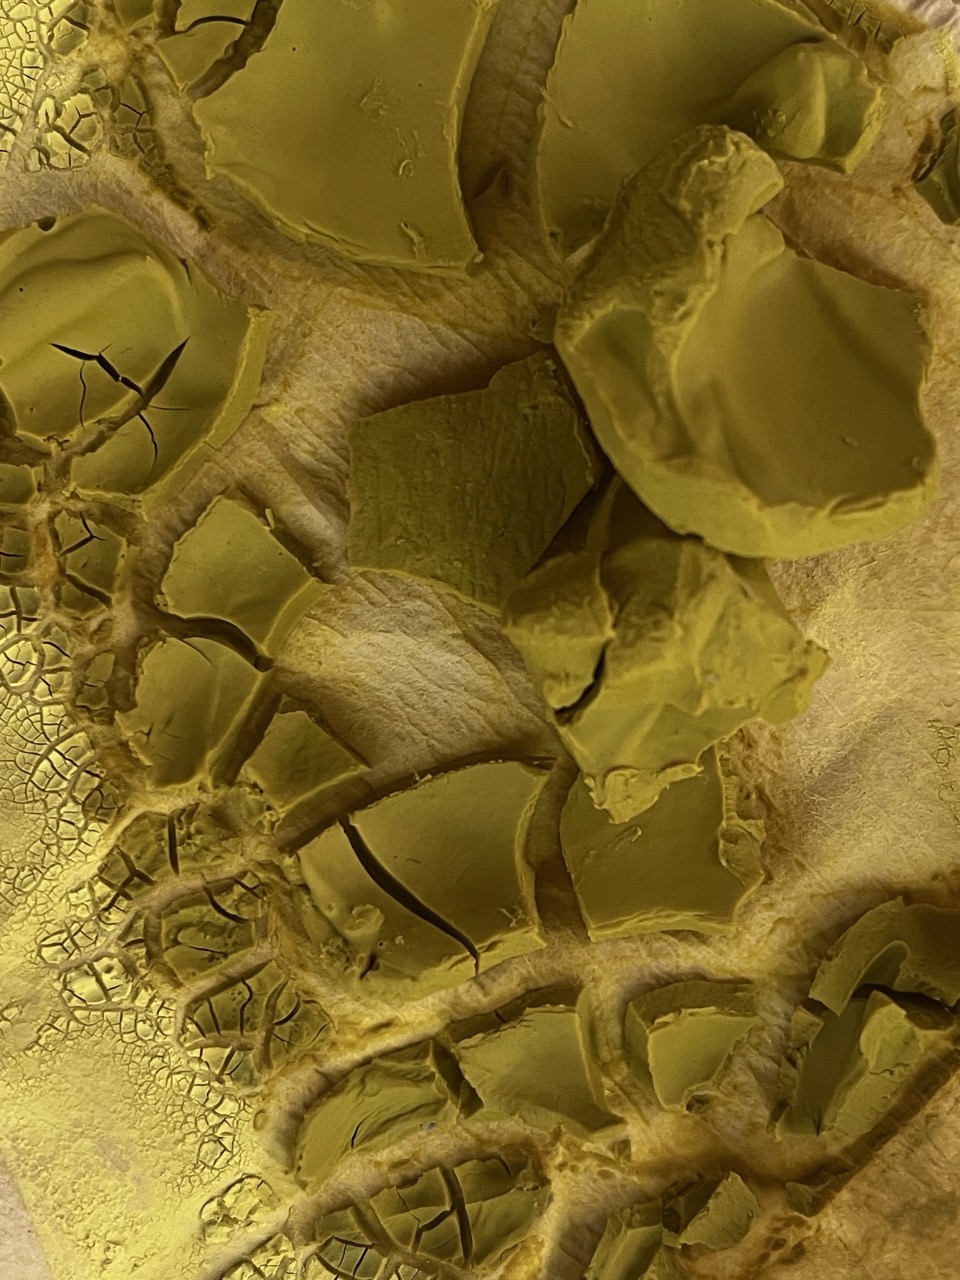
Carefully remove coffee filter once all liquid has drained and a colorful pasty sludge remains. Lay flat to dry over a towel. While not necessary, it is preferable to get the cleanest pigment possible by washing after the first strain. If frothy bits or white crystals are present, I recommend this extra effort. When pigment has been fully strained, re-submerge in a clean bowl of water. Let settle and pour off water once or twice more till clear and clean looking. Strain again and dry.
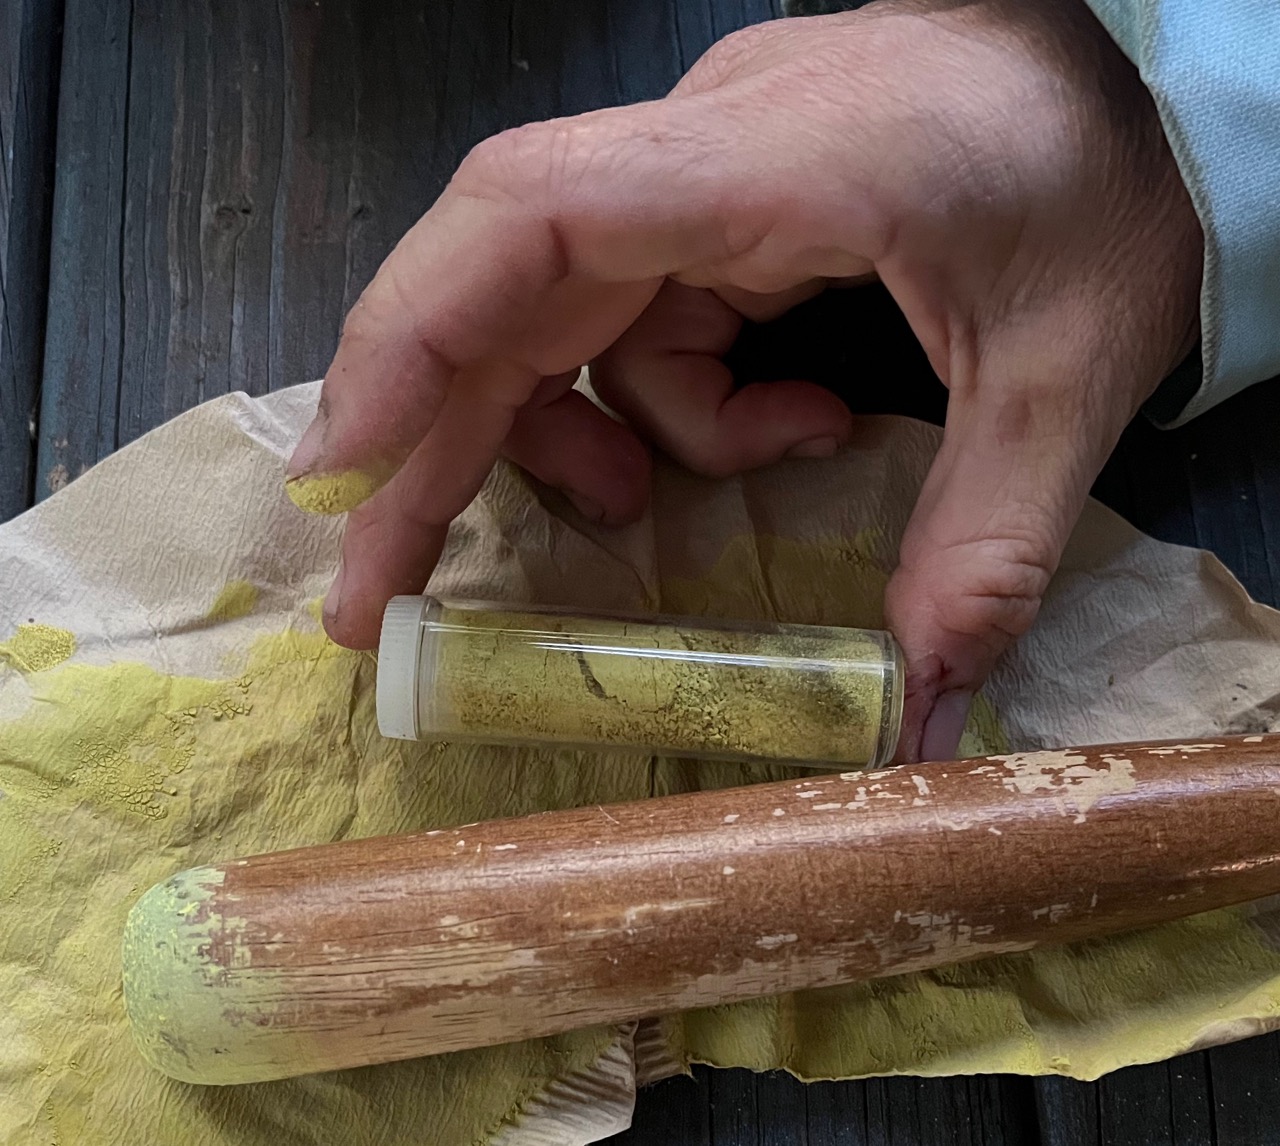
Once pigment is fully dried, grind into a fine powder using a mortar and pestle. The finest powder possible is required. Sieve and re-grind if necessary.
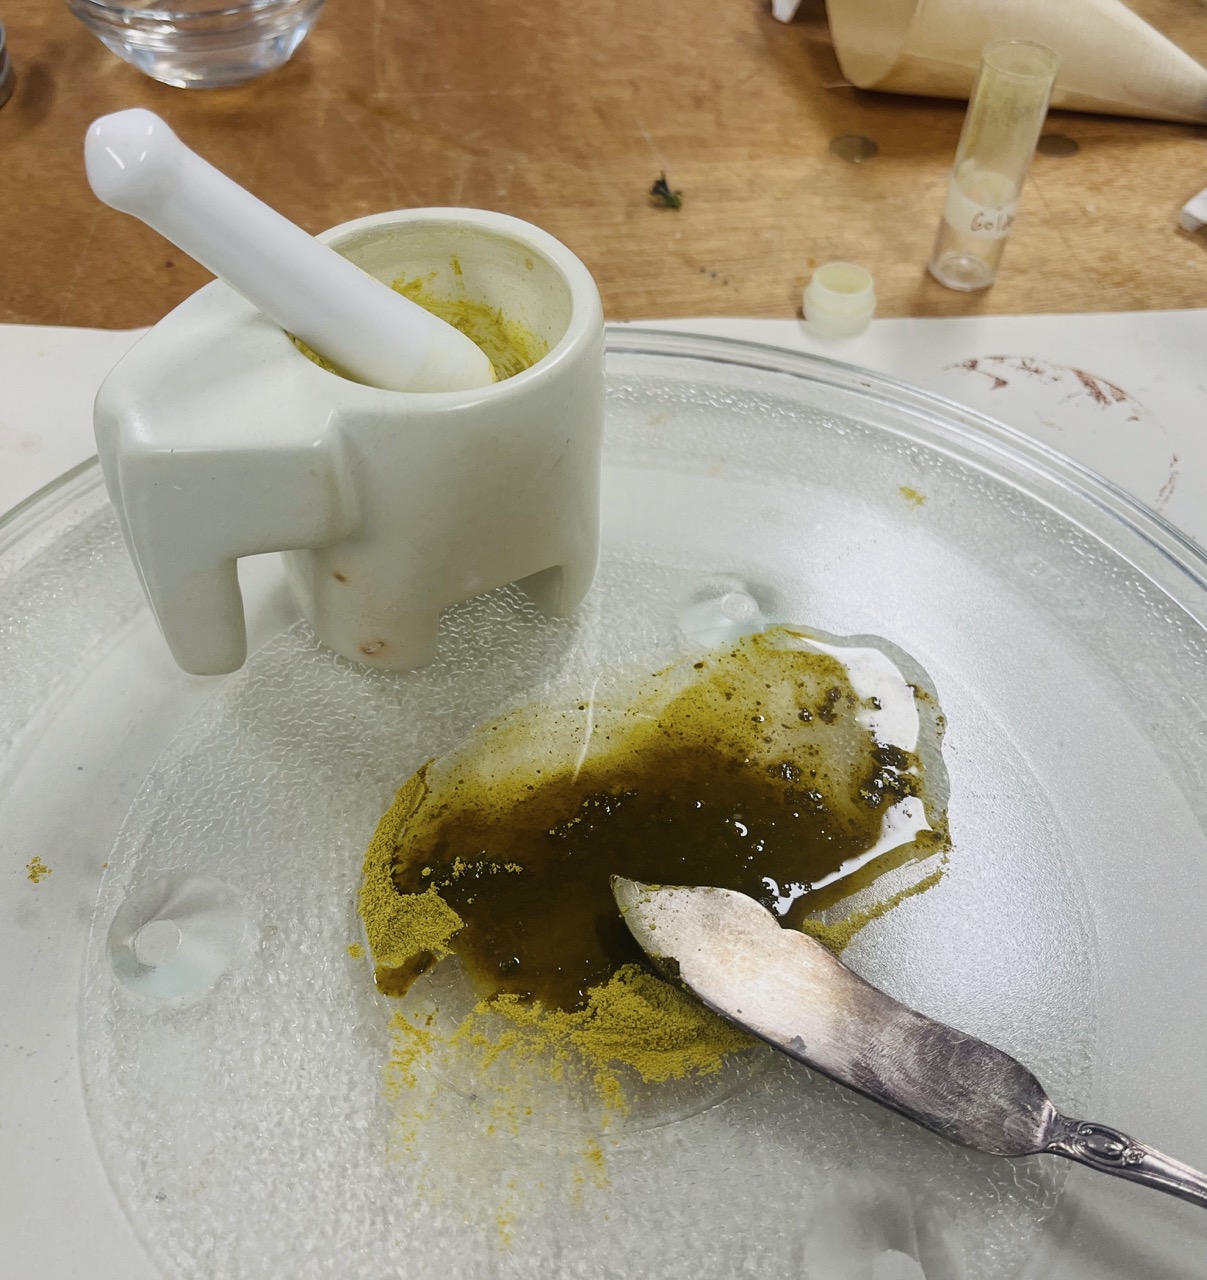
Measure approximately equal amounts of pigment powder and watercolor medium onto a glass board.
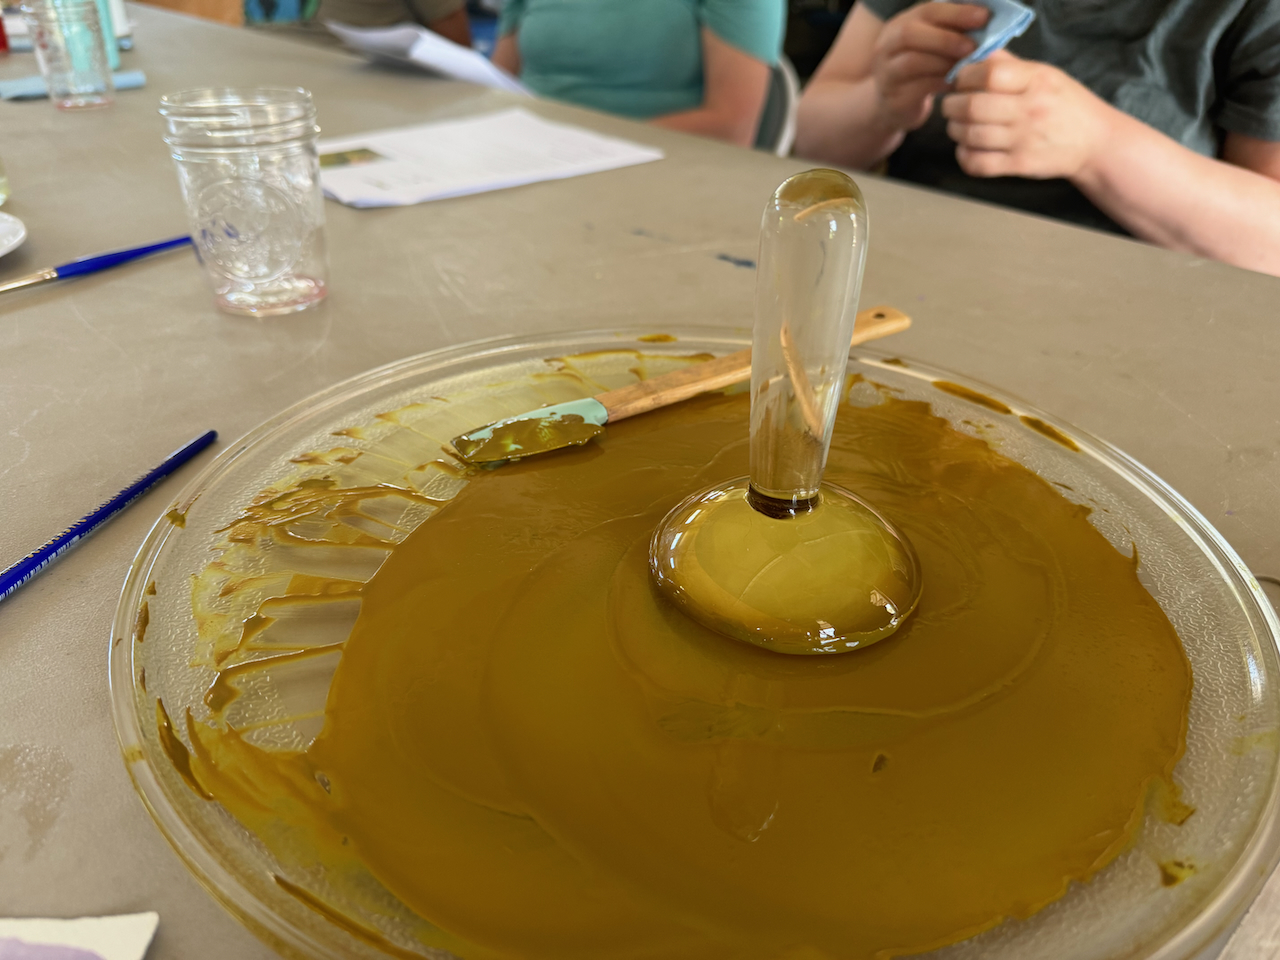
Mix with a palette knife and then mull with glass muller in circular and figure 8 patterns, repeatedly scraping back into the center, and continuing until smooth and gliding easily. Additional water droplets or medium may be needed. This may take a lot of time, and takes practice to get right. Enjoy the process!
Scrape into a container. You now have paint! Yay!
Test the color and enjoy painting, using like watercolor paints.
If your supernatant (clear liquid above settled pigment) is still very dark in color, you can lake that again for a different color! It’s also a sign that more chemicals could have been used the first time.
Simmer flowersLaked solution with pigment settlingPigment drying on coffee filterDried pigment on coffee filterGround pigmentBlending pigment with watercolor medium using palette knife Mulling pigment after blending with palette knifeFlowers – pigment – paint!
Part 2 of a series of posts about my artist in residency experience at Oak Spring Garden Foundation.
I really love that this place has a working farm, an educational + artist’s garden, and a seed conservation component. If you know me, you know this is my jam! I feel right at home except for having to hold any responsibility or accountability! These are what I call my “working vacations”.
The first chance I had to volunteer, I signed up to help with the Indigo harvest. I’ll write more about that later, but basically we harvested a row of Japanese Indigo, Polygonum tinctorium that is currently fermenting, the first step of the careful practice of extracting indigo pigment. The following day, I came out for another harvesting activity, this time for veggies and herbs. I helped the crew pick peppers, basil, sage, and kale.
It’s really a lovely space! Very well maintained and laid out. Although as a fellow farmer, I admit to easily seeing the things they do too when I praise the aesthetic of it all but they kind of sigh and look around, saying yeah but….the weeds, the disease, the never ending list of chores, the pests! In some strange twisted way it’s comforting that even on well resourced and managed farms, nothing is perfect and there will always be weedy sections and some kind of pest that keeps the farmers awake at night. We’re a collective support group, commiserating on the challenges of growing!
Zinnias and peppers adjacent to the greenhouses and packing shed.
The part of the operation that is focused on food production, is separate but adjacent to the educational and seed gardens, which all together are part of the Rokeby Farm side of the Oak Springs Garden landscape and referred to as the Biocultural Conservation Farm (BCCF).
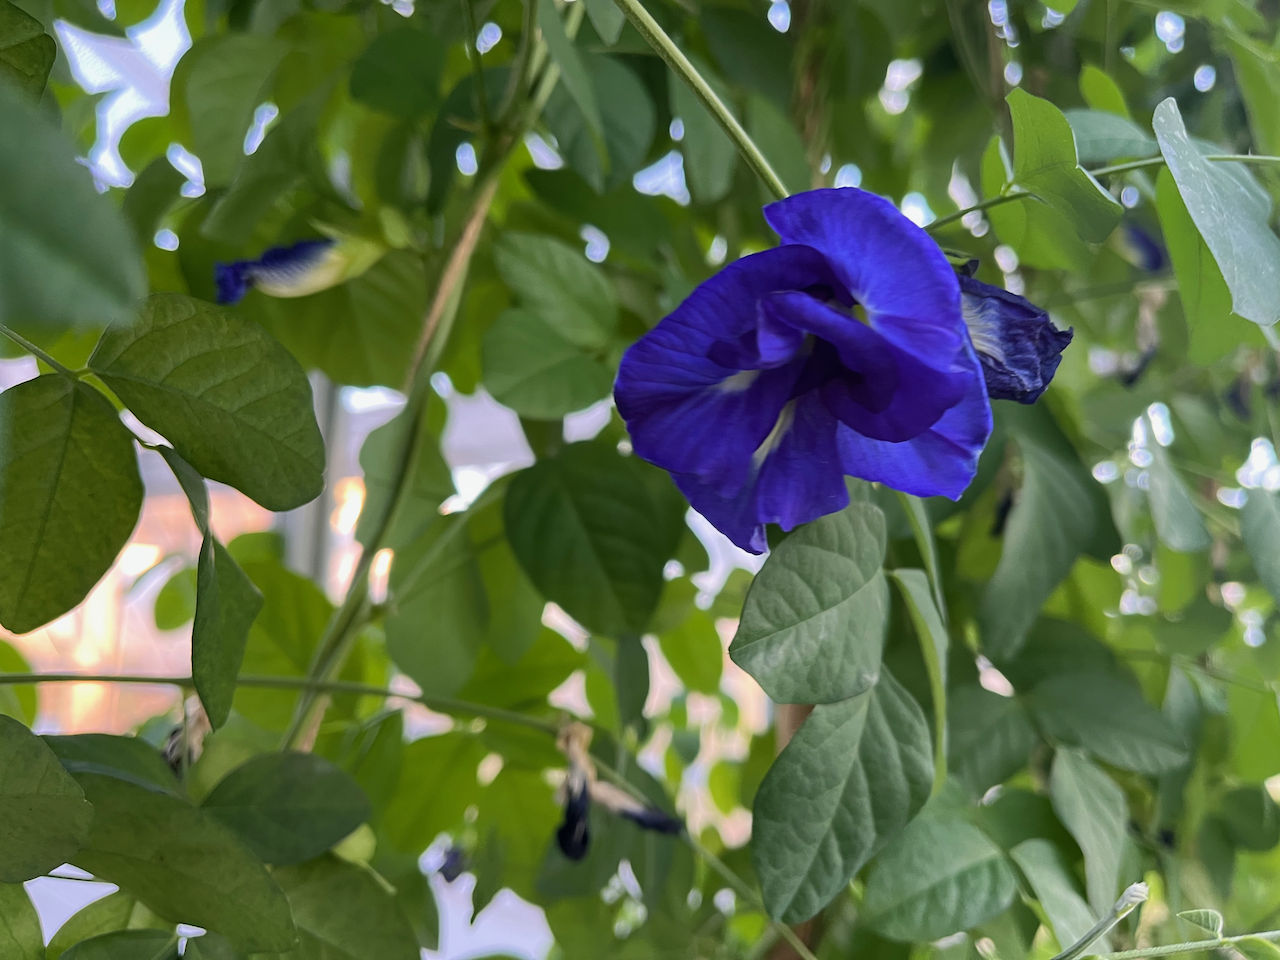
A series of glass covered greenhouses feature more tropical plants that are pushing the limits here for outdoor cultivation in Virginia. Many familiars: turmeric, ginger, basil, butterfly pea, and malabar spinach. The butterfly pea variety they have is stunning, very convoluted and deep blue petals. I’ll definitely be keeping an eye on her for any available seeds before I leave.
Their little office is adorable and as you might expect, stocked with books, jars and packets of seeds, and found objects like birds’ nests. I was able to get a sneak peek at the new art seed packets that just came in, filled with seeds from the plants they stewarded just outside the office doors: sorghum, tomatoes and corn. Specifically these are heirloom varieties significant to the Appalachian area that were passed onto them from a nearby family that has been keeping them for many generations.
Art packets featuring previous artists in residency’s work, and filled with goodness from seeds saved onsite!
I’m excited to learn more about their seed conservation work and how we might be partner-friends. The folks from Southern Exposure Seed Exchange are going to come visit me here in early September and it will be nice for us seed heads to geek out together!
The production part of the operation donates most of the produce to the local food pantry, provides a community CSA program (weekly farm share box for sale), and provides ample produce for the residents and staff onsite. Three times a week we are treated to dinner by Chef Jason, who is creative at making tasty dishes with what’s available.
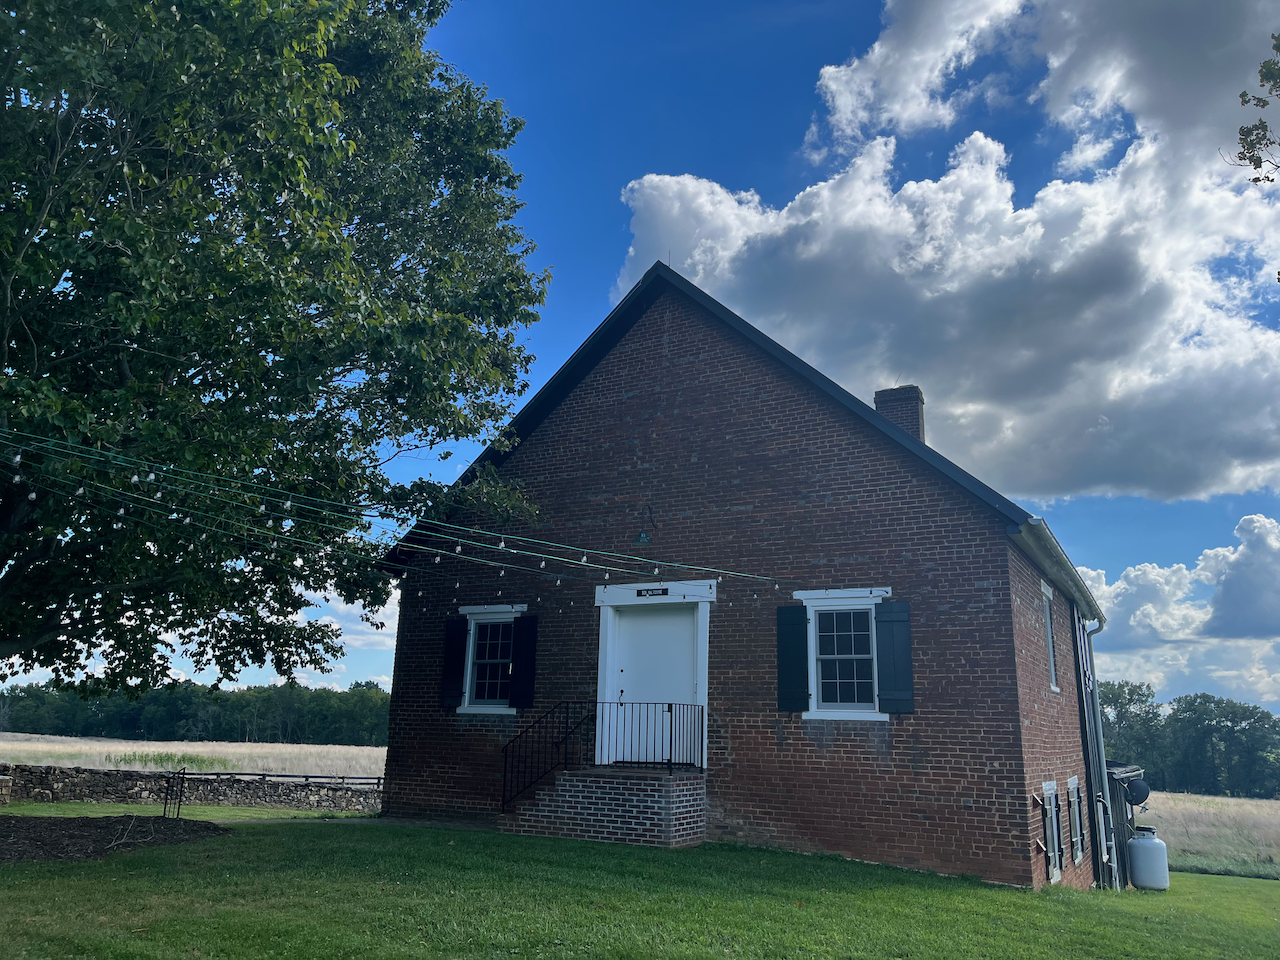
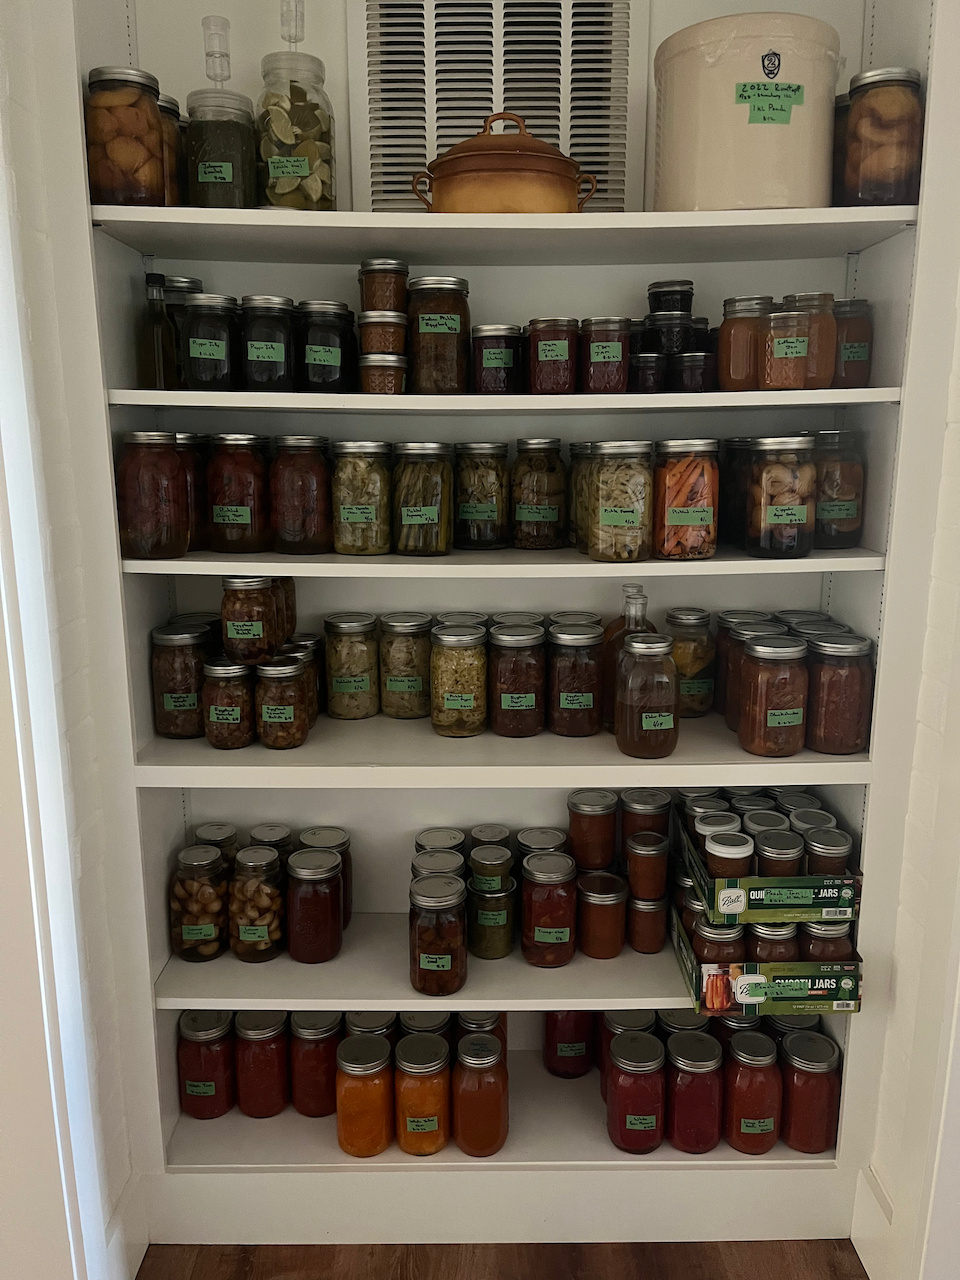
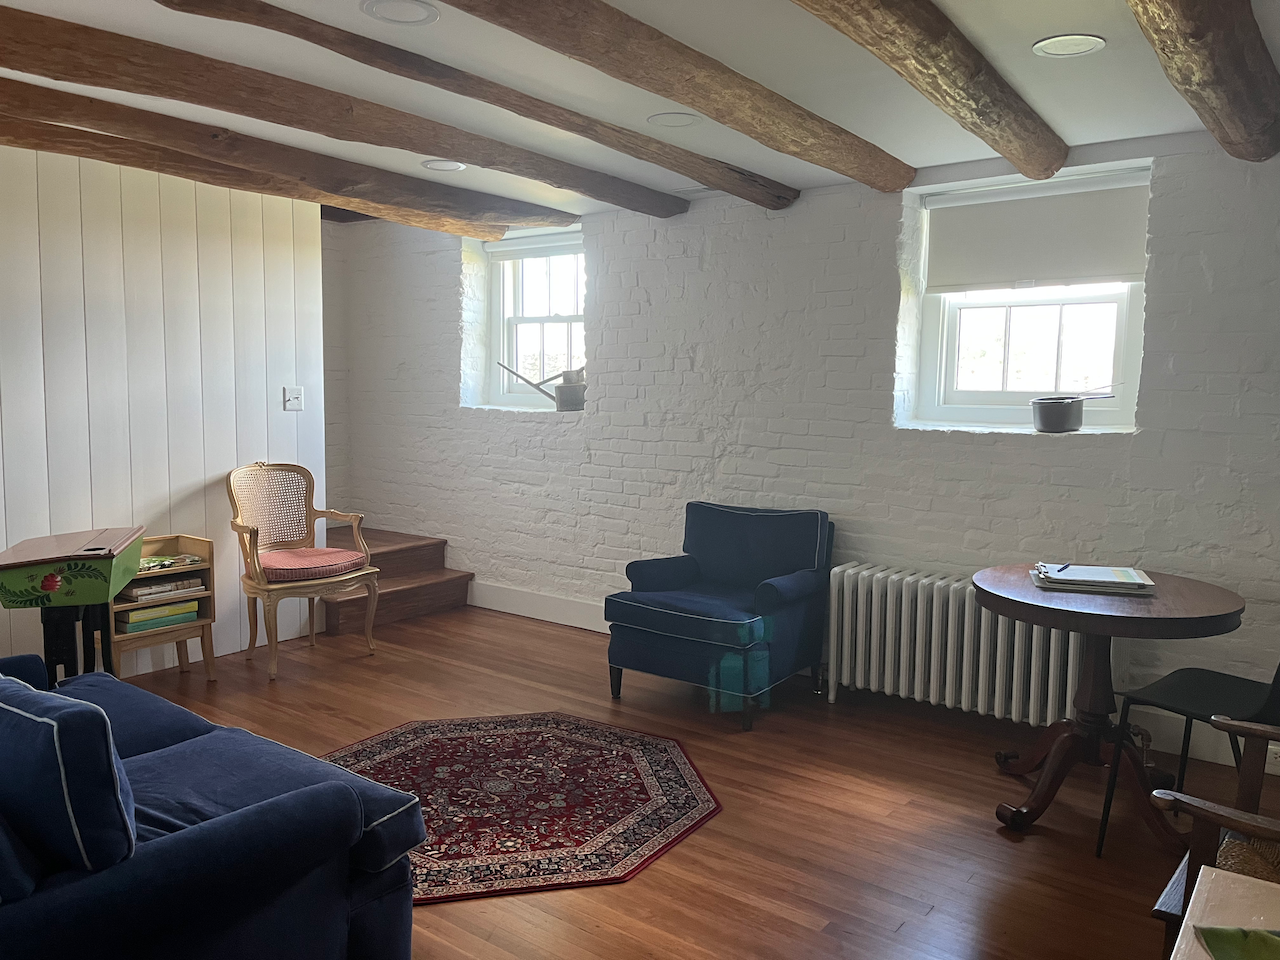
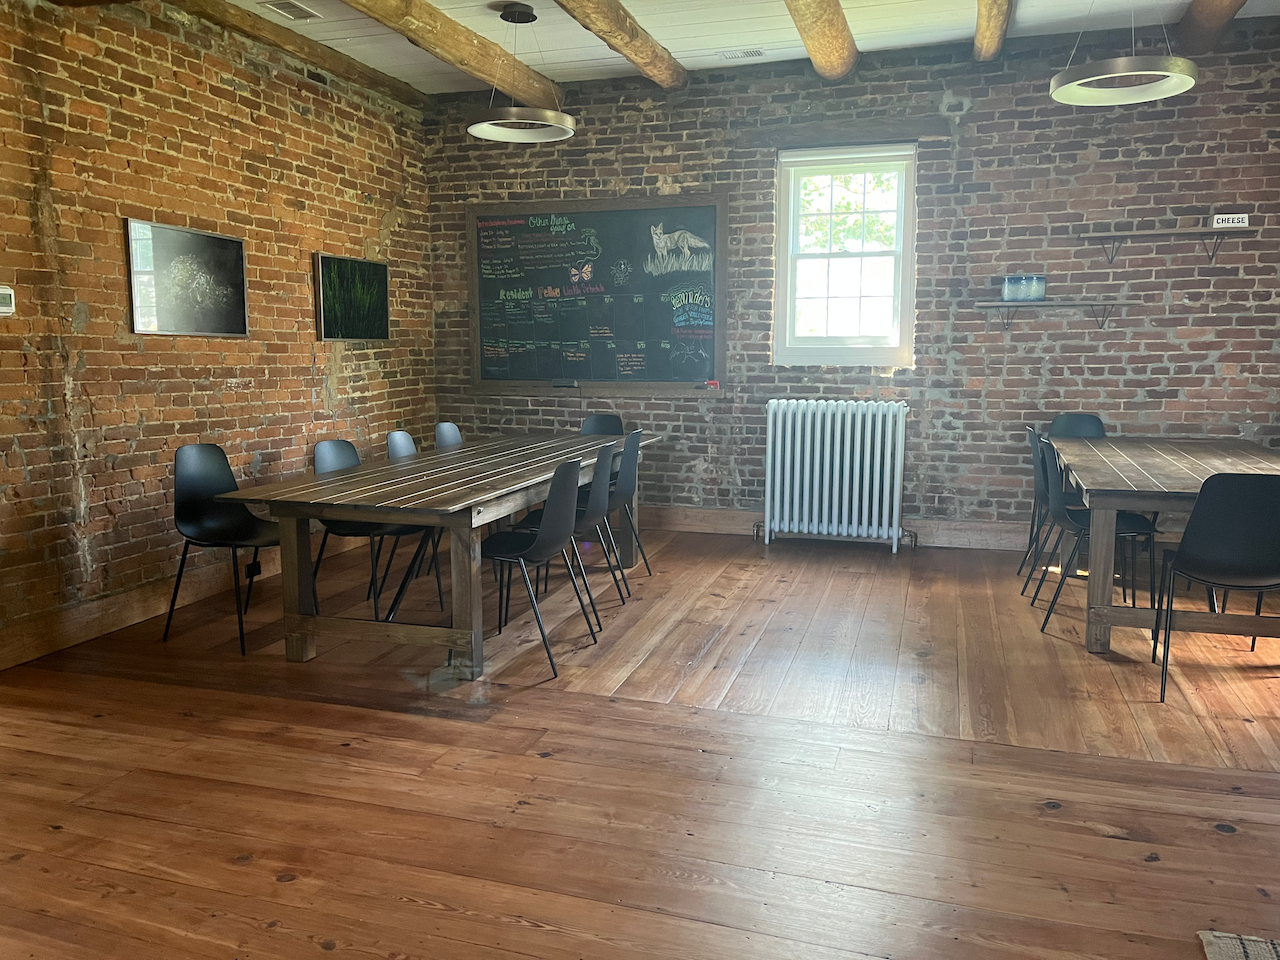
We eat communal meals in the historic school house, which has a cozy little downstairs area with a small sitting room, a few books, and better internet than most of the resident houses. Here is where the chef’s larder exists, a work of art in and of itself! It drew my eye the minute I walked in. I sampled Chef Jason’s homemade tomato jam and I approve, but I still like mine better!
The school houseChef’s larderDownstairs reading roomThe common dining area
Upstairs is the kitchen and main dining area, cute and well stocked. There is even enough open space after hours for pop-up mini Zumba workouts!
Over the weekend, I received notice that extra tomatoes were up for grabs. Figuring no one else would need that many, that some were already starting to go bad, and that I just can’t let good food go to waste, I rescued several pounds of cherry tomatoes and giant heirlooms, which we just don’t get in Florida with regular success.
I guess old habits die hard, because I immediately went home (after the impromptu chance for a 20 minute Zumba dance workout!) and started making sauce. I used most of it for our Sunday potluck brunch roasting it with eggplants and basil we got in our CSA box. There was extra we used to dip cassava bread into, that Jackie brought from the Dominican Republic, where she’s from. Yum!
It’s a blessing to be able to eat well while traveling, when it can be easier or unavoidable to eat poorly. I’ve really been enjoying the weekly farm produce and the opportunity to also go pick a few additional items (I ask first!), forage some nutritious local plants, and eat the leftovers from Jason’s incredible meals.
Every evening, after dinner and doing some art, I wander over to the gardens to see what’s happening. There is always something new to see, even though I’ve now visited multiple times. The first evening, 3 very active Sphinx moths were cruising the lilies and four o’clocks. I felt them before I saw them. They came so close a few times that I felt their wings and wind near my face, and heard their distinctive vibrations. Their proboscis is so long, specialized for a deep drink into long tunneled flowers. I imagine they came from the tomatoes nearby, where their previous life as a tomato hornworm started out. Although I did search and couldn’t find evidence.
Amazing I could get one clear-ish photo of these active moths! Look at that proboscis!
Other daily observations: The Goldfinches seem exuberant over the wild thistles going to seed everywhere; Kestrels swoop in for the cornucopia of field insects and small birds; sparrows are snacking on plants going to seed in the gardens; rabbits are hopping about being cute little naughty garden pests; an array of pollinators are visiting the diverse buffet of flowering crops; and the indigo vat nearby bubbles silently its blue riches, filled with leaves picked just a few days ago. It really feels like home even though the seasons are off by a bit, and some of the flora and fauna are different.
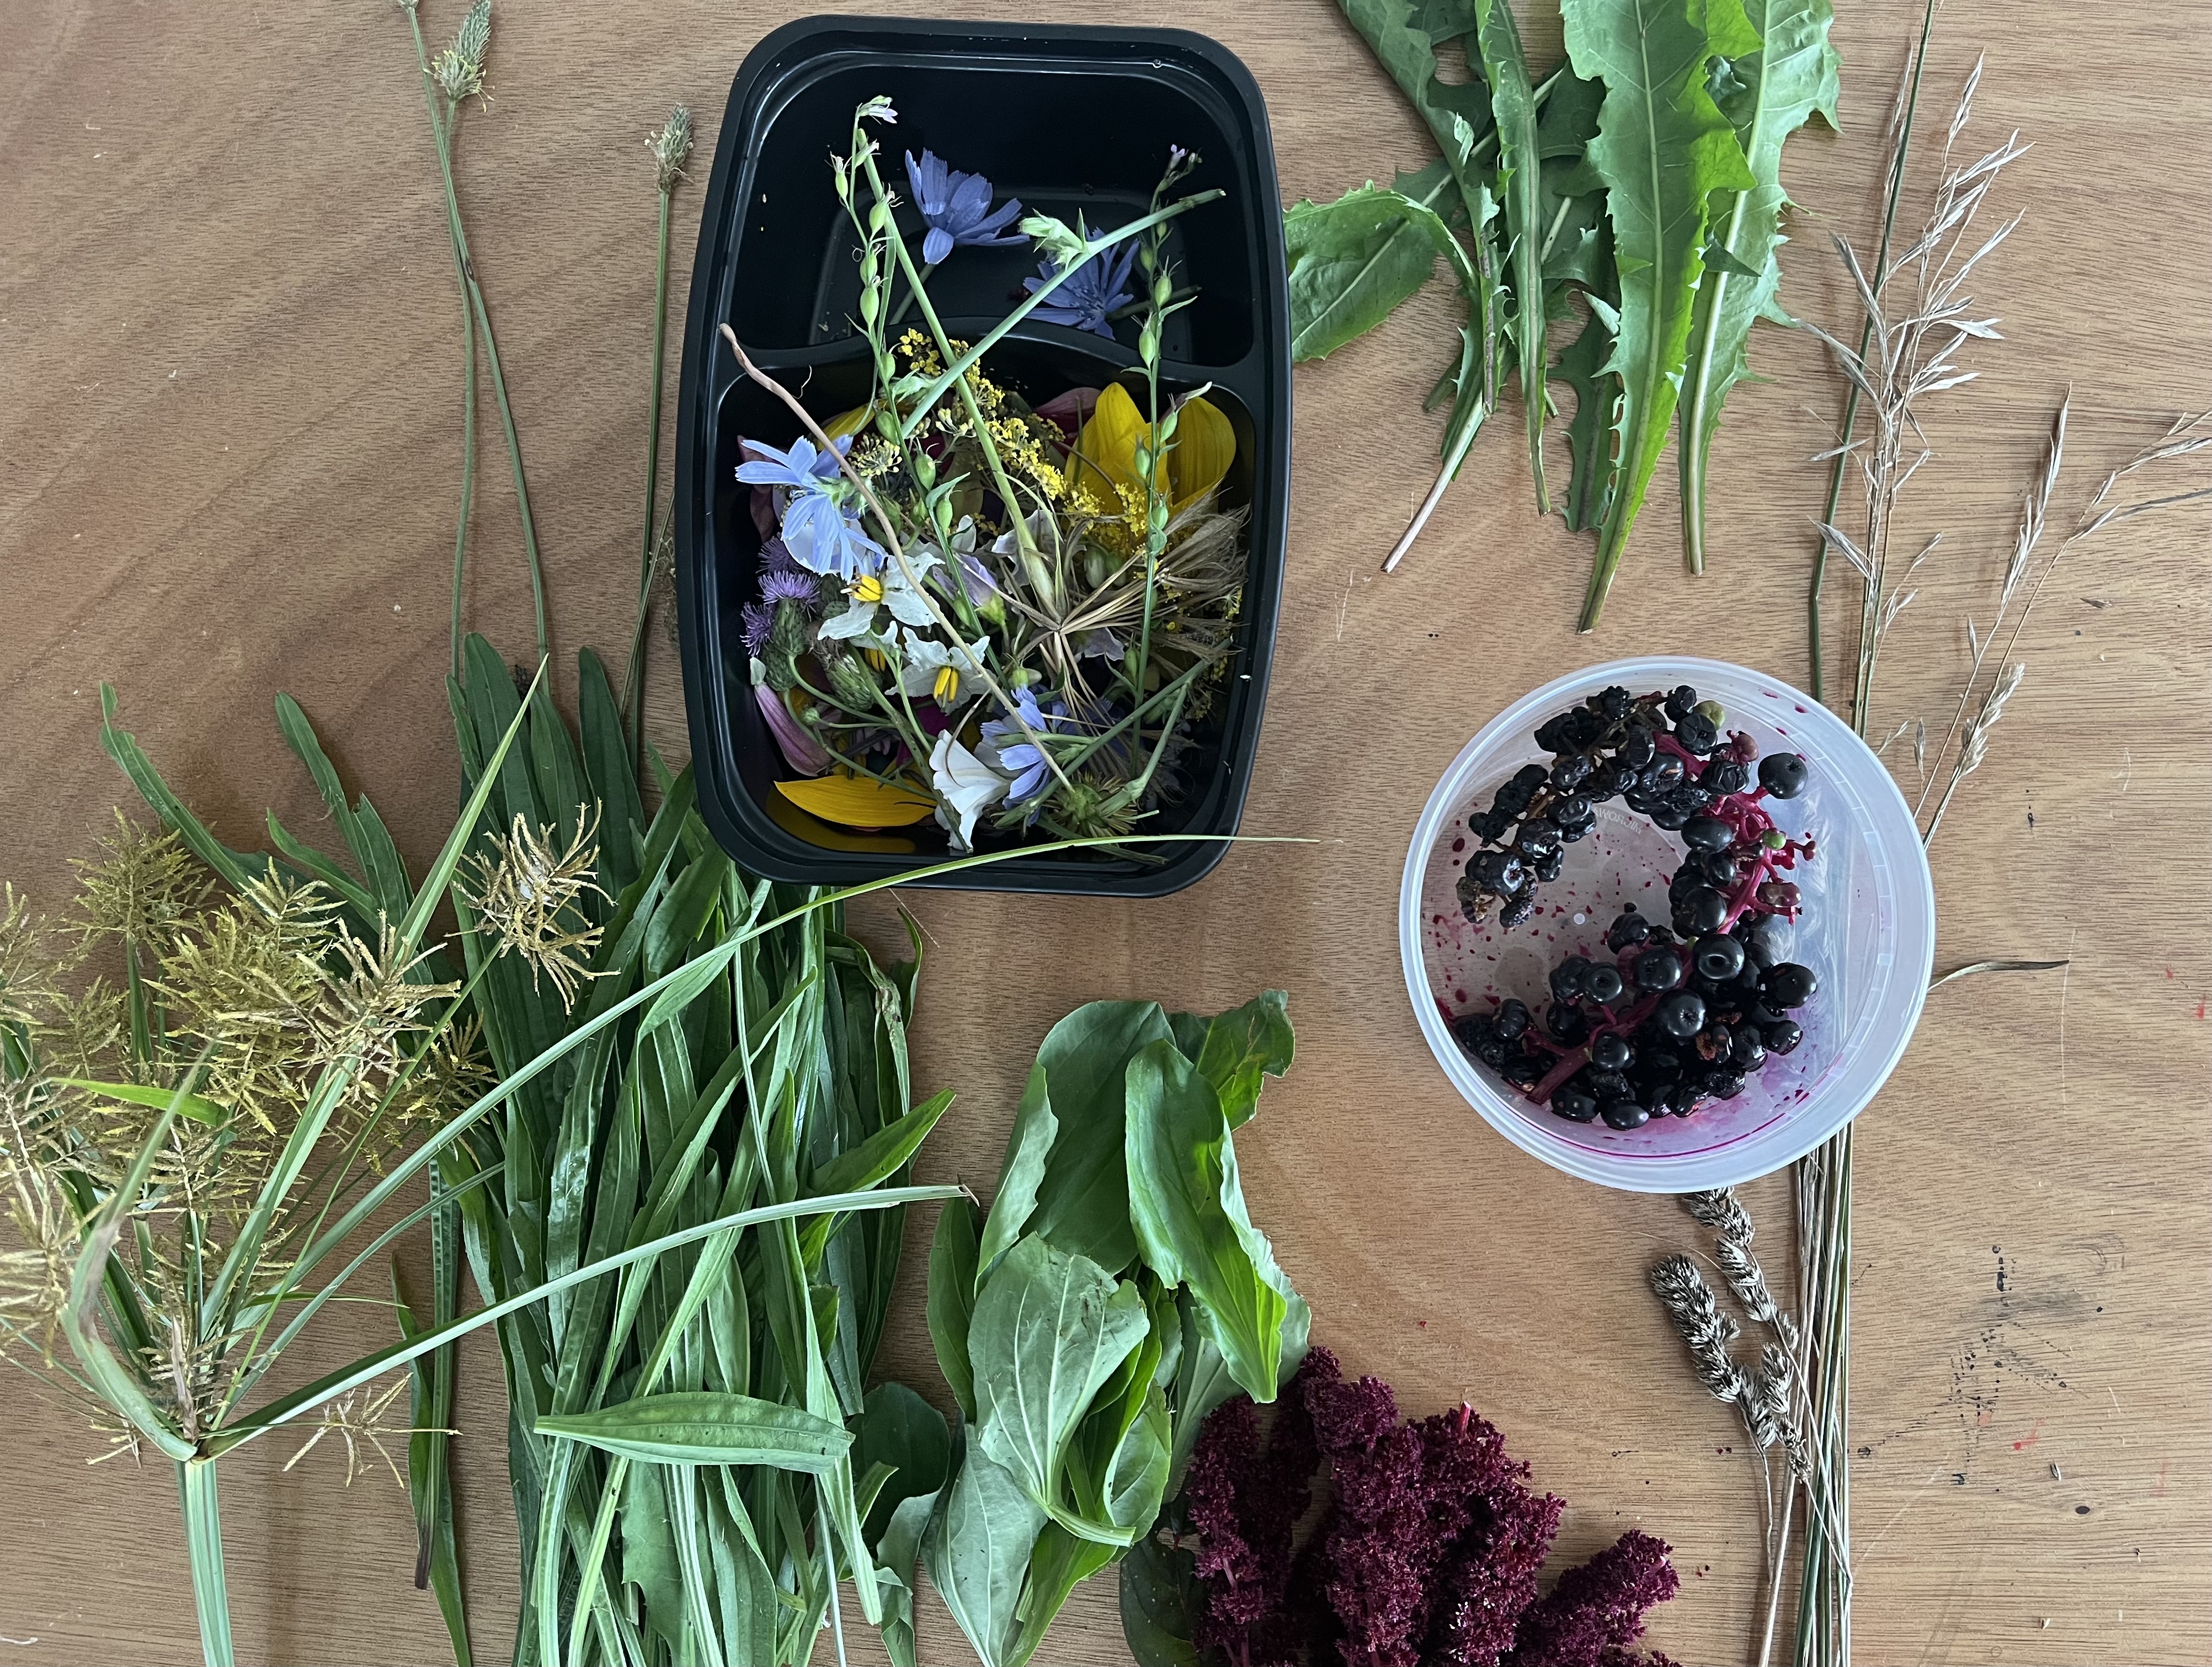
Monarch on thistleView from my studioFermenting indigo plantsButterfly peaA foraging collection for tea, pressing and making paints
There are a lot of rabbits, ground hogs, and squirrels that are serious farm pests, but they say Buddy the 15 year old black cat does a formidable job of keeping them in check. Of course he’s likely also eating birds and frogs, but hopefully his belly is mostly full of organically fed, free ranging rabbit and squirrel.
Naughty little garden bunny better watch out for Buddy.
Being here for a total of 5 weeks I’ll get to observe a lot of changes as the microseasons shift from late summer to early fall. I’m excited to volunteer at the farm at least one morning a week and help out. I always appreciate volunteers that help us at our gardens at GROW HUB, especially those that kinda know their way around a garden. It’s a lot of work to maintain these spaces, and it shows.
I am so grateful for this backdrop and canvas of both inspiration and beauty, while I am provided ample time to explore, create and rest.
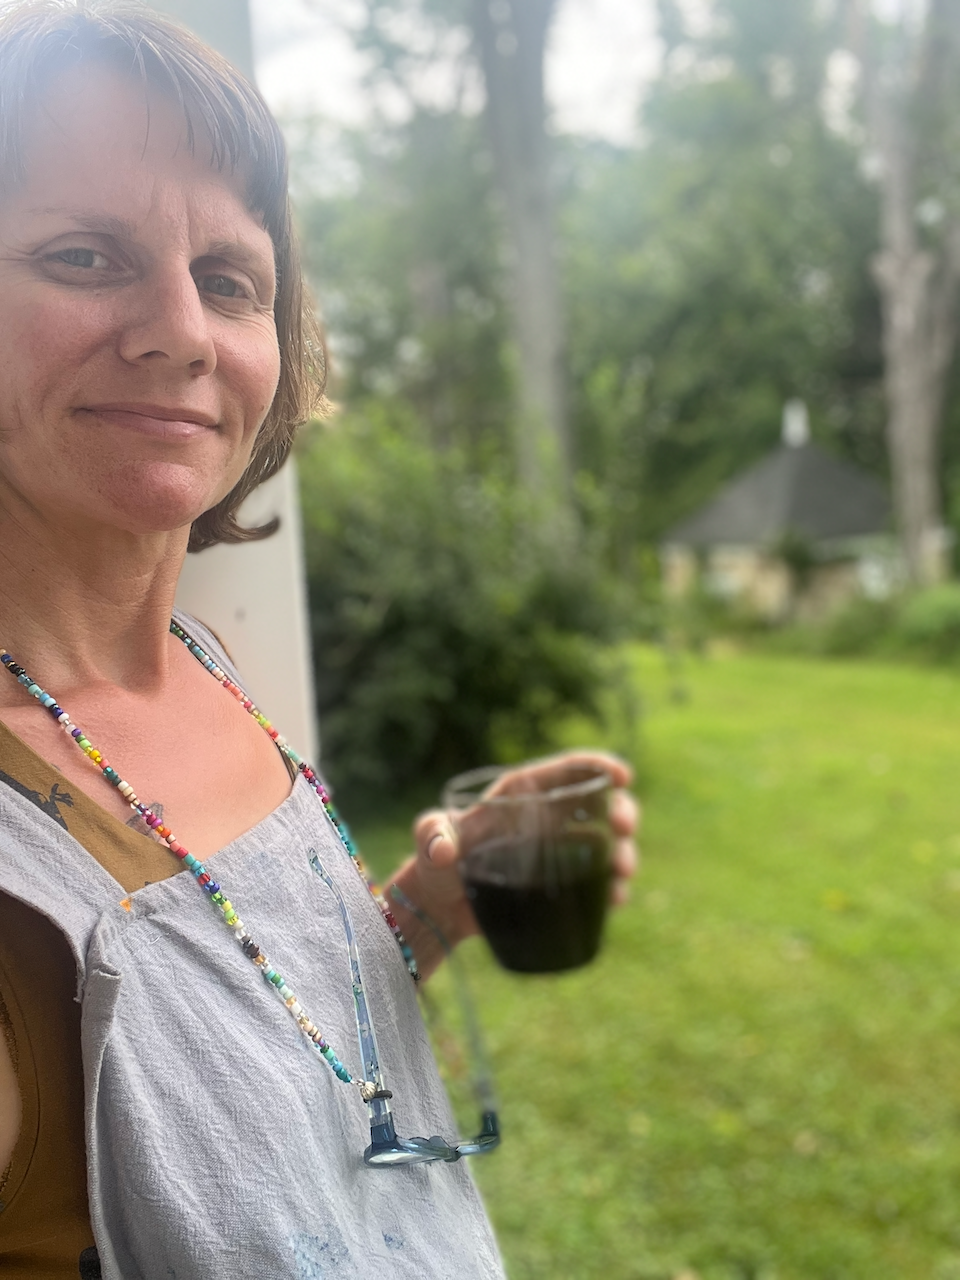
Butterfly pea + tulsi tea, art smock on, reading glasses, ready to paint!