Guatemalan Blue Squash!

I love interesting and unique plants, that make people oooh and ahhh when you describe it, or better yet show it off. As a seed steward, I especially like the plants that let me have my cake and eat it too, so to speak. Winter squash is one of them; the seeds are ripe at the same time that the fruits are ready to eat. Win, win!

My friend Joe is also a fan of the weird stuff and tips me off when he finds something cool. Usually he’ll give me a sample, or a tour of the beautiful jungle that is his perennial food forest behind Mosswood Farm Store in Micanopy.

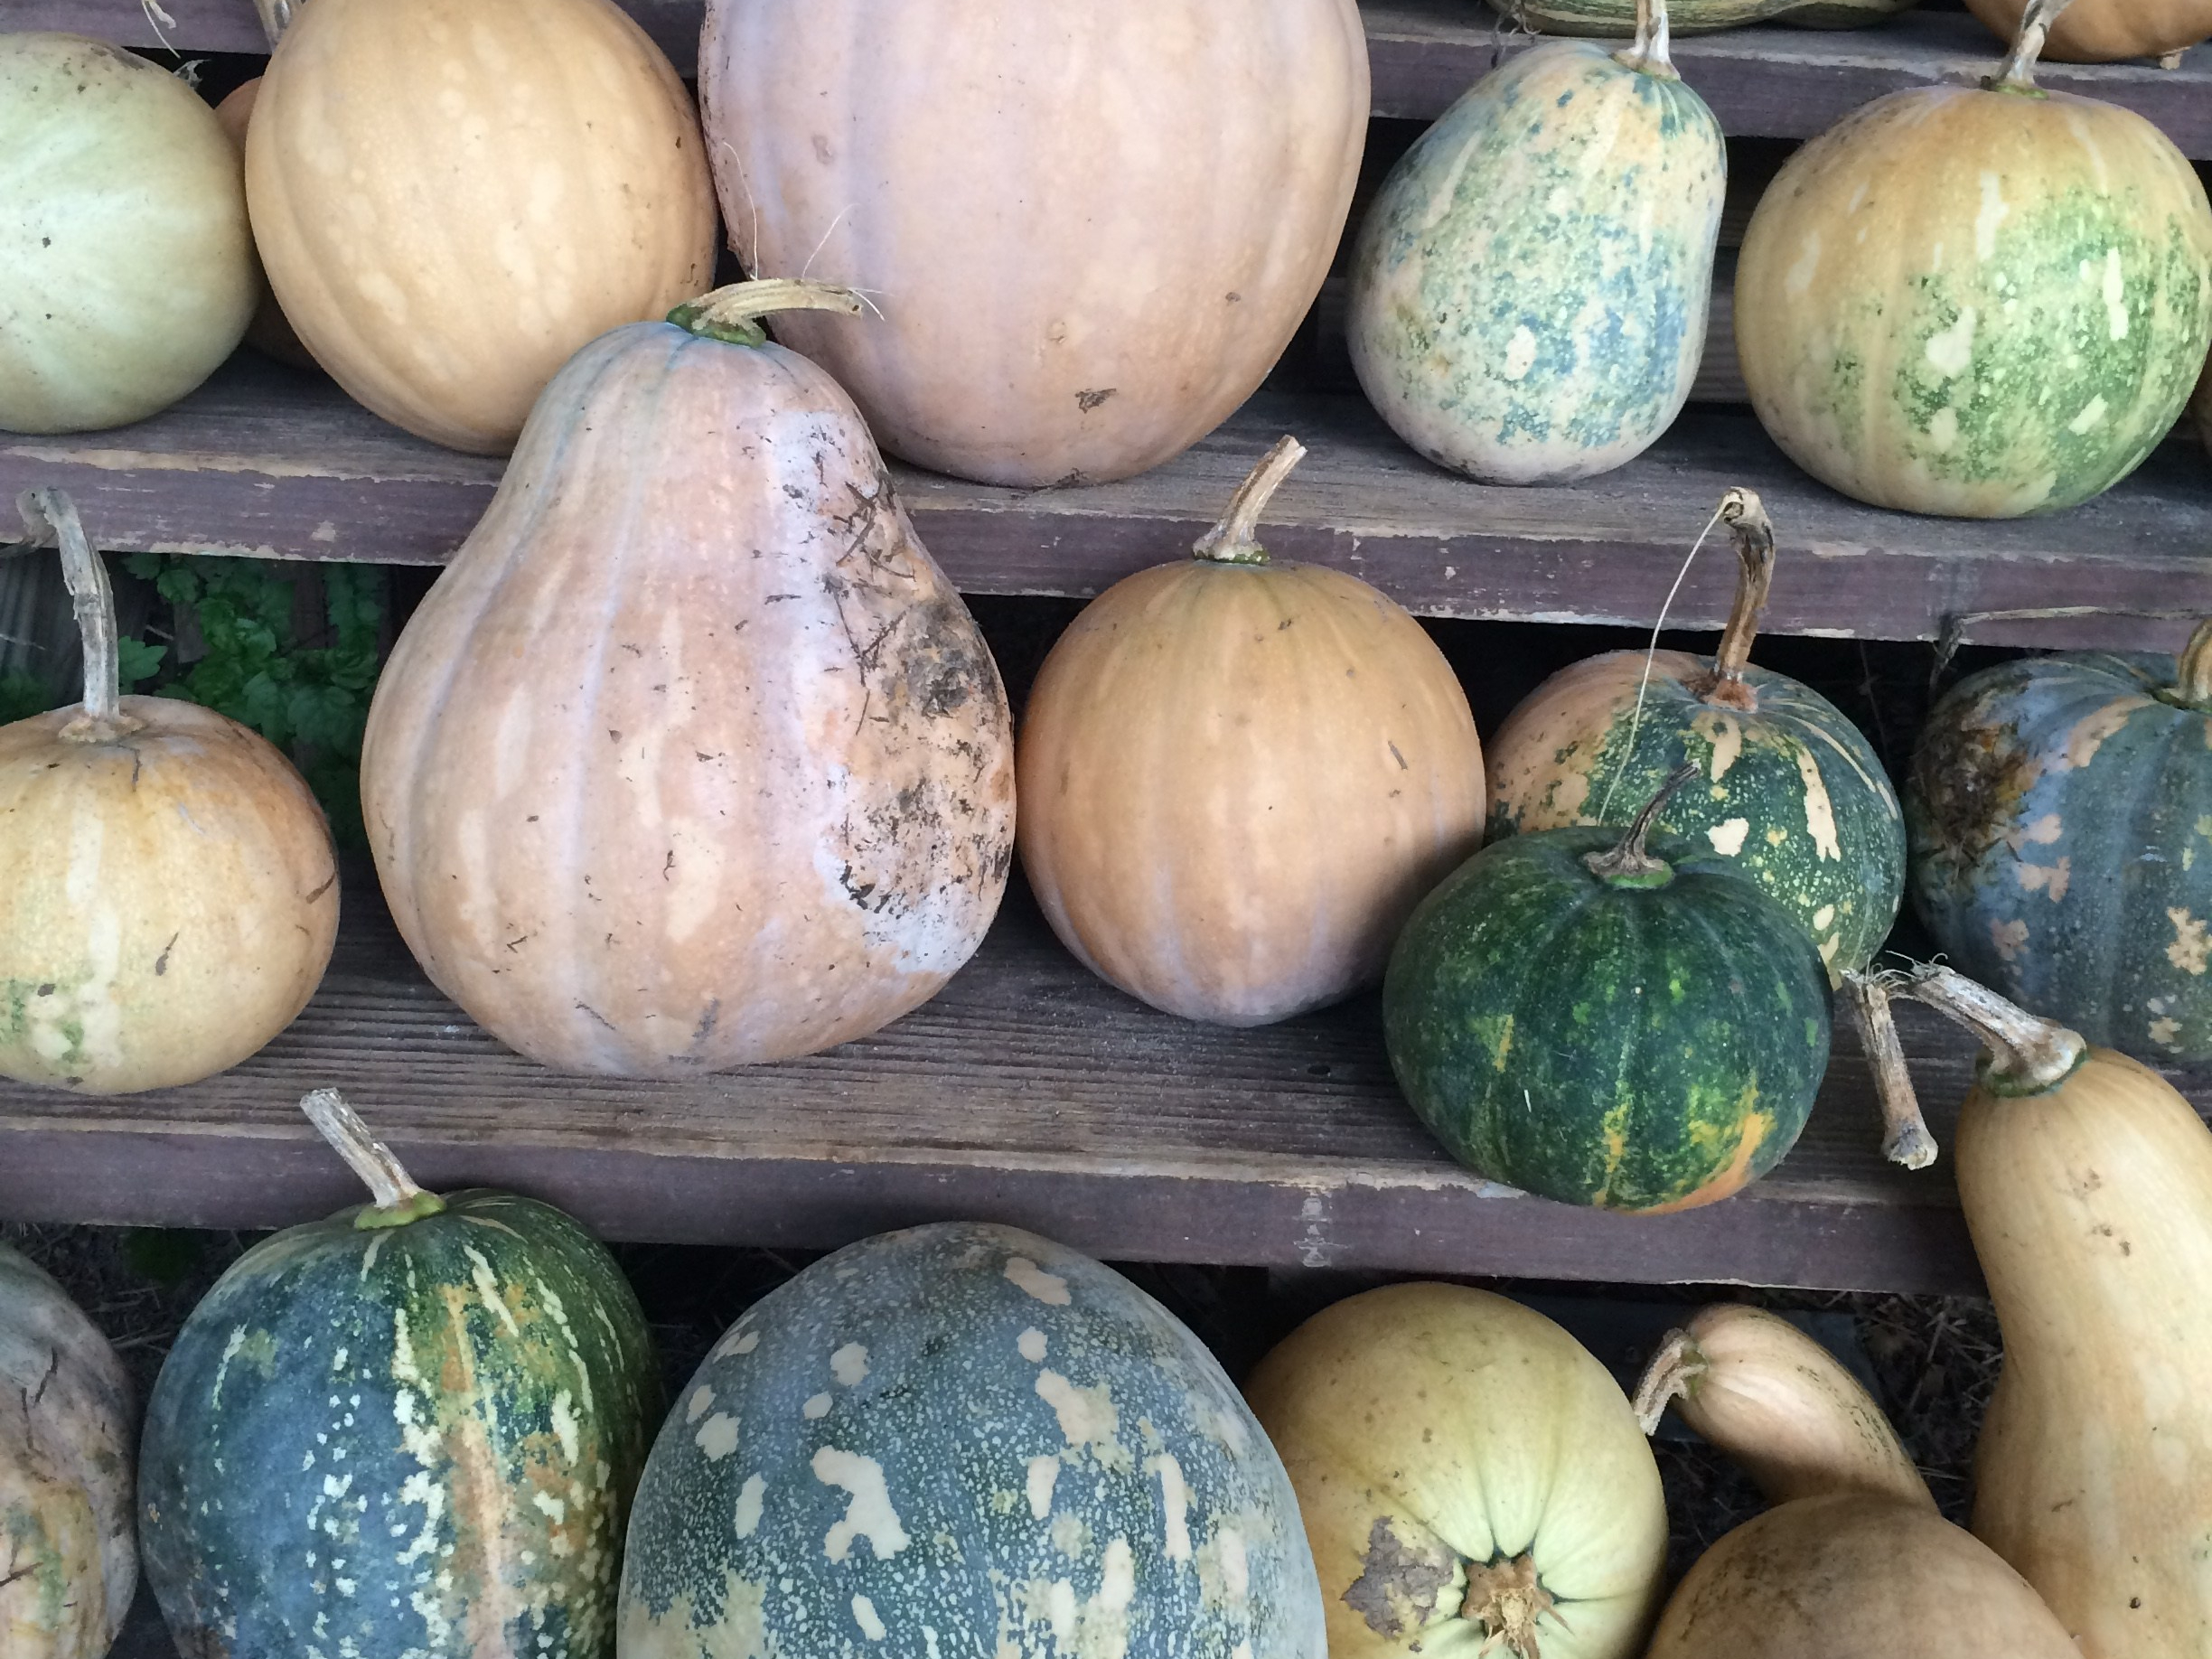
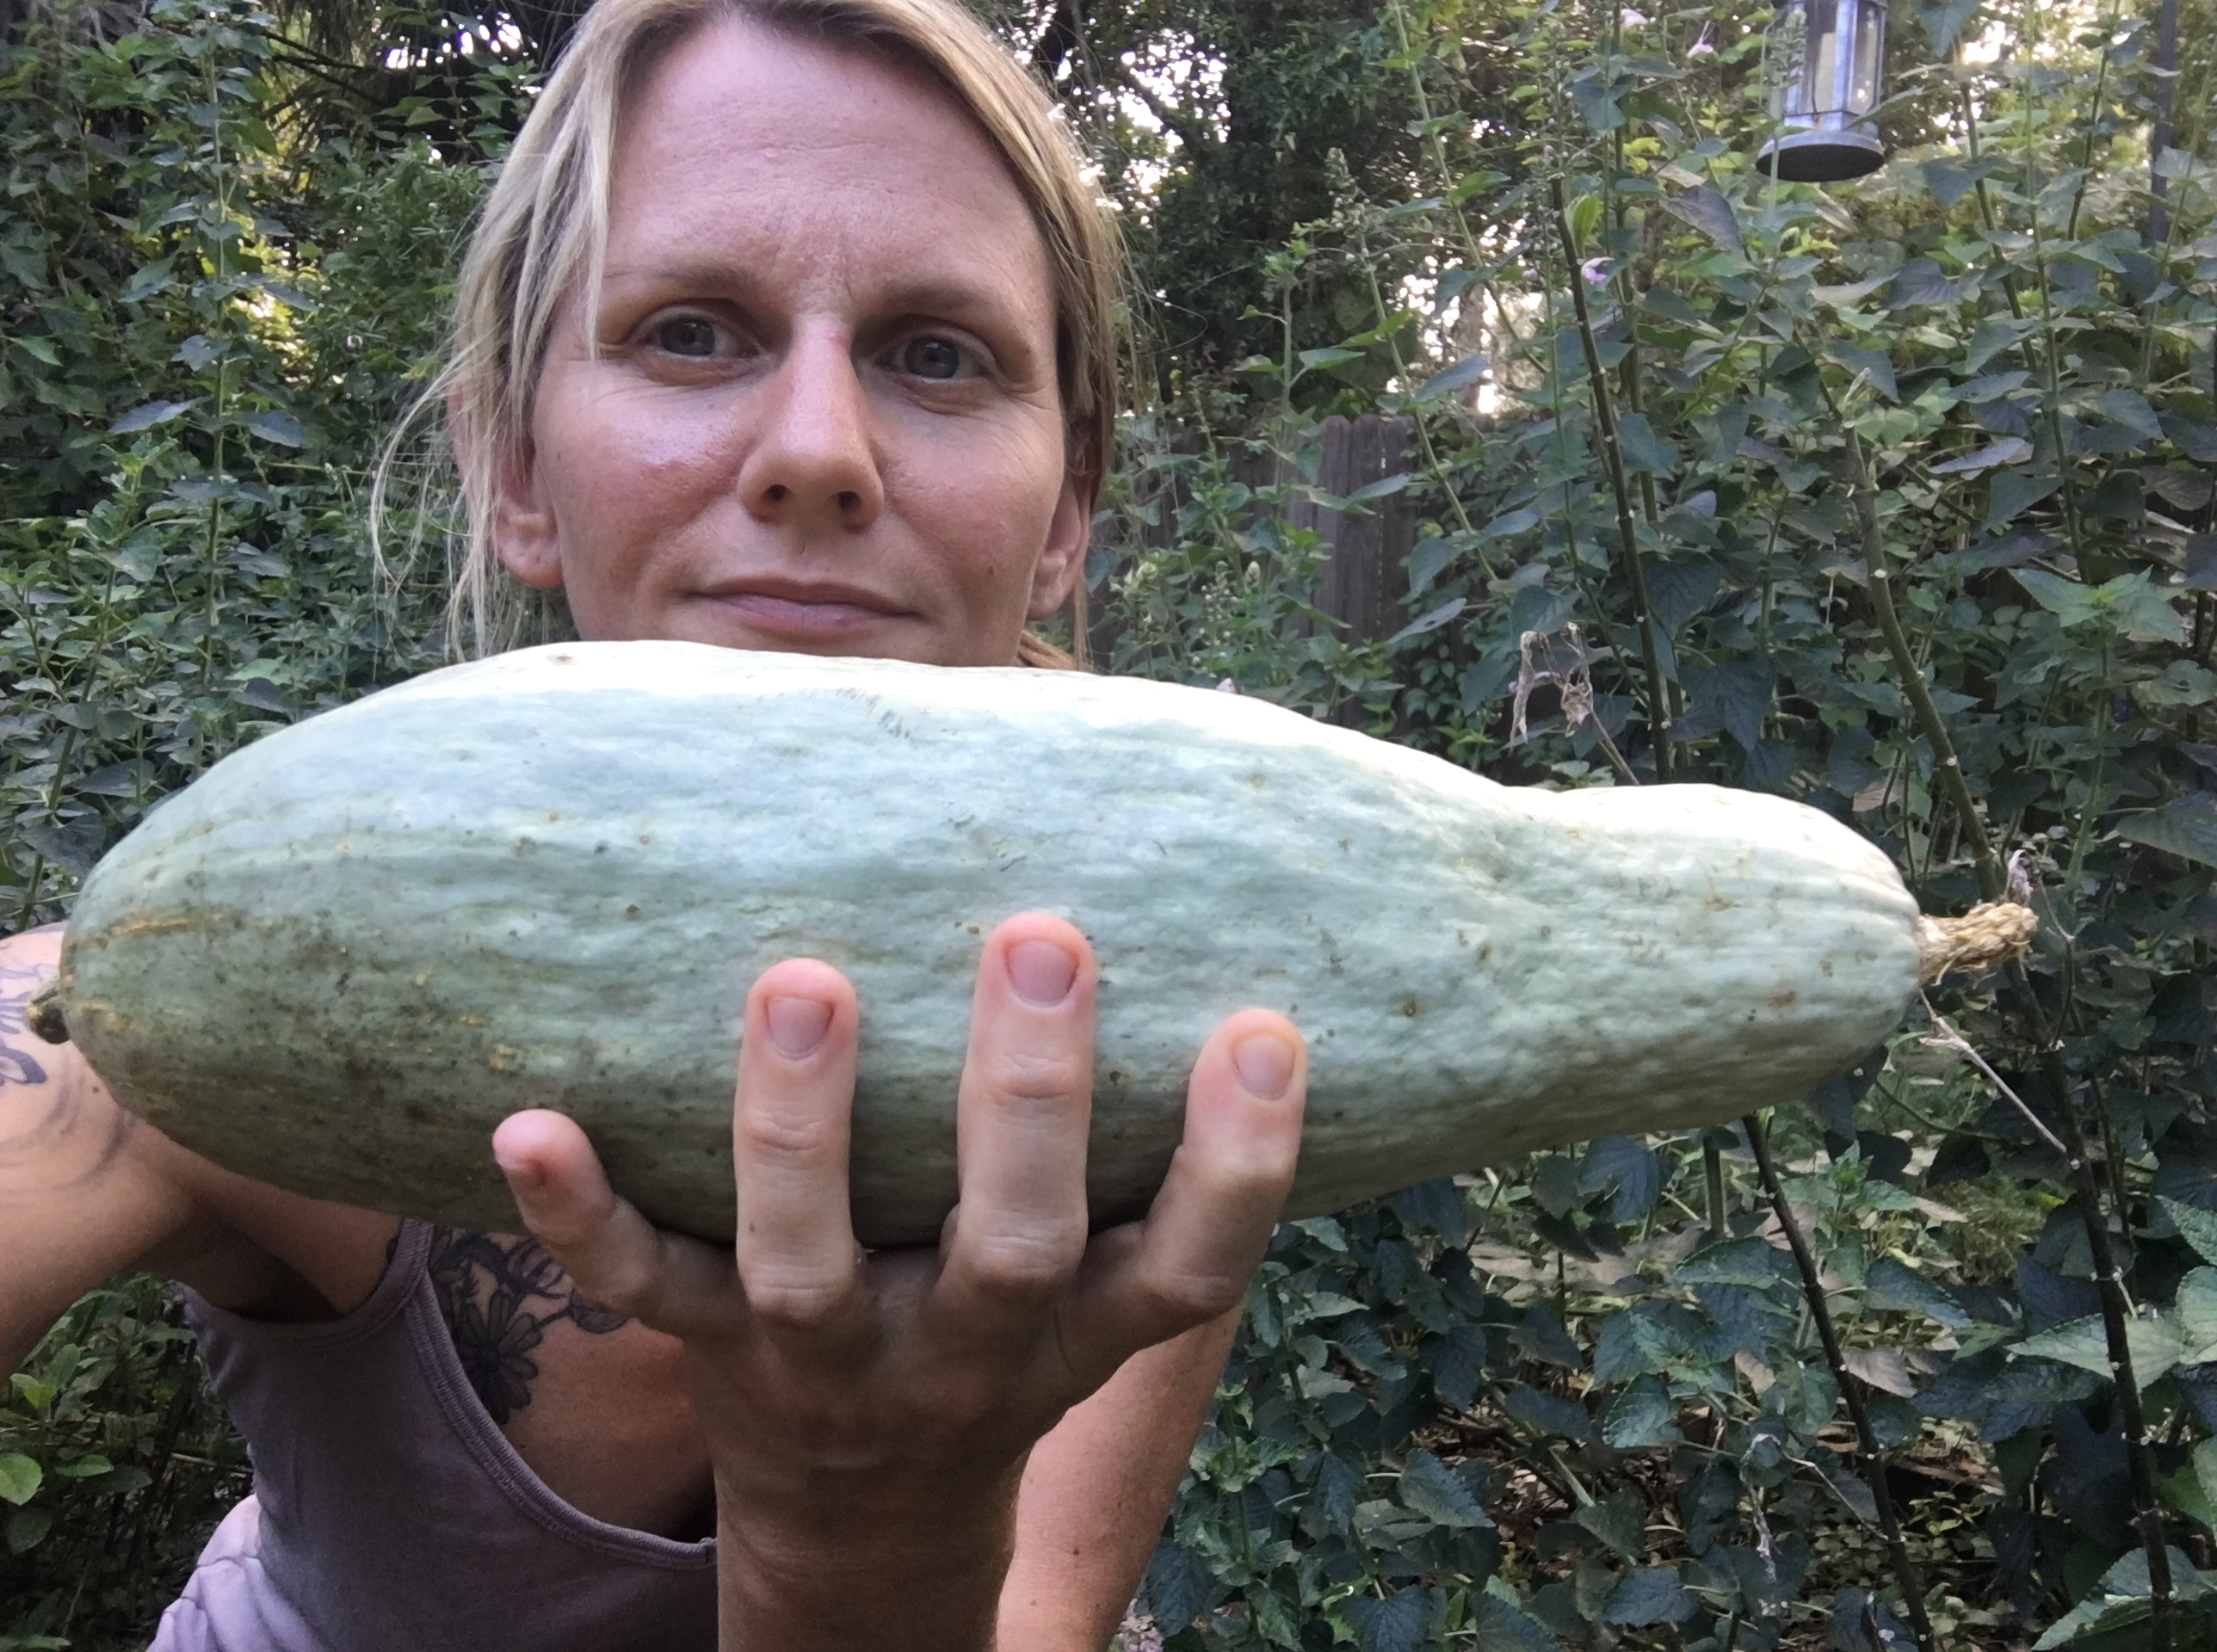
About a month ago, he handed me this beautiful light blue-ish green squash.  Basically he said: “This is delicious, grows like a weed, takes over the garden. You really need to offer this in the seed collective.

Behold! She was a real beauty! I left her to sit on the kitchen table for awhile to let the seeds plump up, and the flesh sweeten. Plus I wanted to admire it a bit longer. It’s kind of my thing to let vegetables sit on the table as long as possible. That’s why I have a whole series of “Arthur & The Squash” photos of my kitty lounging amongst squashes of different kinds throughout the year.

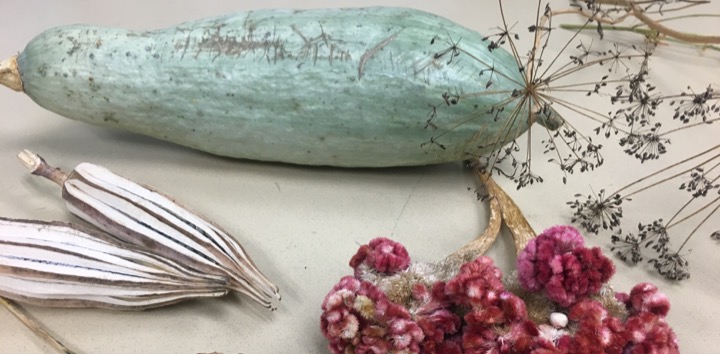
I conveniently received this gift on the day I was to give a talk at a local library about summer gardening. I always like to have a pretty display with me. Perfect! She went well with my other treasures, some dried okra, celosia, and dill.

Today, I finally got around to eating it. I’ve been busy and in a cooking slump lately, so it took me a long time to get my butt in gear! I cut it into chunky rounds and removed the seeds, which ended up being pretty easy to clean compared to other squashes.

I baked at 400F for about 40 minutes and covered lightly with a piece of foil. I also had some butternut squash and so I roasted that too. I was way too tired and uncreative to make anything awesome with them, so I simply spooned out the flesh and ate it, as is.

The texture was super smooth and creamy, with great squashy flavor. In my opinion it had much better texture and flavor than it’s butternut cousin. The butternut is more fibrous and not nearly as flavorful. This would make a great ingredient for a pie, bread, soup, or curry.

I let the seeds sit in water for about 4 hours to do a light ferment (not necessary but some like to do it), then dried them out on a napkin for several days before storing them. Ideally, I’d have seeds from a dozen or so different squashes, but I’ll get some more from Joe, mix em up, and plant a crop sometime next season. Fortunately because it’s a Cucurbita maxima and not C. moschata, I don’t need to worry about them cross-pollinating with my precious Seminole Pumpkin. So I can grow both. IF there is room! Both are vigorous vining, climbing beasts.


soil and seed: the science behind fasting

As a gardener, I’ve learned that if you cultivate healthy soil, then you can grow anything. In Florida this is no easy task and takes constant diligence and care, adding leaf litter, compost and other juicy ingredients. This process encourages mycorrhizae and other soil inhabitants that provide conditions under which plants will thrive. If you don’t tend your soil, the seeds you sow will struggle to survive. They’ll grow to be lanky and weak, unable to find the nutrition and microbial relationships they need to survive. When plants are weak, they become prone  to disease and pests.

This same thing happens in our bodies. We can cultivate our “soil” so that it resists illness, both short and long term. Or, we can tend the soil in such a way that it encourages invasive seeds like cancer, to thrive and dominate the garden.

Just the other day my friend Tom, coming off of two bouts of illness; flu then a cold was frustrated at his lingering cough that he knew was being exacerbated by other things. He said, “I really need to quit eating bread. I felt so great before when I quit eating that stuff“. He had been eating paleo style for sometime, lost weight, and cleared up so much inflammation that he was feeling wonderful. But like we all tend to do, slipped off that lifestyle for one reason or another. After falling victim to this year’s nasty flu virus, his body’s soil wasn’t in any condition to really help him out.  He wasn’t tending his soil how he knew that he needed to.

If you read my page about Food and Fasting, there are some good starting points there to cultivate healthy soil. Getting your diet right to reduce inflammation is critical. This means cutting out sugars, bumping up your microbiota, and eating highly nutritious foods. My friend Julie pointed me to this mini documentary about the Science of Fasting, which helps explain how it works. There are actually fasting clinics, for those undergoing prolonged fasts.  I never went longer than 3 days, but others with serious conditions, can undergo a medically supervised fast.

Fasting is a wonderful tool we can use to clear out any gunk that builds up in our soil. But please, set aside your gut reaction and judgments! I get this a lot from people, who find it crazy that I would consider not eating. Especially because I’m so small. It’s just misguided fear. Only in recent human evolution have we had access to thousands of unlimited and low quality calories a day. We’re more adapted to dealing with hunger than we are with excess. Our bodies know what to do when times get lean, they’ve been doing it for a long time.

Think of fasting like a re-start button! Every time I have a technology issue, the first thing Mike will always say to me is “have you tried re-starting?!” Things just get gummed up and need a fresh start. Wireless networks, computers, printers, phones. First thing to do is cut them off of their food supply (power) and then start up again. Natural systems go through periods of leanness during winter time, then flourish in the spring. Some animals go the extreme like penguins, fasting for months. Things go in cycles, and yet we never seem to do that with food. Three meals a day (if we are so fortunate), no breaks, no chances to re-start. I think my friend Tom should try fasting to clear up his gunk, then start re-building his soil.

Think of fasting like a re-set button for your body. It gives it a rest from having to digest and  metabolize, so that it can clean up a bit, remove wastes, toxins and other things that produce soil fit for cancer and other disease to grow.

I used this technique during my cancer treatments to alleviate symptoms and boost the effects of chemotherapy. I am convinced this was a key element to beating back cancer.

Five years in remission, I still use this regularly with varying degrees of intensity to clear up the gunk. After traveling when my diet and other things may have been off (read: being gluttonous, eating rich foods and imbibing too much), I’ll come home and fast for a day or maybe three. Throughout the week, I’ll even skip breakfast or lunch fairly regularly, getting in some shorter intermittent fasts. These are actually pretty easy for me, and after going through it, I am motivated to keep building my soil.

So consider how you can better cultivate your soil for long term health, so that good seeds may flourish. Use fasting as a tool to occasionally refresh the soil, and help keep invasive seeds from taking hold.

Seminole Pumpkin Cheesecake

I am obsessed with a local badass southern heirloom squash, the Seminole Pumpkin. It grows well here here, tastes amazing, stores a long time and is super versatile in the kitchen. Plus it has a wonderful story, evolving hand in hand with native tribes living in Florida. It sustained them, and they coaxed forth an edible squash that thrived in the hot, humid climate, and poor soils of Florida.
Check out their diversity of shapes, colors and sizes! I am certain that over the years especially as it’s gained popularity among gardeners, that they’ve become cross-pollinated with other Cucurbita moschata.
Filling
About 1.5-2 cups pureed Seminole pumpkin
2 packages of cream cheese
3 eggs
generous squirt of honey
lots of spices: generous chunks of ginger, cinnamon, nutmeg, allspice, cloves and a dash of cayenne pepper
vanilla extract
Crust
roasted nuts (I used approx. 2 cups of mixed walnuts, cashews and almonds)
dark chocolate chips
coconut oil
about a tbsp or so of butter
dried dates
dried apricots
Chocolate Sauce
melted dark chocolate chips
coconut oil
For crust, blend up all the dried stuff in a food processor till crumbly then add the fruits and oils till you get a doughy kinda greasy thing. Press it flat into a springform cake pan. Put it in the fridge while you make the cake.
For the filling, I used the food processer to puree the pumpkin so it was really smooth with no chunks. Add the cream cheese till nice and smooth followed by the eggs and all the spices. I used chunks of fresh ginger so need to make sure these get good and crushed, that’s why some pieces had “hairs” in them I believe they were ginger fibers. Once the batter is nice and creamy and whipped, pour it into the cake pan.
Cook about about 370 for approx. 45 -60 minutes until the outside rim of about 2″ is firmish, and the center may be jiggly but not soupy. There may be some cracking too. Let it cool for awhile before putting in the refrigerator, where it will need to chill about 4 hours before eating. Once it was sufficiently cooled I added the melted chocolate topping then put back in fridge to let that harden and finish chilling. I cheated and melted the chips in the microwave on low heat with coconut oil, stirring frequently till it was nice and runny. The proper way is in a double boiler on the stove. But it worked and there were less dishes 🙂 You could probably make the topping spicy if you wanted, or salty?

Hoppin’ John: the real deal

I’ve had the ingredients for awhile now, waiting for a special occasion to use them. Our friend Parker was visiting so we planned for a gathering of friends and a potluck to celebrate. We’re all food lovers and tend to bring out our A-game when it comes to potlucks. So the heritage Carolina Gold Rice and Sea Island Red Peas would finally be put to good use.

Such a simple dish with only 3 main ingredients: rice, cowpeas and vegetables, requires that the quality of the ingredients be exceptional. The original recipe calls for heritage crops grown in the south that were selected first and foremost for flavor: Carolina Gold Rice, Sea Island Red Peas and pork stock.

fullsizeoutput_120a
I’ve been hoarding the ingredients in the freezer for months, waiting for a special occasion. The grits are not part of a Hoppin John dish, but I made them on the side just because.

Sean Brock’s cookbook, Heritage has the recipe which I pretty much followed to the tee, which is unusual for me. Now that I’ve done it once, I’ll probably modify in the future.  You can buy the ingredients through Anson Mills, or better yet grow your own! We grew the peas (a cowpea, or field pea, Vigna unguiculata) last summer and they were super easy, as are most field peas in the south.

What’s great is that growing field peas enriches the earth, because of their magic powers that add nitrogen to the soil, along with mounds of biomass. This makes rice cultivation more sustainable.

IMG_0678
Drizzled with gravy made from left over broth and peas, and garnished with garlic chives.

We are fortunate to have a CSA, so the veggies were mostly super fresh and juicy, lending more flavor and awesomeness to the dish.

There was broth left over from cooking down the peas and veggies, which of course I saved. It’s fricking cold here in North Florida this winter, so soups are on the menu constantly.

IMG_0682
Left over broth from cooking the peas and veggies to be used later for a hearty soup.

I’ll post the actual recipe here soon…need to figure out if there are any copyright issues 🙂

versatile & delicious basic dressing for everything

A good dressing changes everything. It can go on pasta, cooked vegetables, salad, a sandwich, and my classic veggie bowl. I consistently get asked, “What’s in your dressing? It’s amaaaaazing!”. The answer always varies but the basic building blocks are below.

Ingredients:

Garlic, a few cloves (preferably fermented cloves! Recipe coming soon)
Tahini, 1-2tbsp
Miso 1 tbsp
Toasted nuts and/or seed, mixed about 1 cup (I just always use what’s on hand and often mix. Almonds, cashews, pumpkin seeds etc.)
Nutritional yeast, 3tbsp or more to taste
Salt to taste
Pepper to taste
Water, about 1/4cup, maybe more or less
Vinegar (kombucha or apple cider vinegar preferably), about 1/4cup, maybe more or less
Olive oil, about 1/2 cup, maybe more or less
An anchovy or two, or a dash of fish oil (optional, but adds an extra oompf)

Directions:

Once toasted nuts/seeds are cooled, put into a blender with all ingredients except oil. Blend to a nice smooth, only semi-runny paste. It should, ideally be the slightly more thick than how you want the final consistency to be. Then slowly blend in the oil until incorporated. Taste and add any additional ingredients that may need more. If too thick, dilute with equal parts water/vinegar. If too runny, there’s not a lot you can do to remedy except to add more nuts.

daily veggie bowl

This thing can be breakfast, lunch, dinner or all three. It’s awesome, tasty, satiating, and healthy. Equally important it makes use of available ingredients in your fridge.

Everything is negotiable. Use what you have, omit what you don’t, and  add what you love. This is how to eat seasonal!

I got the idea from a friend and co-worker Maya at Working Food. When she owned and operated the Jones Eastside Restaurant in Gainesville, the East Side Bowl was a delicious favorite of mine. But there were more potatoes than I would opt for, so I modified it to be more veggie-heavy and even absent of potatoes altogether.

Being a CSA customer (Community Supported Agriculture) with the Family Garden, my fresh box of veggies is often turned into veggie bowls. Mountains of greens cook down to nearly nothing, making quick work of using them up!

Ingredients:

  • Mixed sautĂ©ed veggies in any fathomable combination and quantity (peppers, eggplant, greens, carrots, radishes (yes, radishes!), broccoli, kohlrabi, potatoes, sweet potatoes etc.)
  • Onion, chopped
  • Garlic, chopped
  • Eggs, over easy (or however you prefer them; runny eggs IMHO make everything better)
  • Salt and pepper to taste
  • Nutritional yeast to taste (optional)
  • Easy versatile dressing (optional)
  • Finely chopped fresh turmeric as a topping (be sure to sprinkle final dish with fresh black pepper)
  • Generous dollop of fermented veggies (i.e saurkraut or kimchi)
  • Cheese of choice (optional)
  • Hot sauce or hot pepper flakes (optional)

Instructions:

SautĂ© onions in oil until they are nice and caramelized (preferably, but not necessary), add garlic and all your veggies. If using potatoes, you’ll want to pre-boil them or add to pan first until nearly cooked, using more oil and a lid to cook them up BEFORE adding the additional veggies.

Don’t sautĂ© veggies more than a few minutes. Aim for firmness and retention of color. Add nutritional yeast and salt and pepper towards the end, to taste.

Put all cooked veggies into a bowl, top with a serving of fermented veggies and runny eggs, or any optional ingredients like cheese, hot sauce, nutritional yeast. I try to avoid dairy at home as I think it leads to inflammation when consumed too much. But a little cheese takes this dish over the top!

Yummmmmm!

Seminole pumpkin cheesecake

I am obsessed with a local badass southern heirloom squash, the Seminole Pumpkin. It grows well here here, tastes amazing, stores a long time and is super versatile in the kitchen. Plus it has a wonderful story, evolving alongside native tribes living in Florida. It sustained them, and they coaxed forth an edible squash from the wild, that thrived in the hot, humid climate, and poor soils of Florida.

In the late 1700’s when William Bartram was traveling and exploring the south, he exclaimed, “It is very pleasing to observe the banks of the river [St. Johns] ornamented with hanging garlands, composed of varieties of climbing vegetables . It is exceedingly curious to behold the wild squash climbing over the lofty limbs of the trees; its yellow fruit, somewhat of the size and figure of a large orange, pendant from the extremities of the limbs over the water.”
IMG_6473

Check out their diversity of shapes, colors and sizes from David the Good’s Seminole Pumpkin Project! I am certain that over the years especially as it’s gained popularity among gardeners saving their own seeds, that some have become cross-pollinated with other Cucurbita moschata.

I’ll say it in every “recipe” I post: sorry for lack of specific amounts. I don’t measure often, or write things down. Hopefully you have some agility in the kitchen to just make stuff work, and know that a lot of this stuff is negotiable.

The great thing about this desert is that there is very little sugar, none is added except for a squirt of honey and/or molasses. Both of those are negotiable. If you are used to super sweet deserts, this one may take some getting used to.

Filling

About 1.5-2 cups cooked, pureed Seminole pumpkin
2 packages of cream cheese
3 eggs
generous squirt of honey and/or molasses
lots of spices: generous chunks of grated ginger, cinnamon, nutmeg, allspice, cloves and a dash of cayenne pepper

vanilla extract

Crust

roasted nuts (I used approx. 2 cups of mixed walnuts, cashews and almonds)
dark chocolate chips
some coconut oil drizzled into nut mixture just enough to make it start sticking
about a tbsp or so of butter
a few dried dates
a few dried apricots
more spices if you want them
Instructions

For crust, blend up all the dried stuff in a food processor till crumbly then add the fruits and oils till you get a doughy kinda greasy thing. Press it flat into a springform cake pan. Put it in the fridge while you make the cake.

For the filling, I use a food processor to puree the pumpkin so it’s really smooth with no chunks. Add the cream cheese till nice and smooth followed by the eggs and all the spices. Once the batter is nice and creamy and whipped, pour it into the cake pan.

Cook about 370F for approx. 45 -60 minutes until the outside rim of about 2″ is firmish to the touch; the center can be jiggly but not soupy. There may be some cracking too. Let it cool for awhile before putting in the refrigerator, where it will need to chill about 4 hours before eating.

Consider drizzling on a sauce of some sort, whipped cream or whatever else suits your fancy.

spicy kimchi with turmeric

Please don’t hate me, because I rarely measure things. Here are the ingredients for a delicious kimchi. I’ve tried to include amounts, but everything is negotiable! Have more carrots? Throw em in! Want it less spicy? Ease up or eliminate the hot peppers.

Many fermentable veggies are in season now in Florida (November-April), so it’s time to roll your sleeves up and get to making your ferments for the year!

Ingredients:

  • Napa cabbage roughly chopped, about 1 large head
  • Garlic, 3 or way more cloves either whole (peeled) or diced however you prefer
  • Ginger, a few big knobs, sliced (I rarely peel, too lazy)
  • Turmeric, a few big knobs, sliced or diced (I never peel)
  • Hot pepper flakes/sliced hot peppers to taste
  • Carrots, about 3 sliced thinly in circles
  • Mustard seeds, about 2 teaspoons
  • Sea salt
  • Clean, distilled, non-chlorinated water

Mix all ingredients except the hot peppers into a bowl. Generously toss with sea salt, and massage the veggies with love. The water should start oozing out after a minute or so.  Add the hot peppers now, and stir in with a spoon, so as not to burn the s*&t out of your hands.

Stuff and pack into mason jars or crocks, leaving about an inch or more. Top with salt brine (about 2 teaspoons per quart of good water).

Let sit covered, and weighted down for 3-14+ days. Taste every day and tamp down veggies to make sure they are under brine. Add more brine if needed.

Refrigerate and cap when you like the taste and want to keep it there.

Here is a Fermentation Recipes handout from a class that I teach twice a year. Basic how-to plus a few solid recipes!